I know that I said in my last post that I was going to use one of the pre-built necks for this guitar, but then I remembered that this guitar is going to use nylon strings. The necks I bought already have truss rods installed, which is really a good thing, but truss rods are most beneficial for steel stringed guitars and not necessary for guitars with nylon strings so I decided to make a neck for this build. But before I started on the neck, I needed to cut the neck pocket in the body.
Because of the way I designed this guitar, I was able to use a scroll saw to cut out the neck pocket close to the lines, then attach the template I 3D printed to get the final shape.

With the neck pocket routed, it was time to begin making the neck. I started the process by grabbing a piece of maple and marking a center line before aligning my template. Unfortunately I didn’t think to take a picture of the process this time, so here’s a few pictures of a neck I did out of poplar.


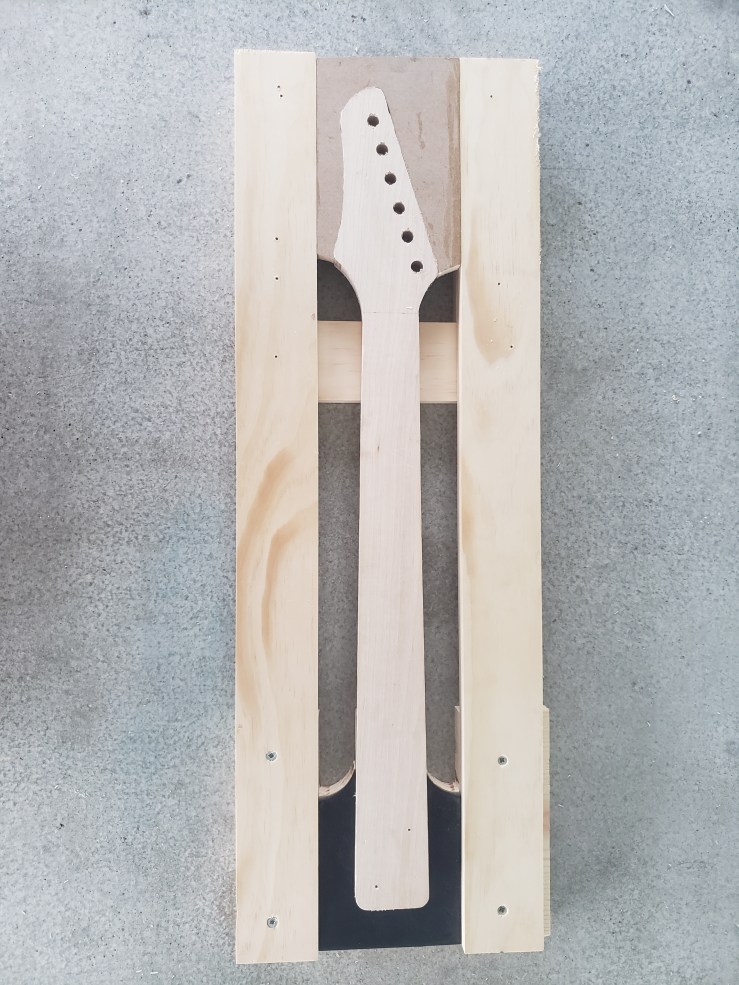
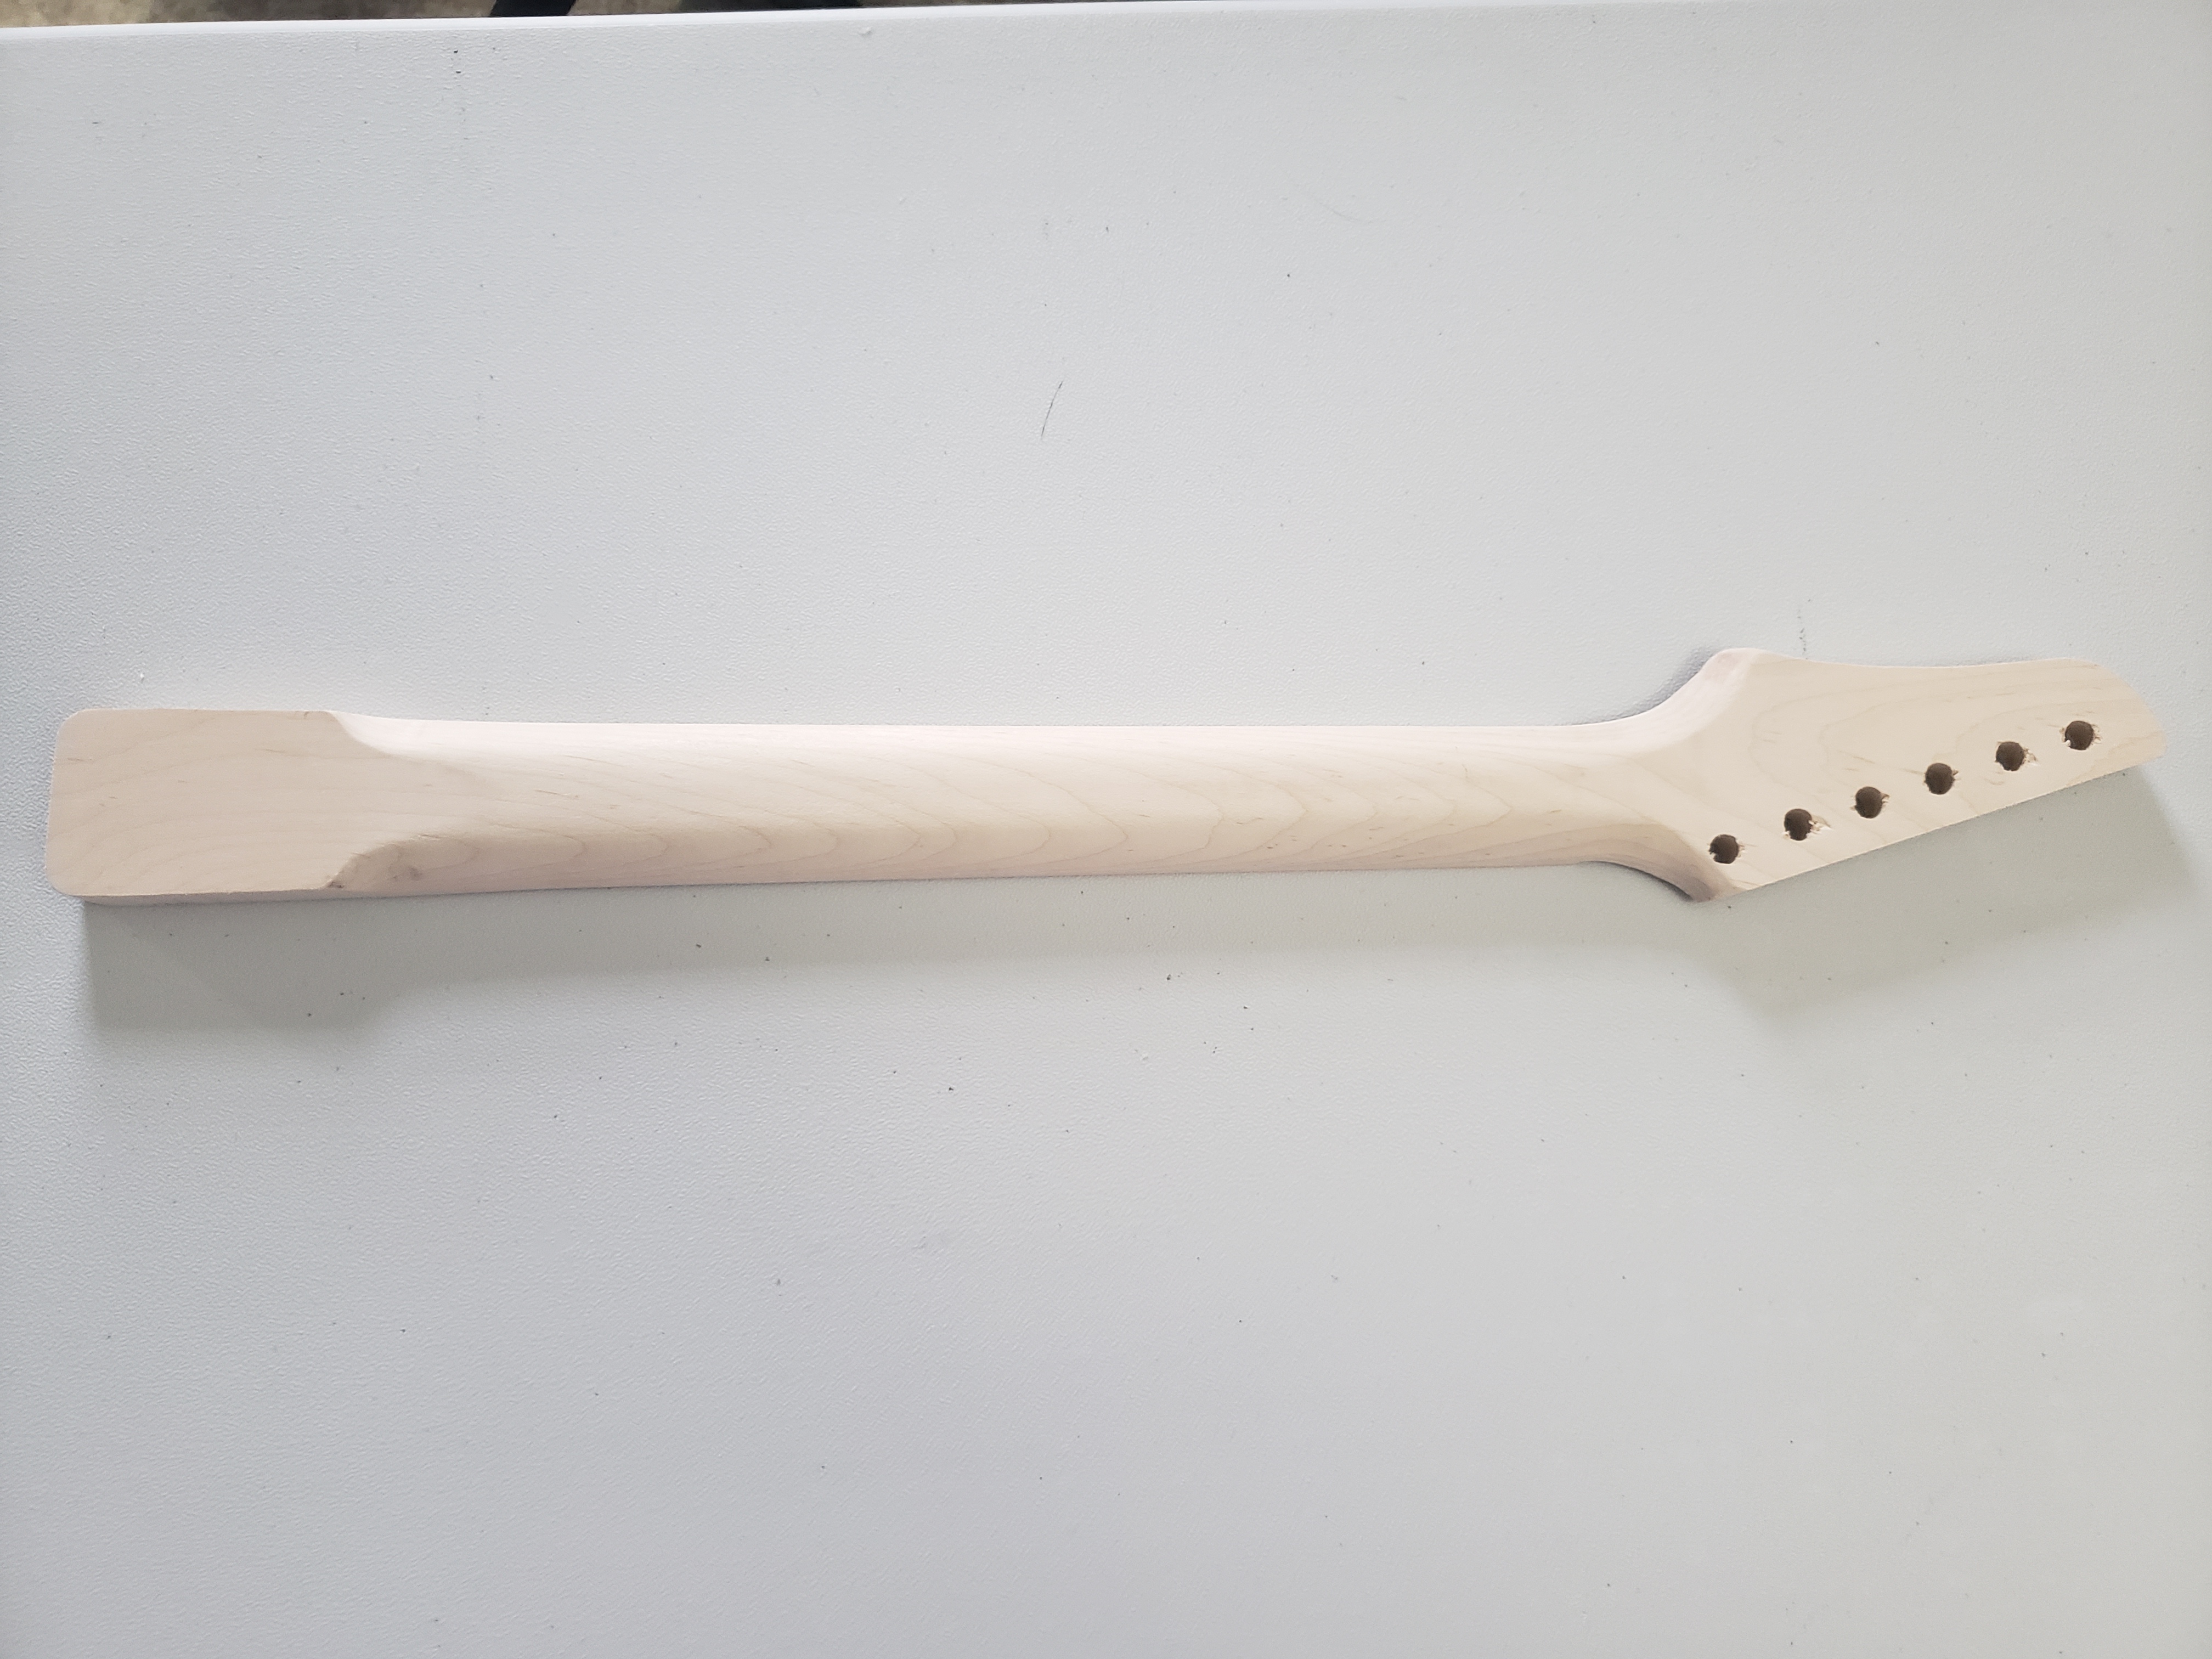
Like the body, I cut out the neck close to the template lines, then used the router with a pattern bit to get an exact match. I make several passes with the router, taking just a little off with each pass so I don’t risk tearing the wood. I then use a drill press to add the tuner holes based on the same template.
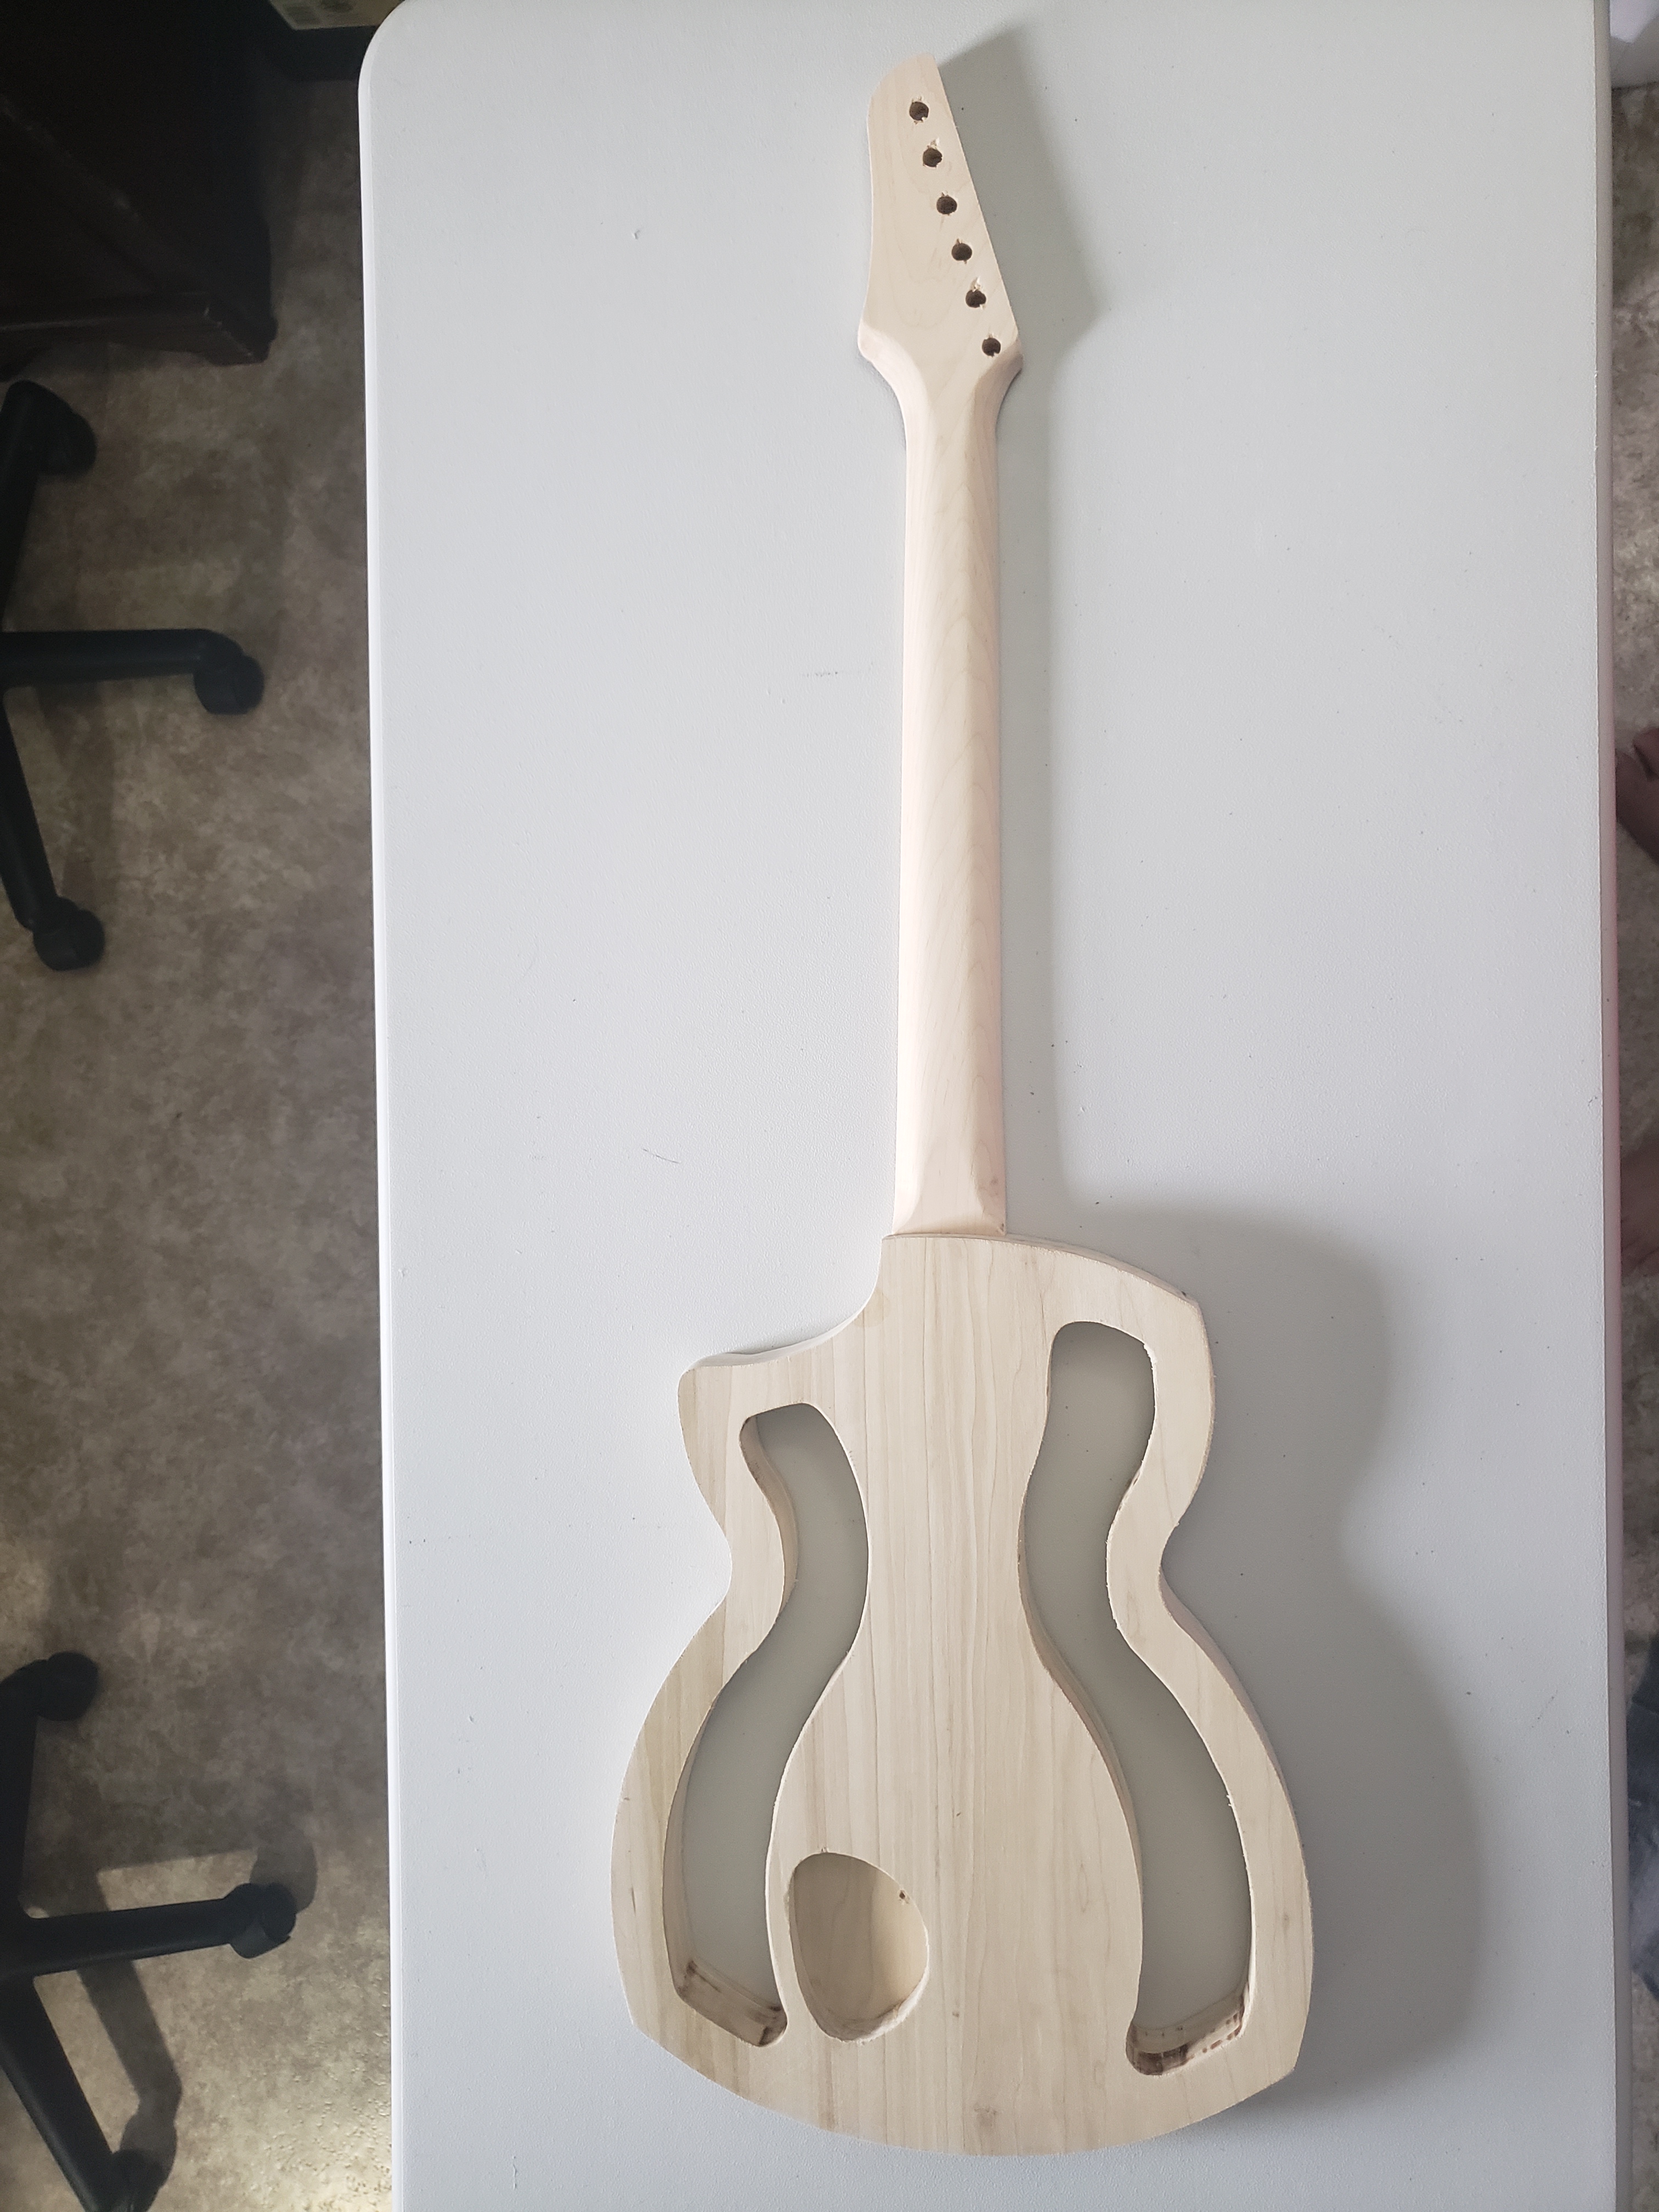
With the basic neck shape done, I proceeded to test fit the piece into the neck pocket on the body. The body was still in very rough shape, but the neck fit perfectly, so I was ready to continue shaping the neck.

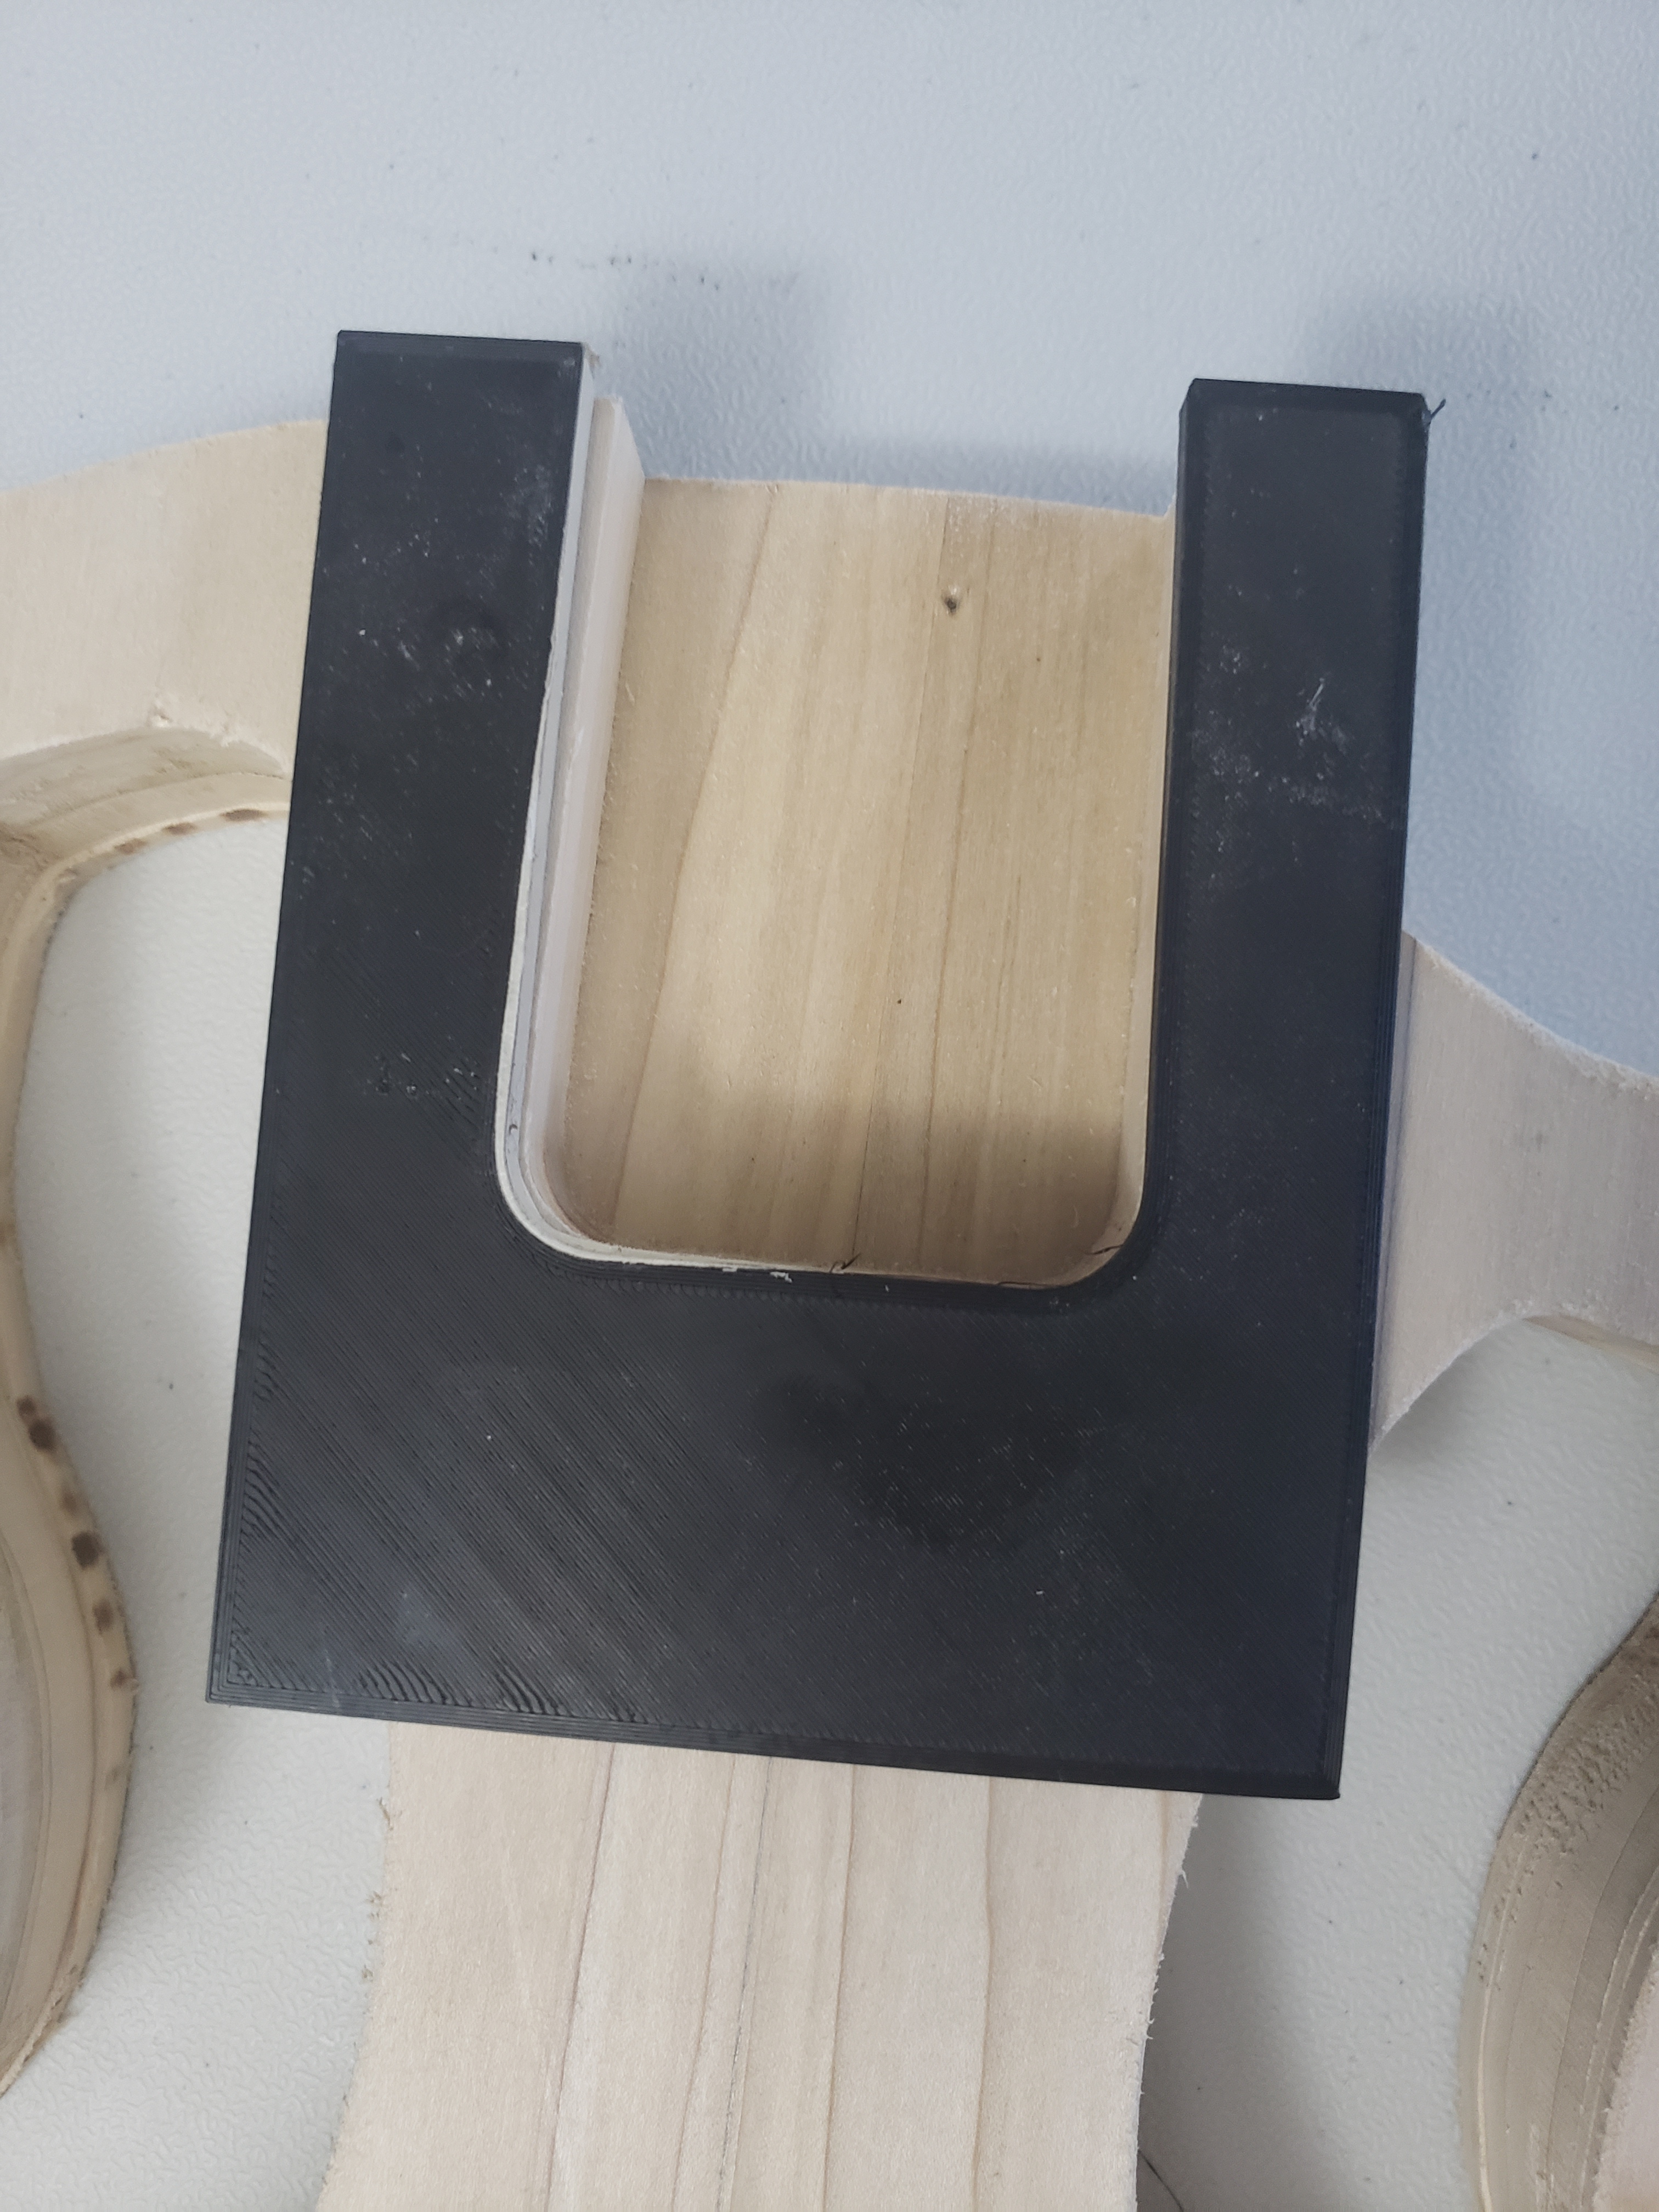
There are many different guitar neck designs, and even more ways to shape them, so of course I chose to ignore all of the conventional ways and design my own neck shaping jig.


This jig allows me to use either a rounded or 45 degree angle router bit to shape the rear sides of the neck depending on how aggressive I want the angle to be. For this one, I went with the 45 degree bit. Then, by just flipping the entire jig over, I was able to use a router with the pattern bit set to the proper depth to remove some stock from the head.

So with the neck ready to move on to sanding and assembly, I decided to cut the control cavity into the back of the guitar, then glue the front and back pieces together using every clamp I have.

Then, when the body had adequate time to cure, I did one more test fit before beginning the neck assembly and sanding.