
A couple posts back I talked about how I got into guitar building, and in that same post I said that I would be building another guitar and documenting the process including the neck build. That was only halfway true. I had planned on the next guitar build to include a hand made neck, and I even have the neck started, but then I got an awesome deal on a couple of mostly finished necks so I decided to expedite this next build by using one of them.
This build is the first for the RG5-SC model. The RG5 indicated the overall body style and the SC stands for “Special Cut”. While the overall body shape is the same as the initial RG5 model, this one will be a solid body design instead of the standard semi-hollow design and it will have large weight-saving cutouts.

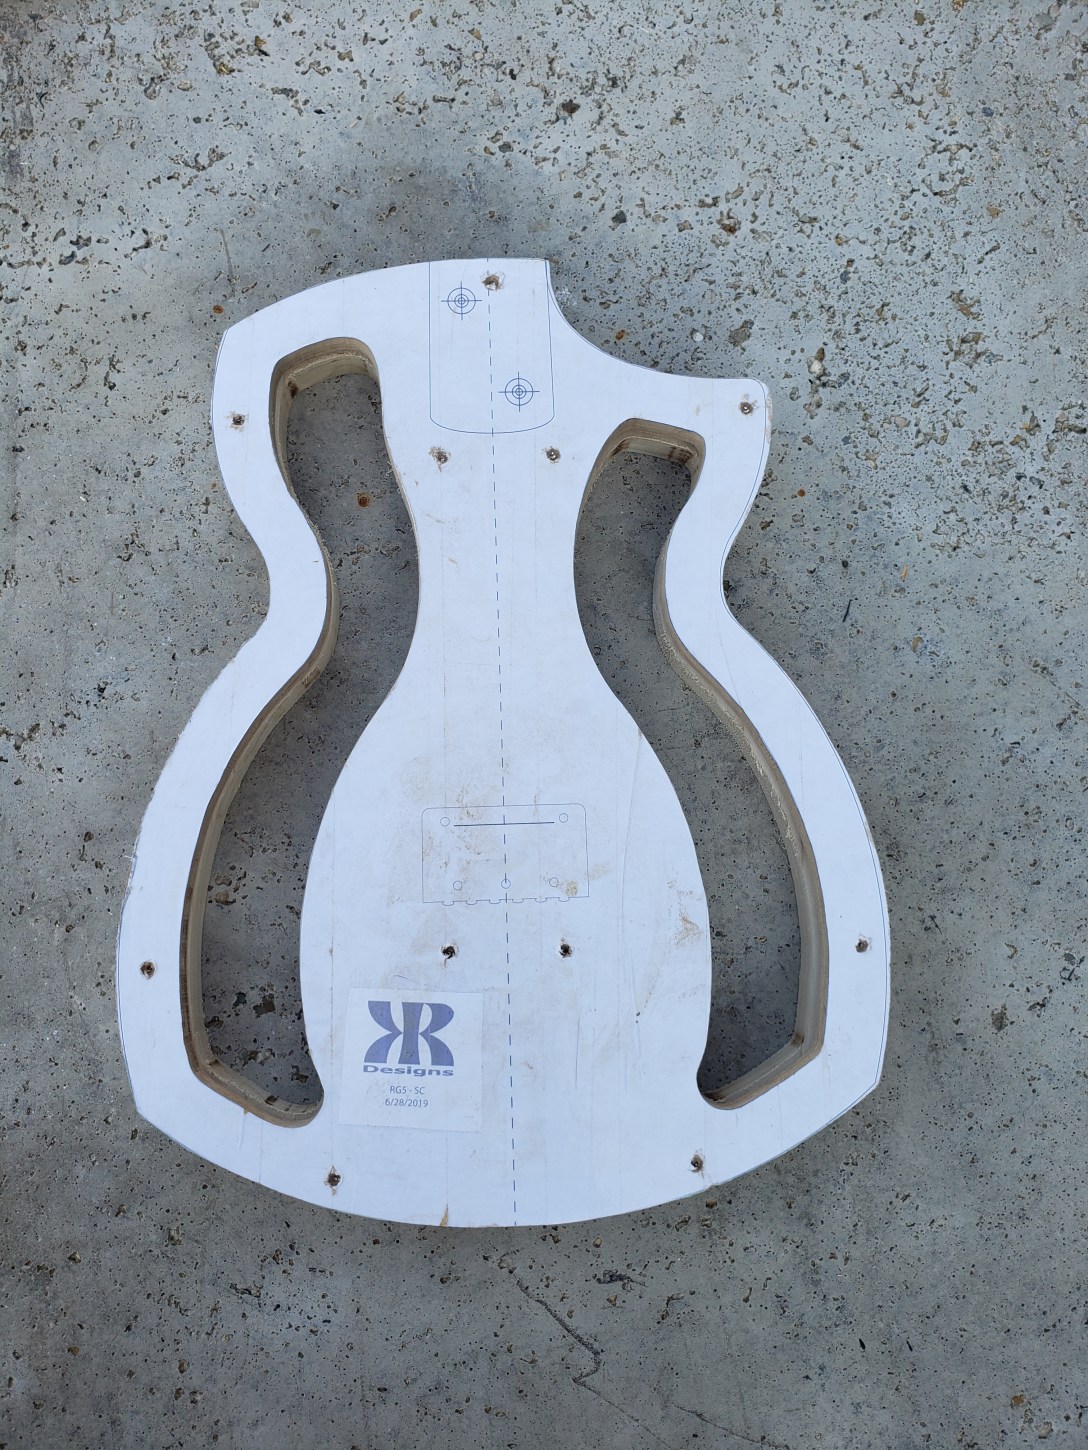
To begin building the guitar I needed a template. Our local UPS store can print full scale copies, so I saved the file to a flash drive and had them print it out. I could have tiled the file, printed it from my home printer and pieced it together as I’ve done in the past, but the $1.50 cost of having them print it was worth it to save me a little time and effort.
I glued the full size print to 1/2″ MDF board and cut it out with my scroll-saw. Since the outside edge is identical to the standard RG5 design, I cut that edge a little wider, then attached my existing RG5 template to it and used a router with a template bit to give me an exact match. Then, with the template done, I started gluing up my body blanks.
A lot of purists hate the idea of using lumber from the “big-box” stores for building guitars. I understand exactly why the are against it, but our local Menards has select grade Mastercraft lumber that has been surfaced on four sides. By using this, and inspecting it before I buy, I’ve not had any problems. I chose a nice piece of 1″x8″x6′ Poplar, cut it into four 18″ pieces and then glued two sets of two pieces, making sure to use more clamps than necessary:
I like to let the body blanks setup for at least 24 hours, then I use the template to mark the cut lines and use a combination of scroll saw and band saw to rough cut the body shape, making sure to cut just outside the lines. When the rough cuts are done, I then screw the template to the body blanks and use the router with template bit to finish getting the final shape. The template will be right-side-up for the bottom piece and up-side-down for the top to keep the screw holes from being visible after final assembly.

Now that the body is taking shape, the next step will be cutting the neck pocket.
