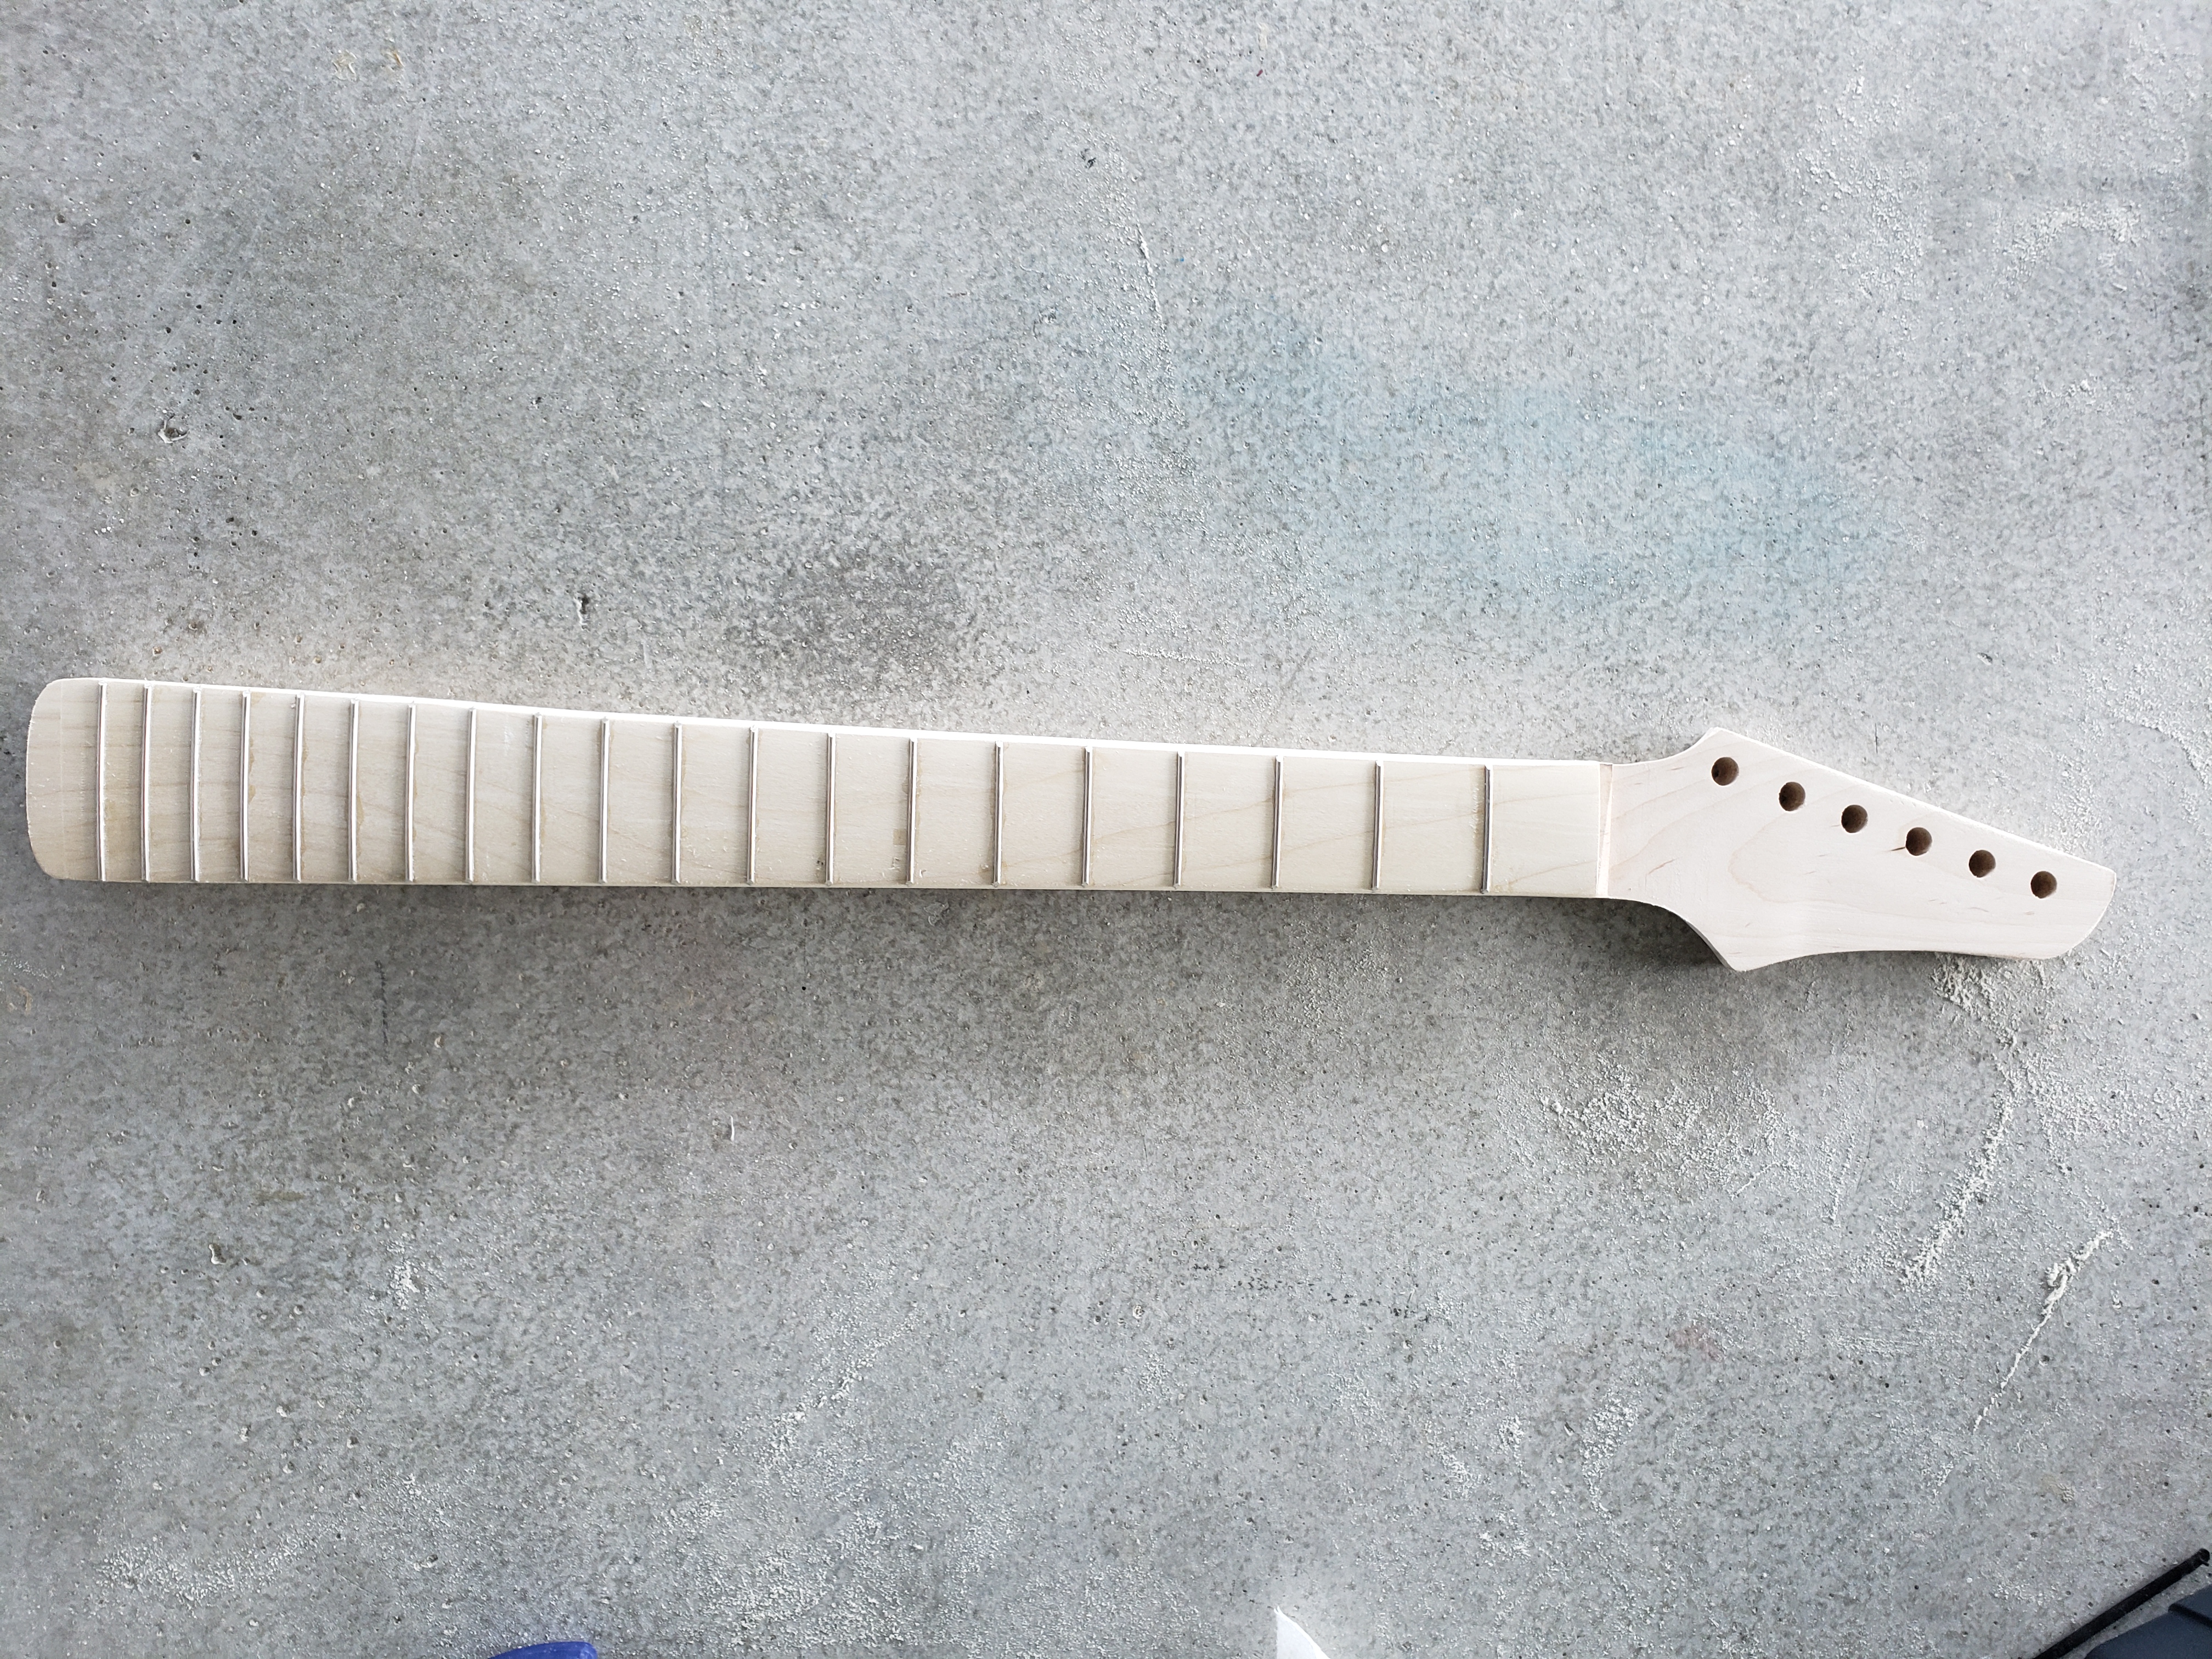
The most critical part of a guitar is the fretboard. To make sure every fret is exactly where it belongs, I created yet another jig. I don’t remember exactly where I first saw this jig online, but there are many sites, books and videos showing how to make this. The jig is basically a very precise miter box.
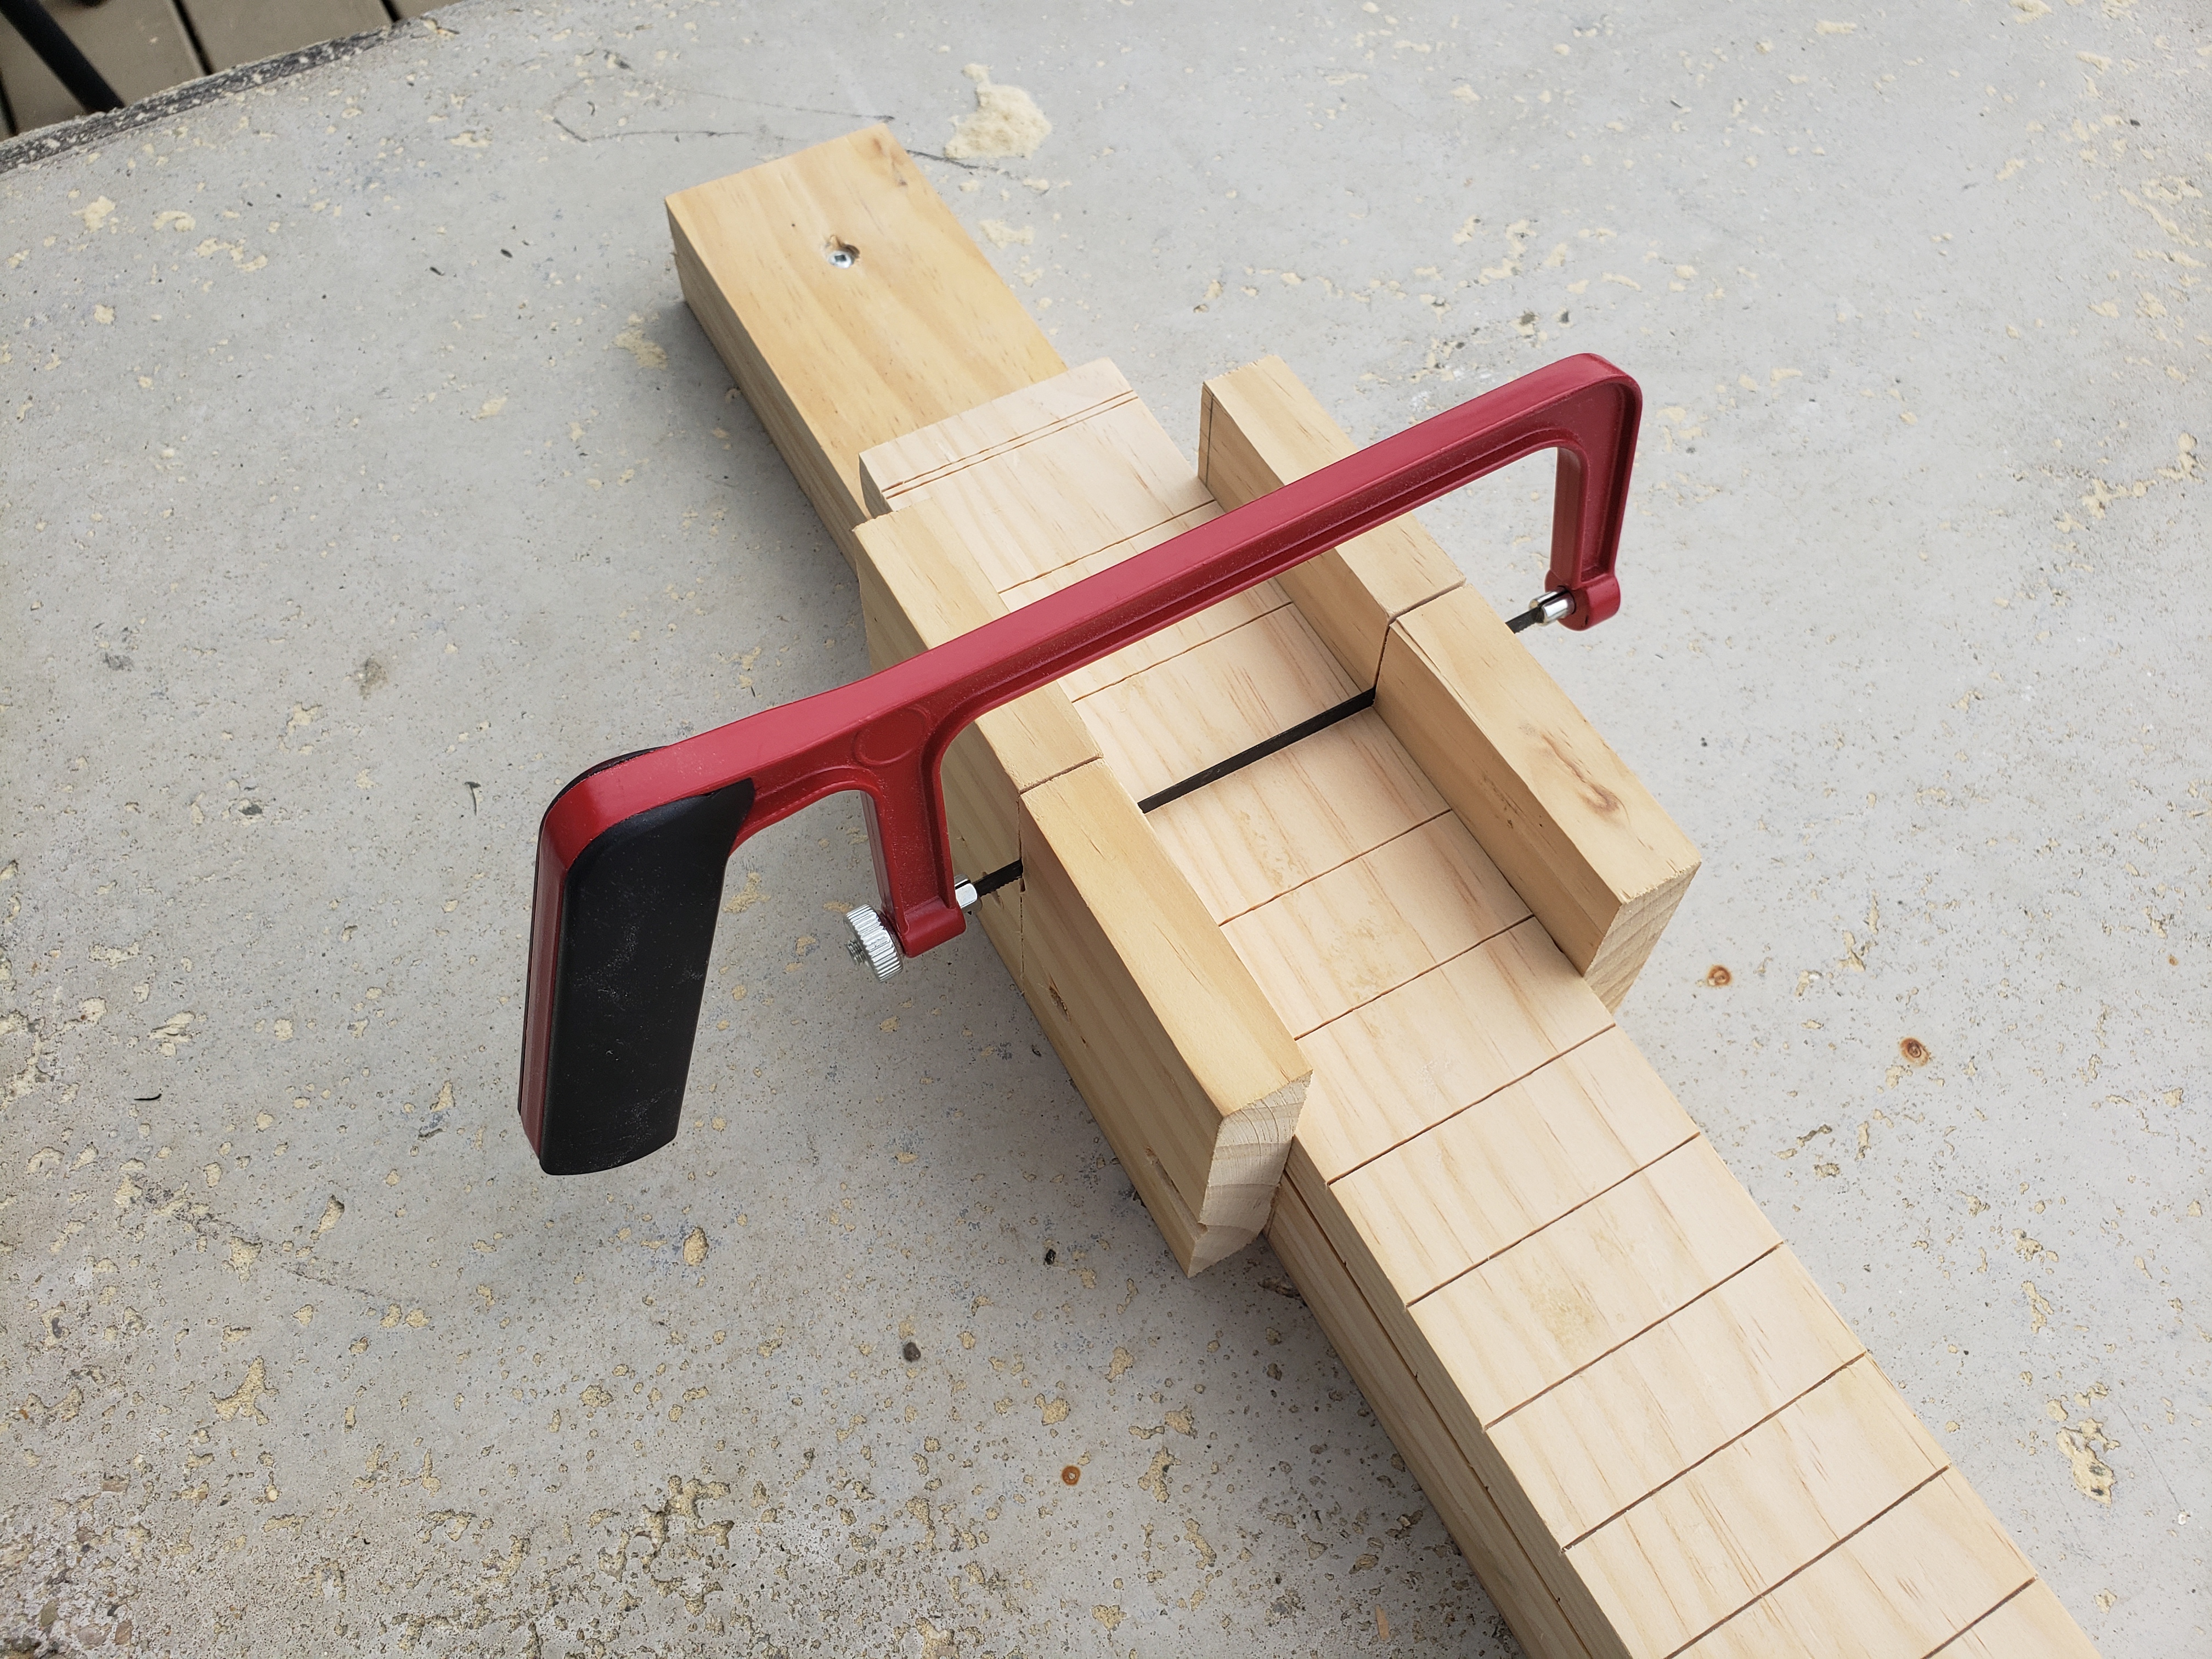
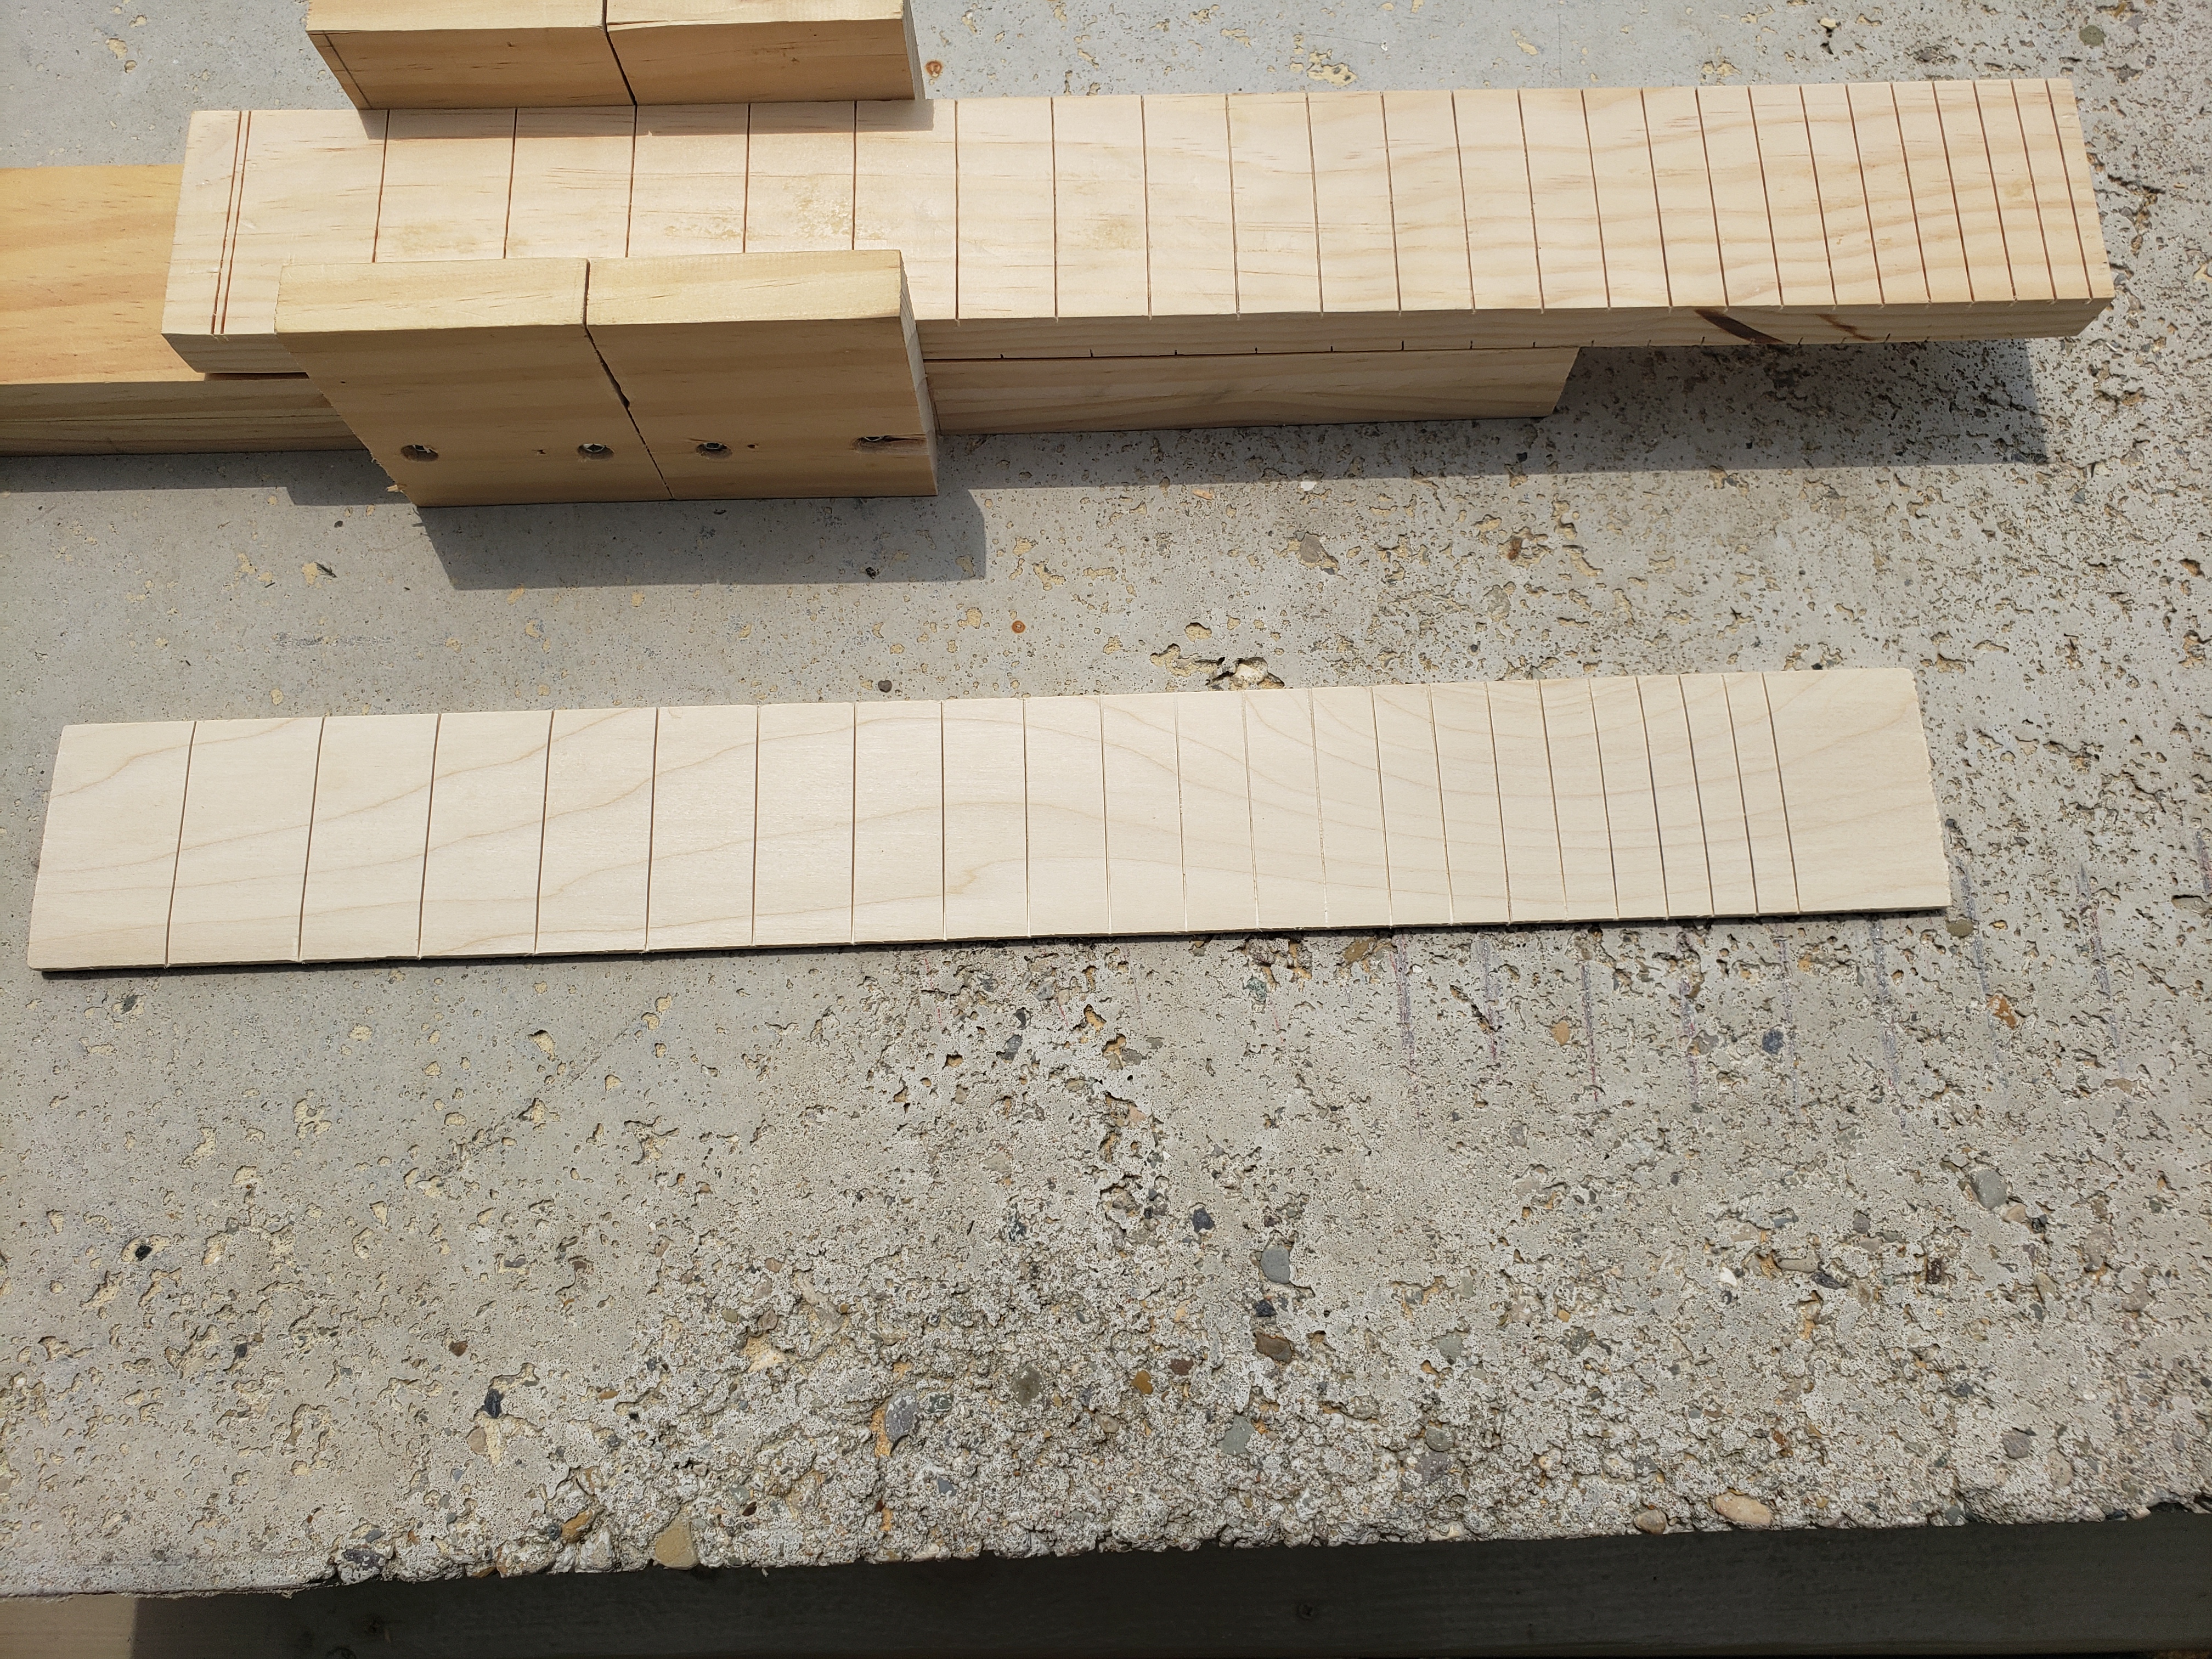
A lot of people prefer to use expensive fret saws but I don’t have that kind of money to through around on something I’ll only use a couple times a year, so I went with a cheap plastic saw that cost me $8. It seems to cut perfectly straight and the replacement blades are extremely cheap.
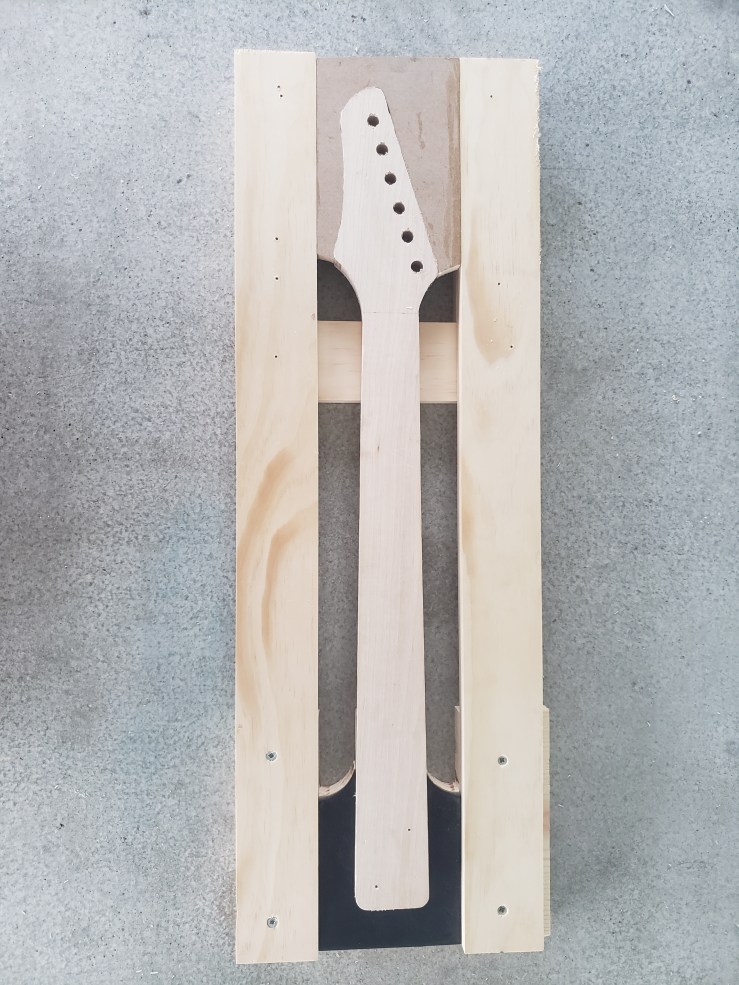
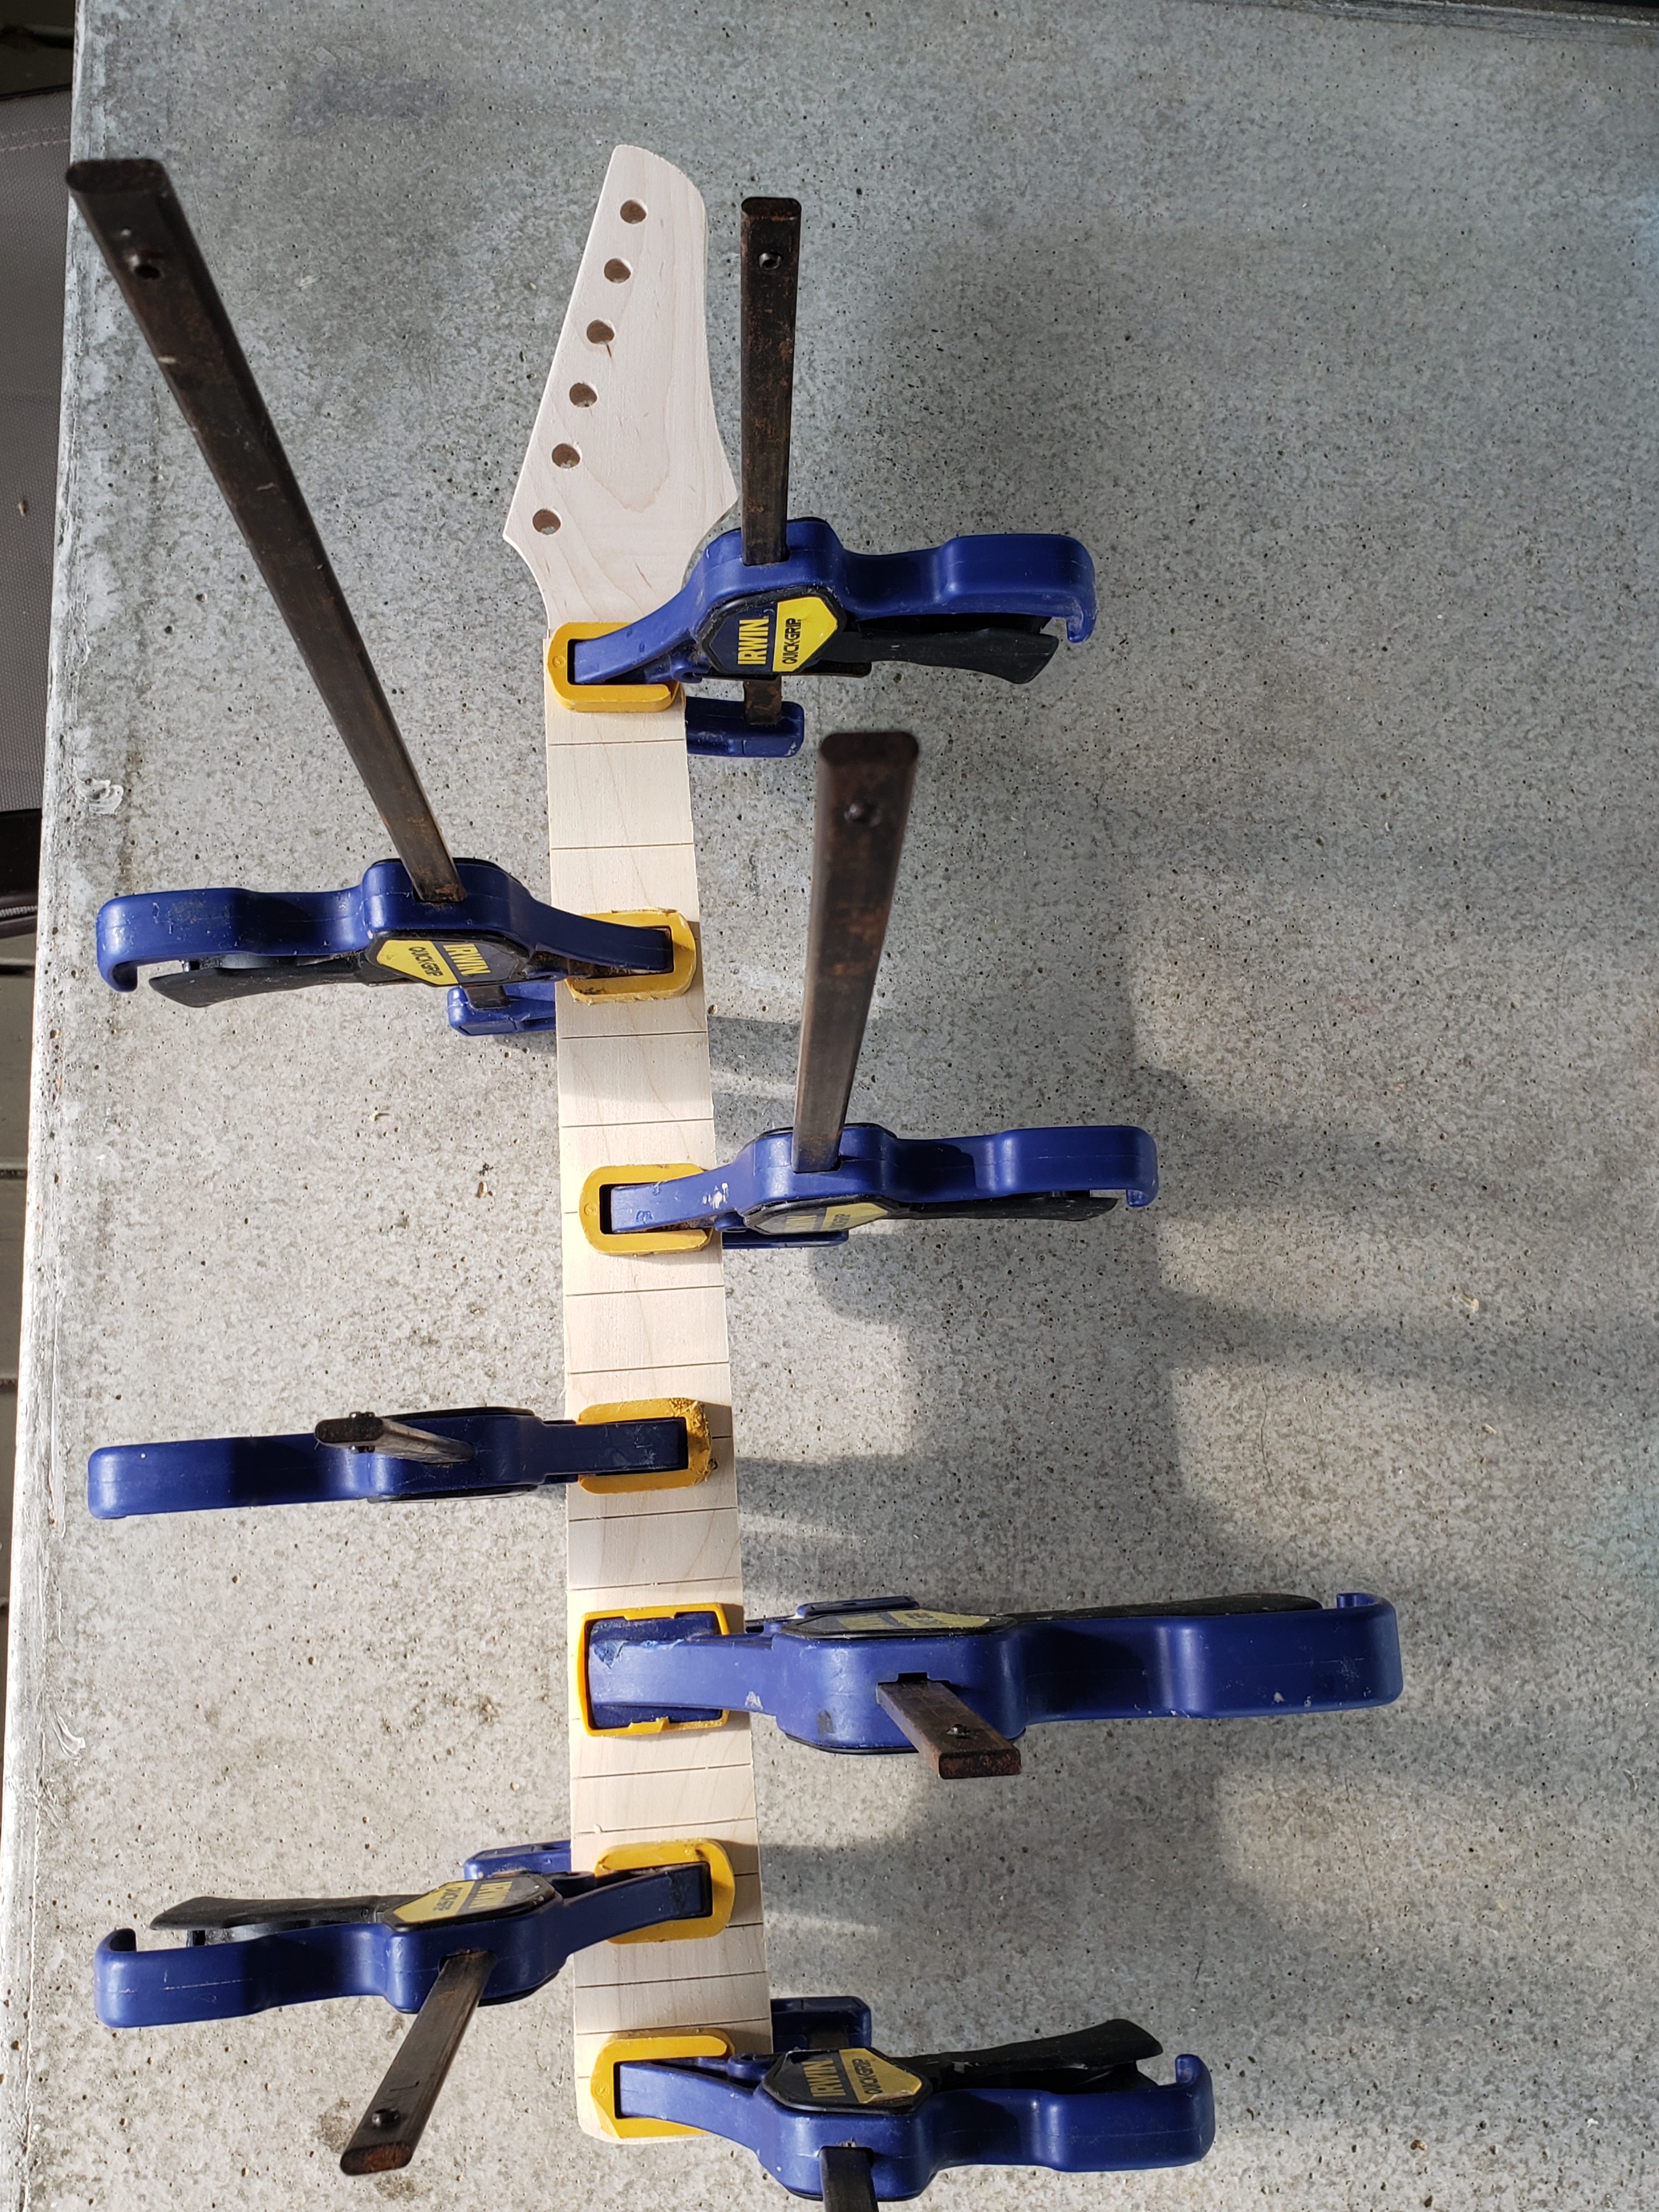
With the fretboard slotted, I used the same neck template to cut and rout the fretboard to match the neck, then glued the two pieces together, once again using way too many clamps.

With the fretboard attached, I did a little more sanding and one more test fit.

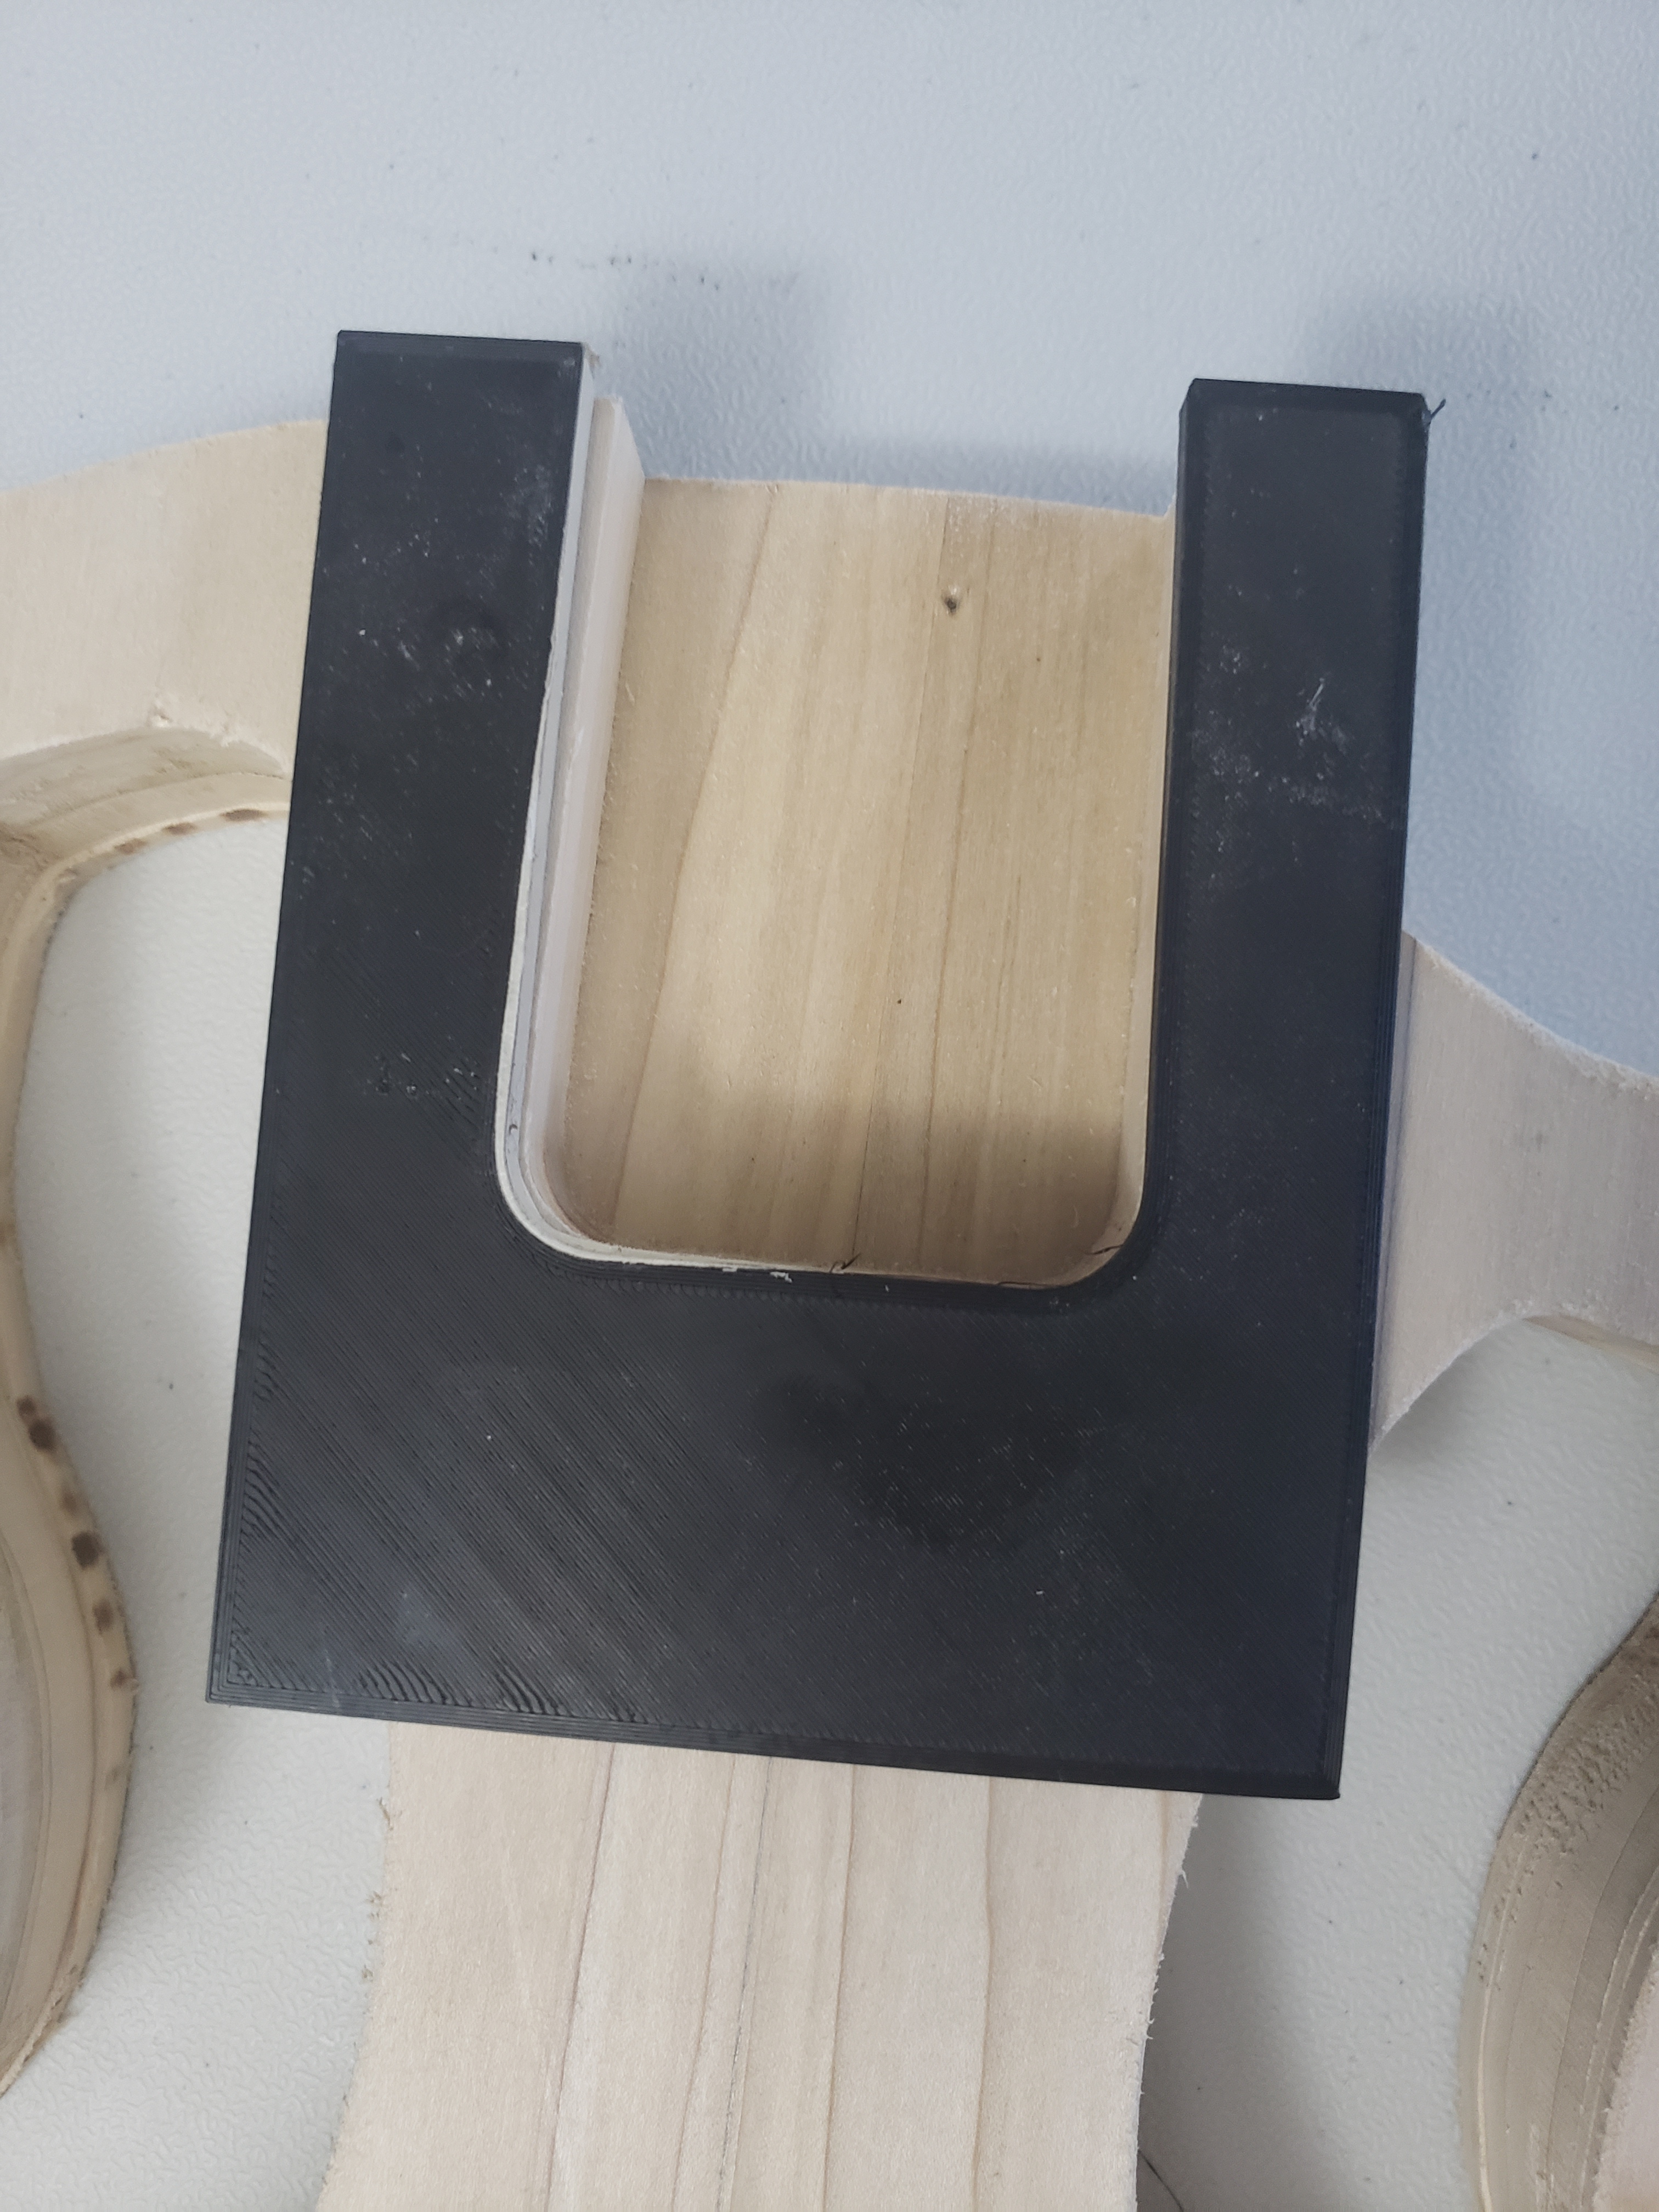
To finish assembling the neck, I just needed to radius the fretboard and install the frets. To radius the fretboard, I 3D printed a sanding block with a 9.5″ radius and attached the sandpaper with doublesided tape. Eventually I’ll probably add some Velcro instead of the tape, but for now the tape worked.

Unfortunately I don’t have one of the fancy (and expensive) fretpresses, so I decided to make my own using a $5 clamp from menards and 3D printing the other pieces I need. I tried just using a hammer to install a couple of the frets, and it worked fine, but I definitely felt like I had more control with the clamp.


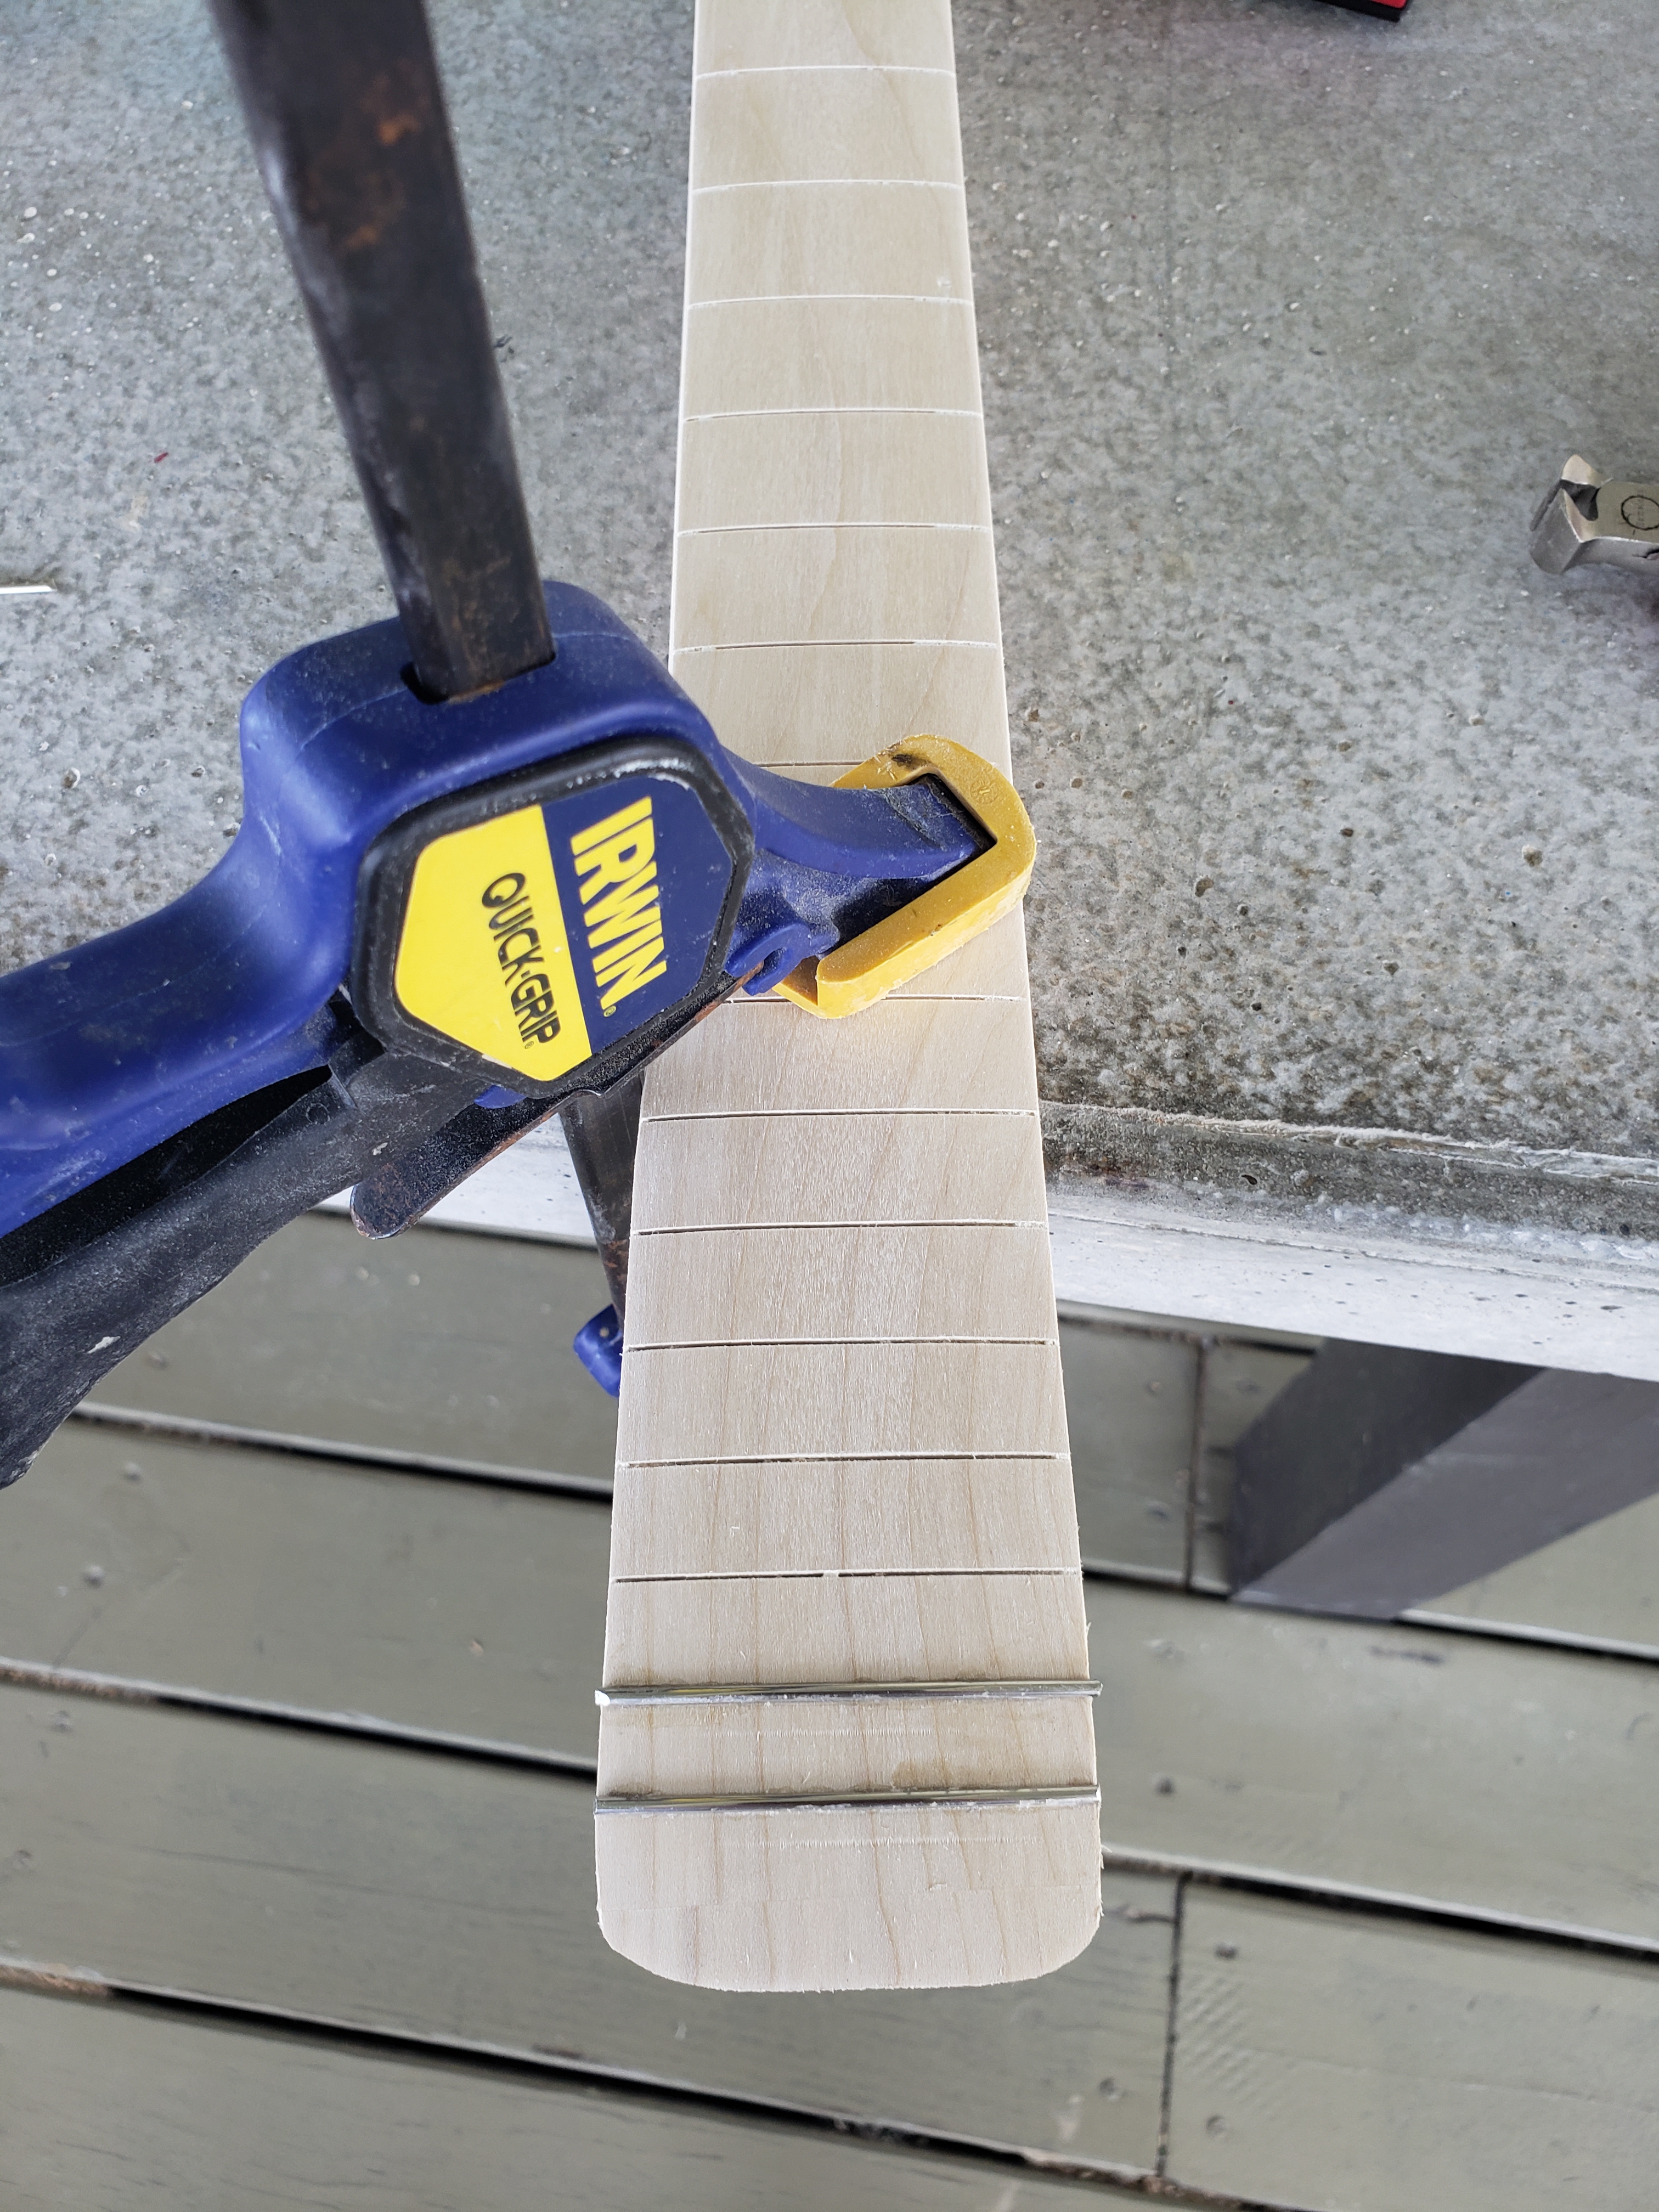

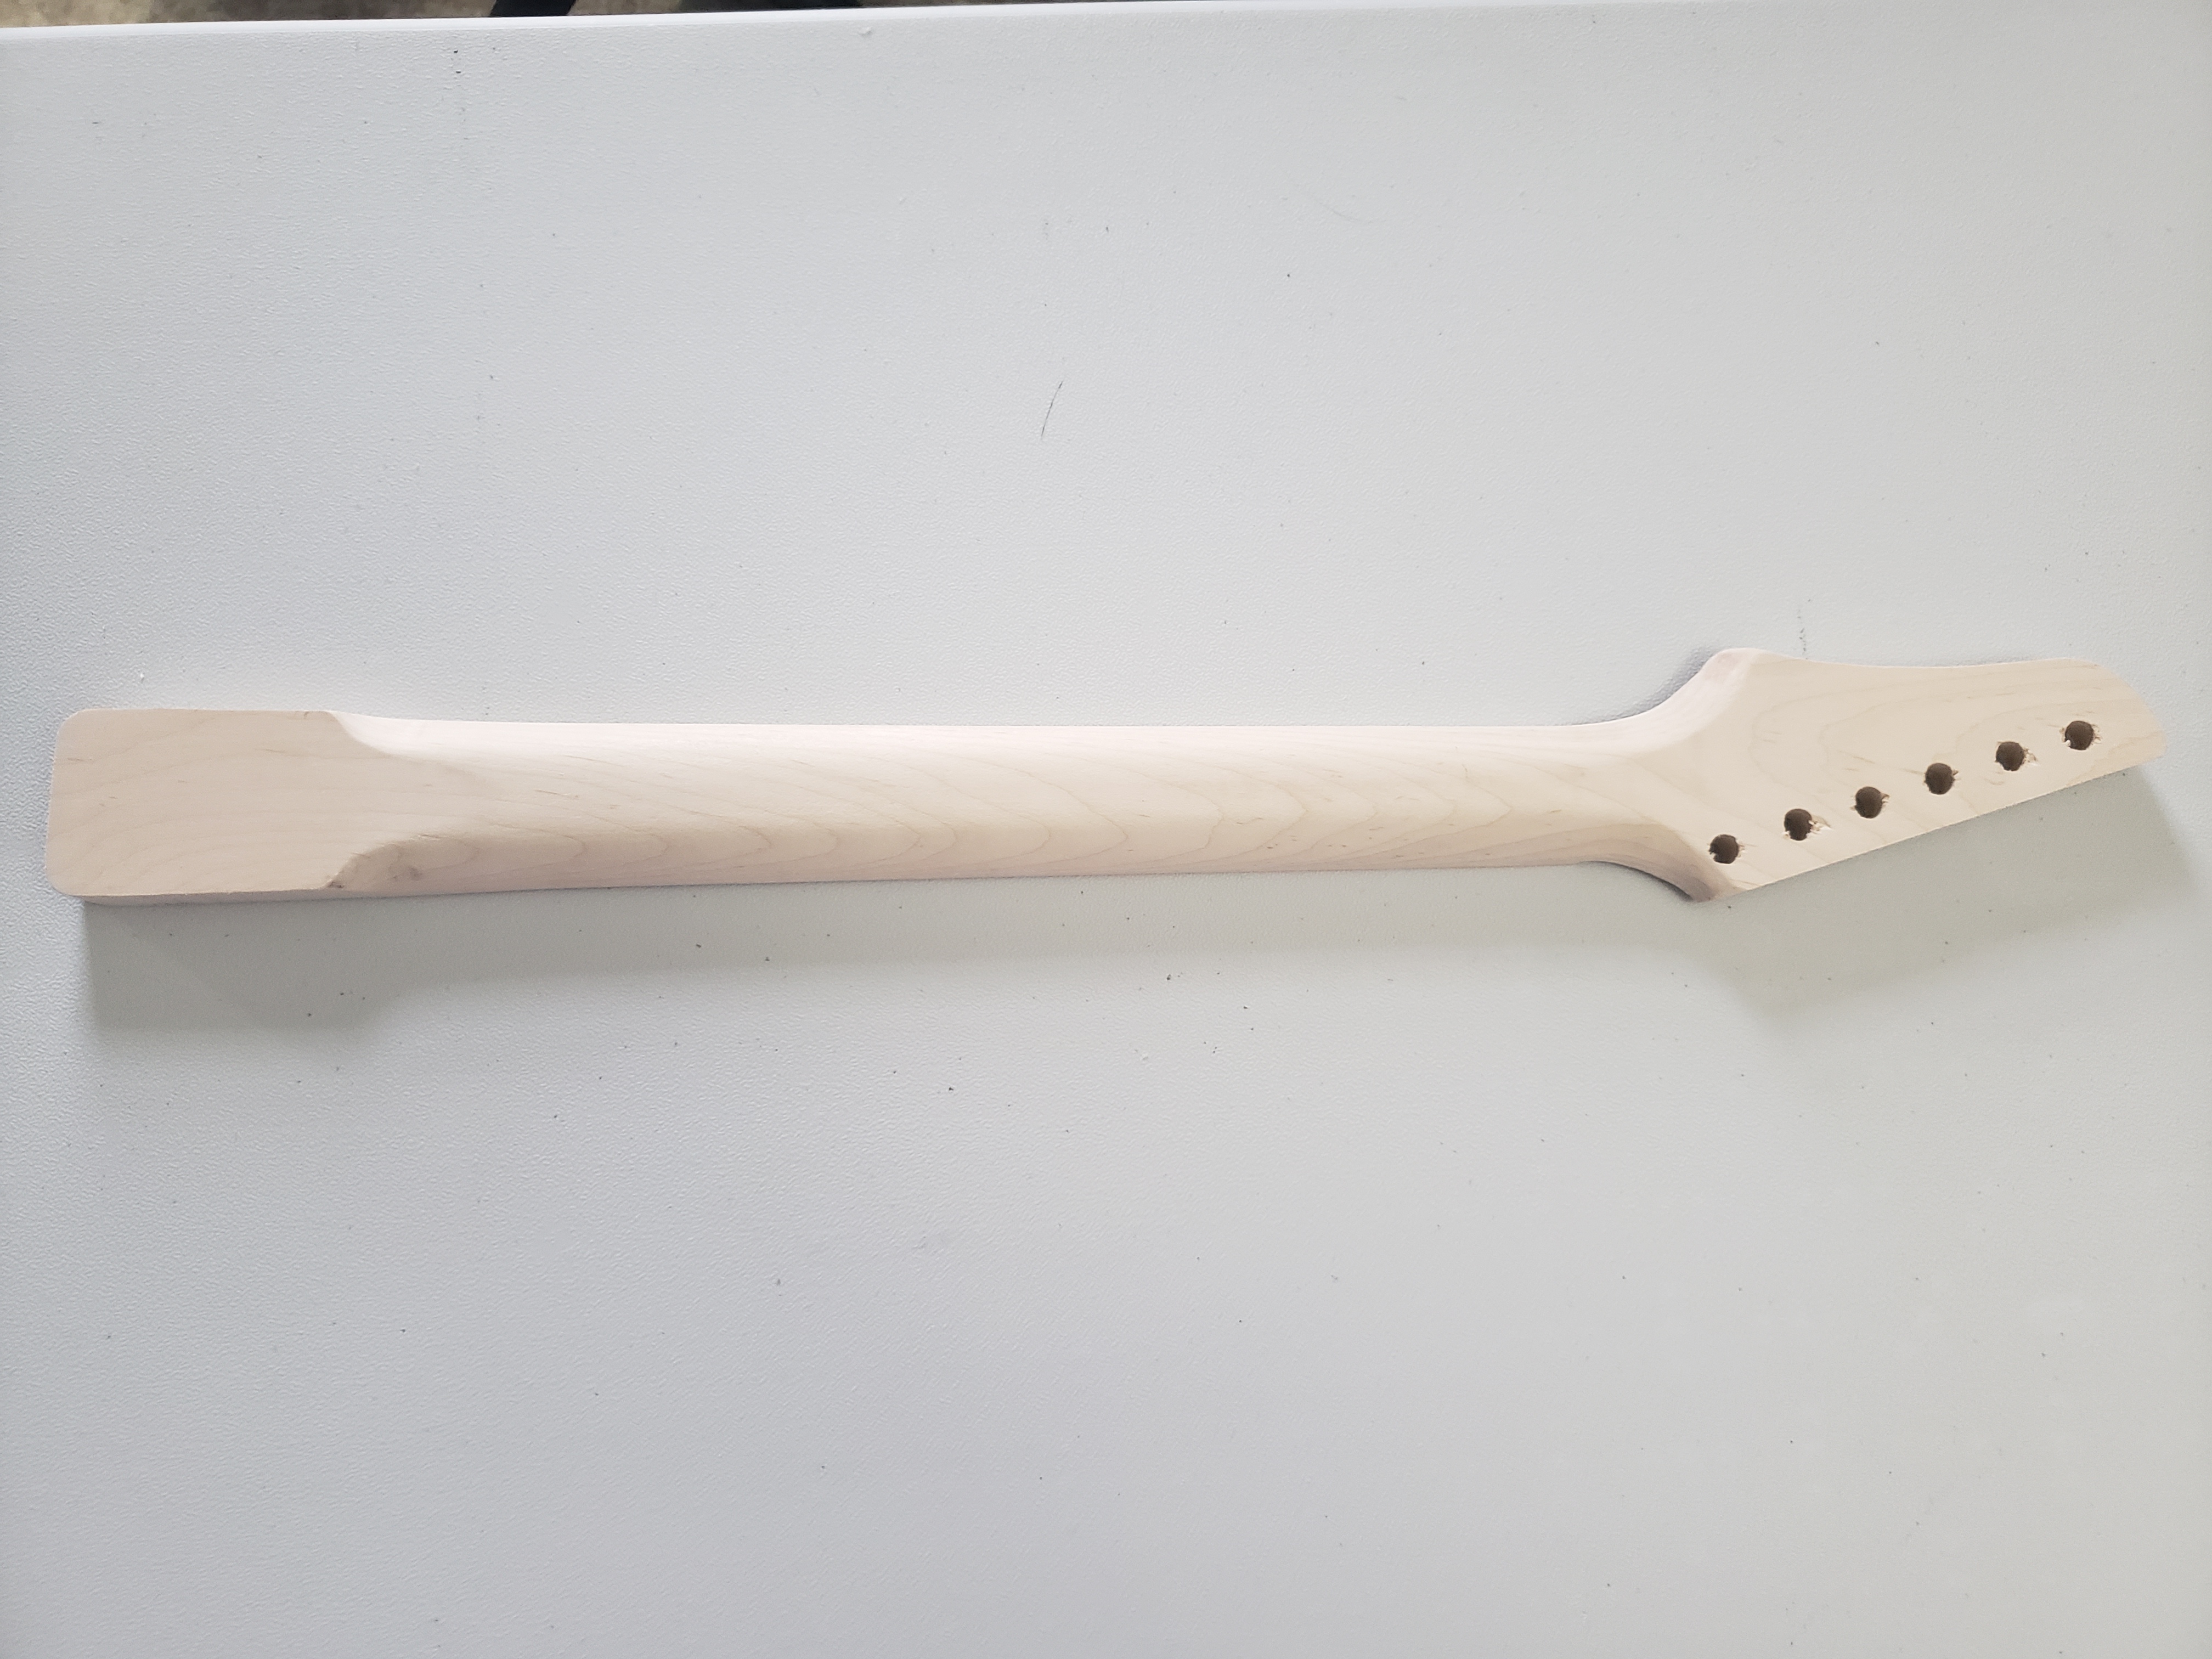
My process for inserting the frets was pretty simple; I would lay the fret wire on the slot and cut it, leaving a little overhang on both ends. I would then remove the wire, add some superglue to the slot, position the wire by hand, then use the clamp the press it into final position. I then had to repeat the process 20 more times. It was tedious, but it wasn’t awful. I then trimmed the ends of the wire and ran both sides of the neck across a belt sander to quickly remove any burrs. I still have to level and polish the frets and finish sand the rest of the neck, but for all practical purposes, the neck is ready to play, minus the nut. For this neck I’m using a bone nut and will install it last, when I’m ready to do the final guitar setup.