
In messaging with a customer, I realized that I have not posted a full 3-string build, so now is the time. I’m starting with the RG-10, solid body design and then I’ll walk through the RG-9 acoustic/electric body style, but they both start with the same neck/head:
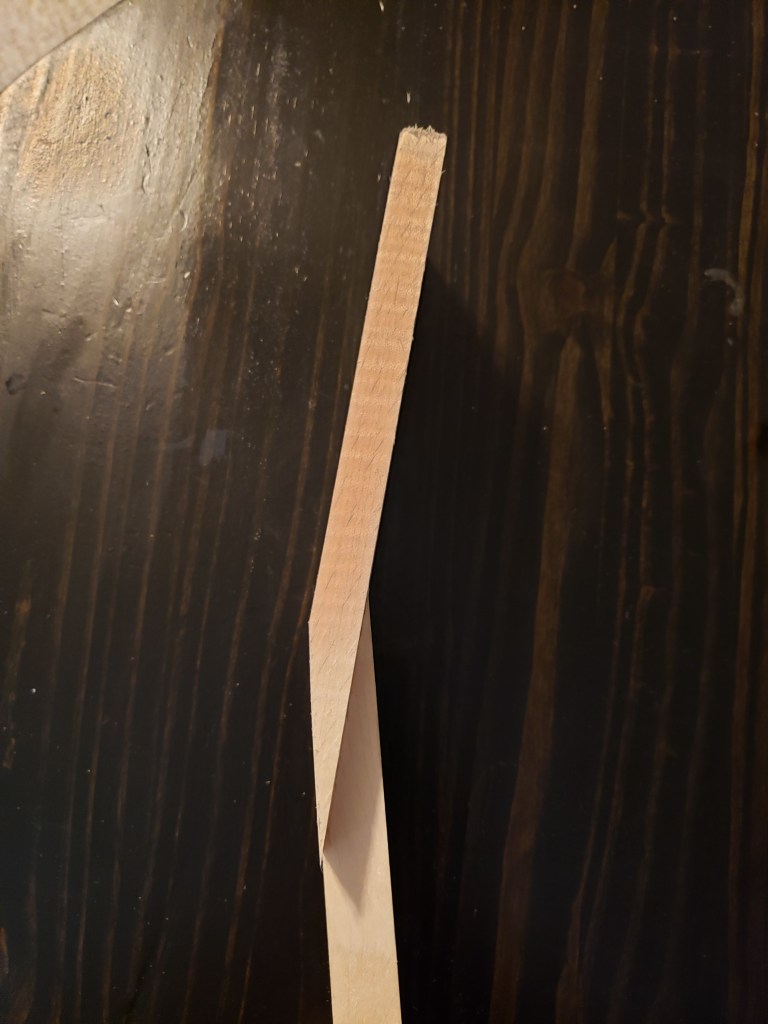
To build the neck, with a 15 degree scarf joint, I use a compound miter saw and a simple angled jig:

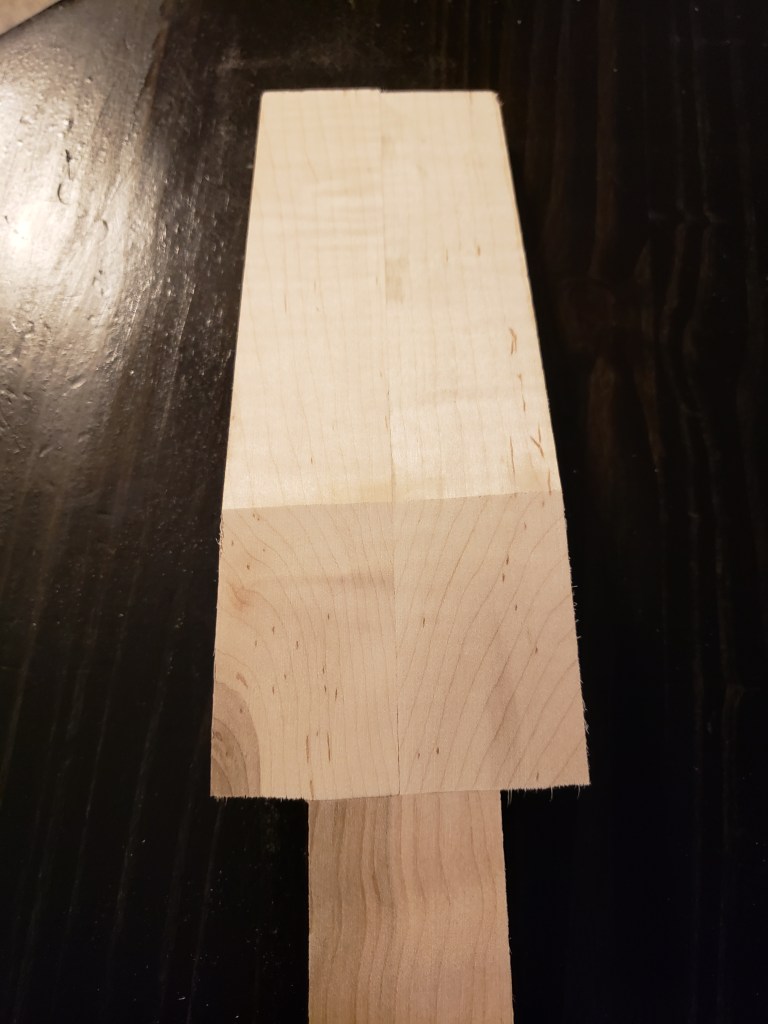
Using this jig, I cut two two smaller (~8″) pieces 1″x2″ maple that have been thinned down to 0.60″ thick. These will be glued together to make the head. I also use this jig to cut a 15 degree angle on the end of the neck. I tend to work on multiple guitars at once, hence the 4 pieces:


This process can be sped up a little, but starting with a single piece of 1″x4″ but I tend to have more 1″x2″ laying around.
Once the head pieces are glued up, I then sand and place them until they are perfectly smooth. Then I glue them to the neck
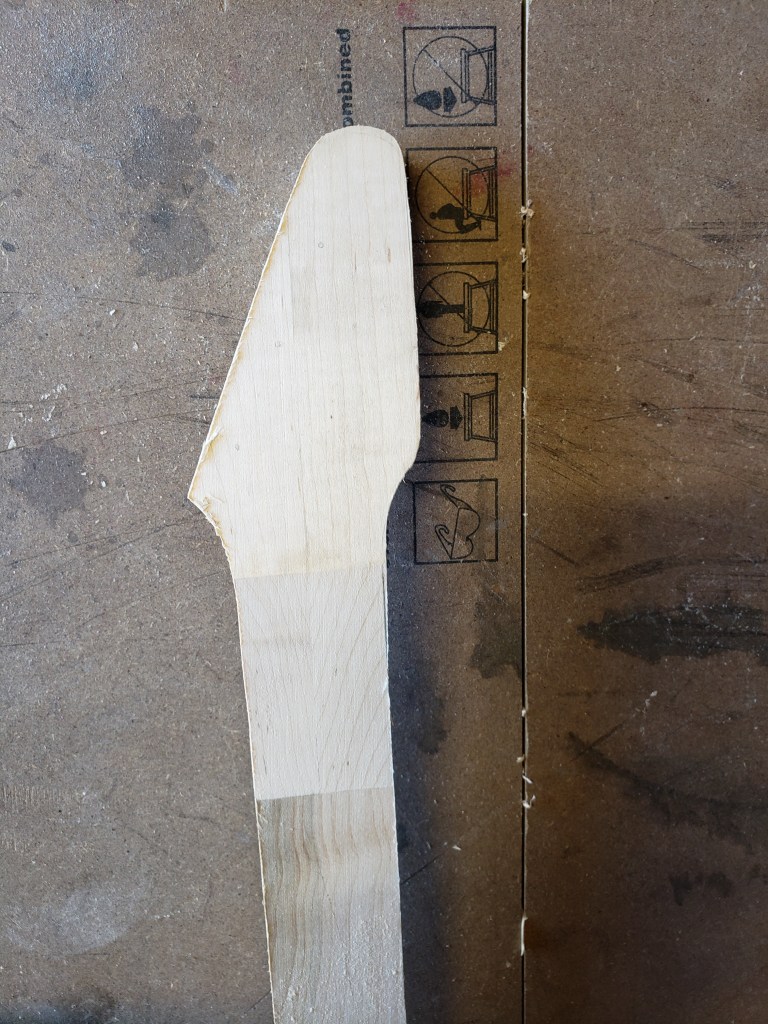
The neck and head joint usually requires just a little more sanding/planing before the piece is ready fot the head shape to be cut.
I usually draw the head shape on, using my template, then start with the band saw to get the rough shape:

An oscillating drum sander helps dial in the final shape, before I drill the tuner holes:

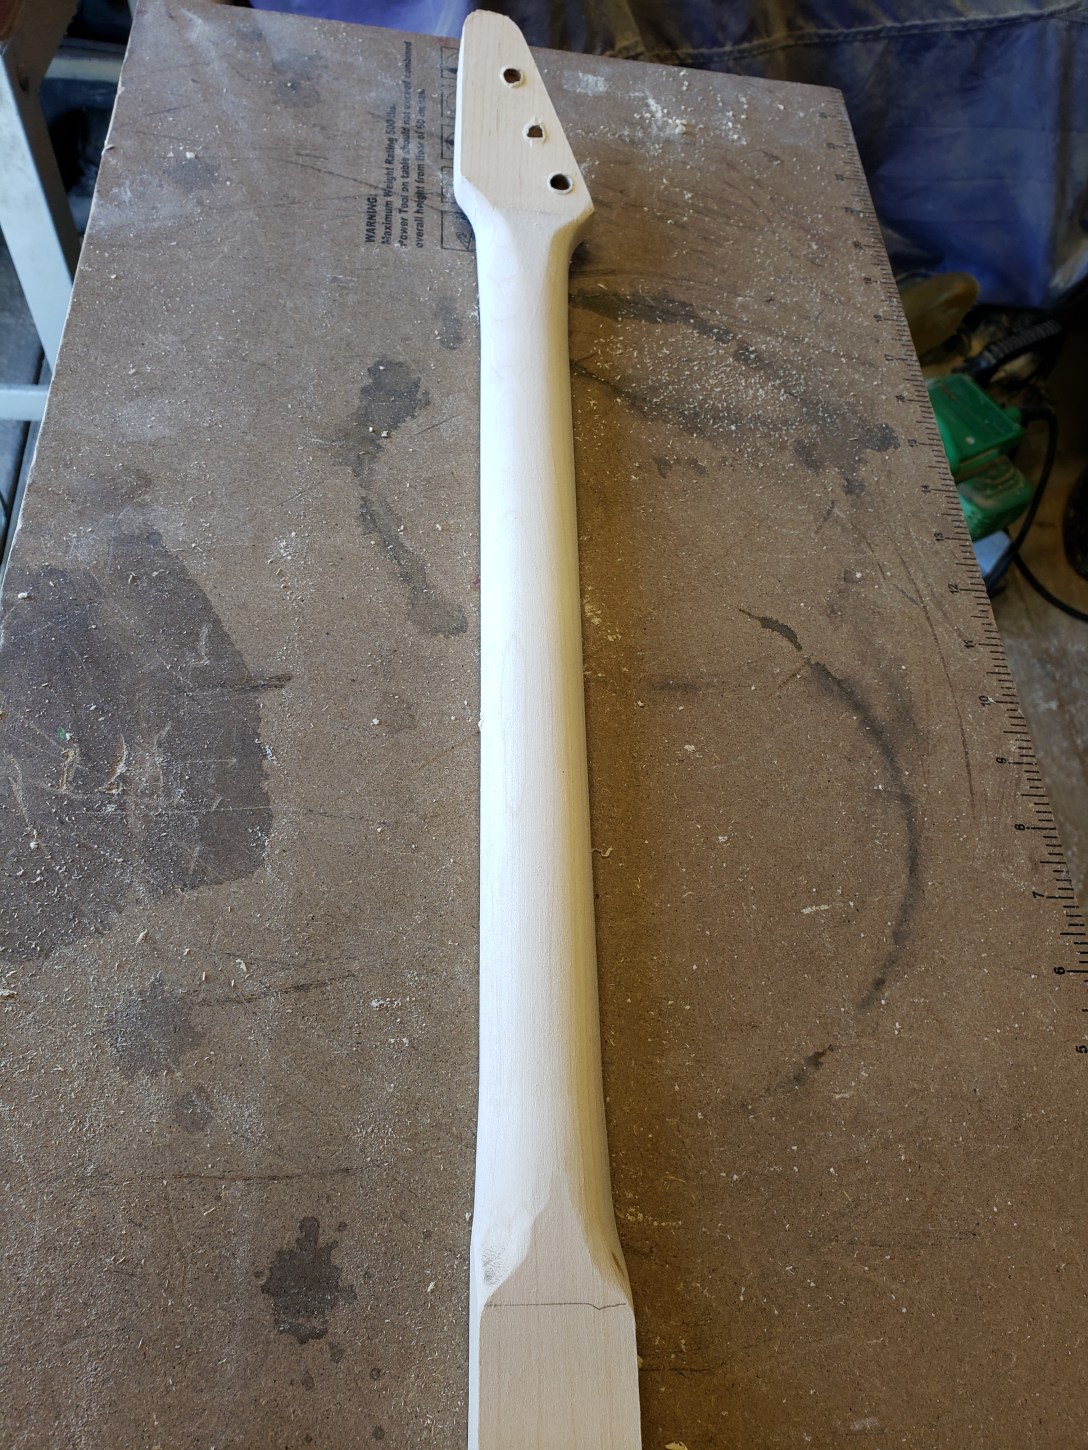
Once the holes are drilled, I start to shape the neck. A 45 degree router bit gets me a good shape to start with:

From there, I use rasps, files, a belt sanded and a mouse sander to get the shape I want:

I don’t spend too much time on getting it perfect just yet, because there will still be a lot more work to do once we add the body.
This is the basic neck I use for both the RG9 and RG10 guitars. From here the processes take drastically different paths.
