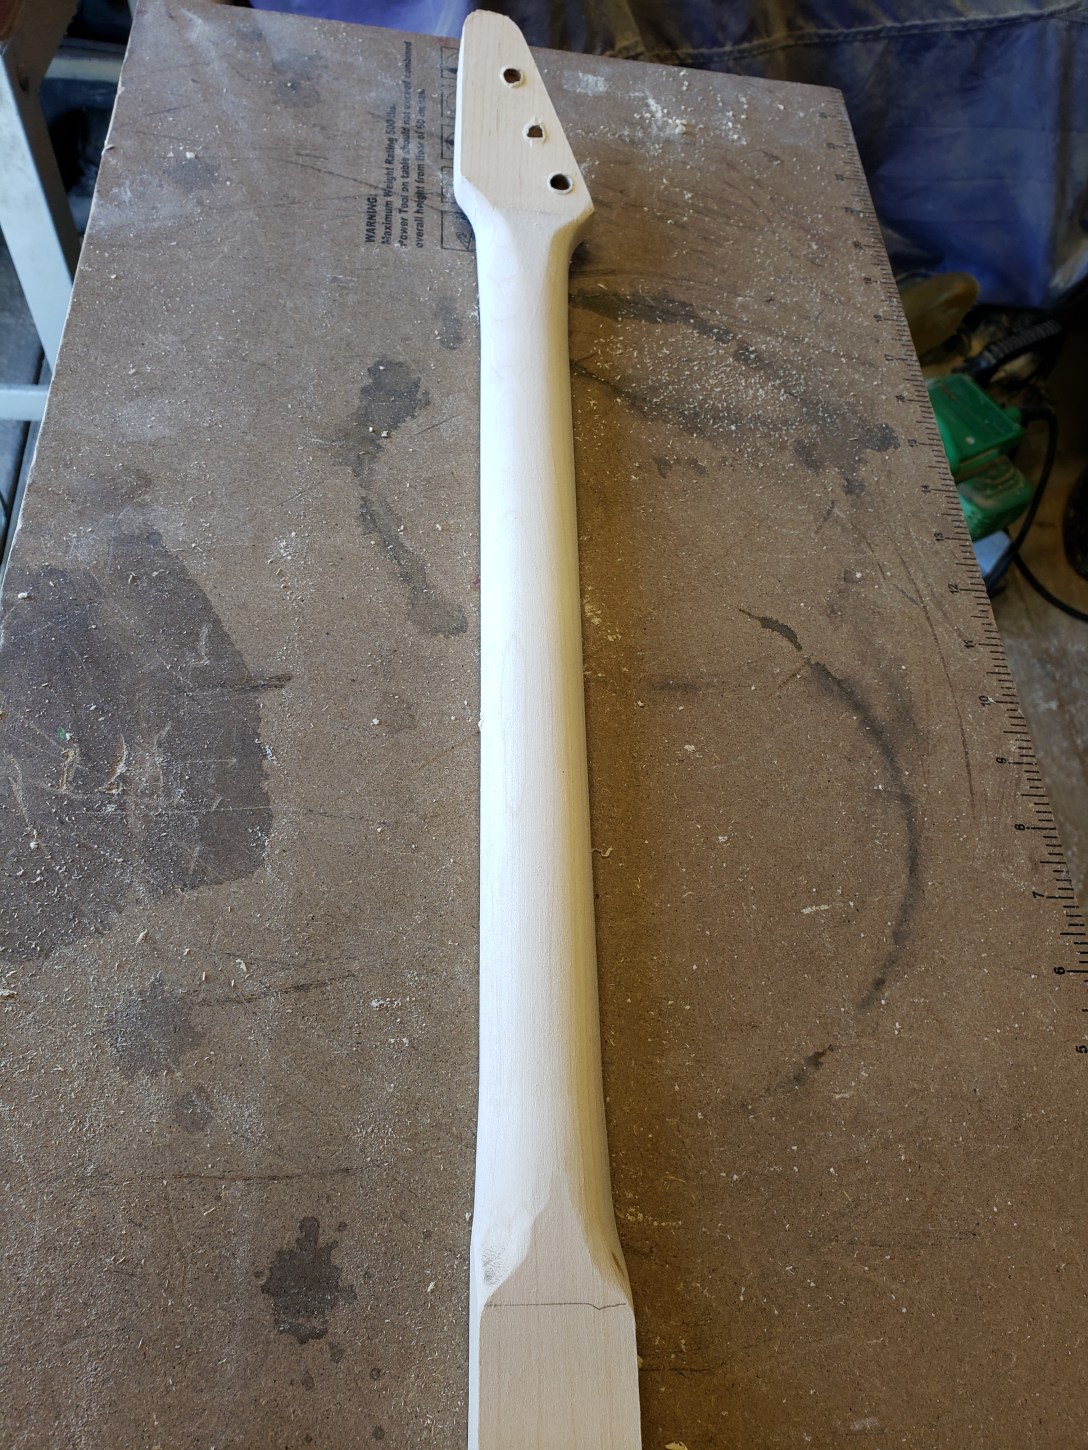
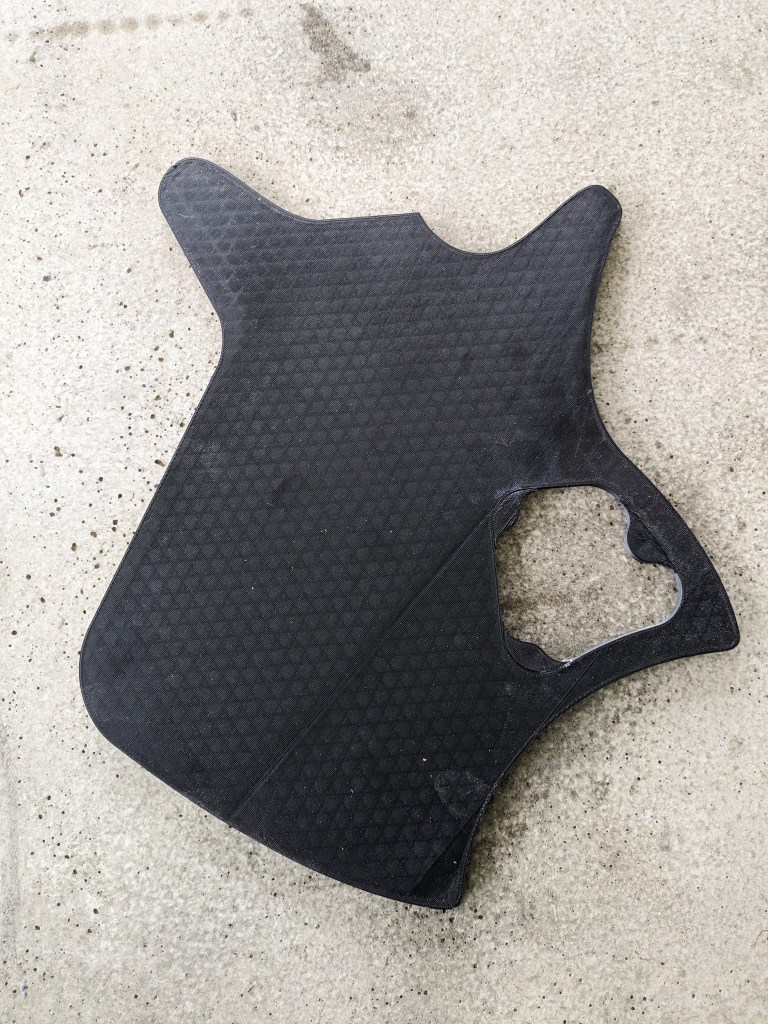
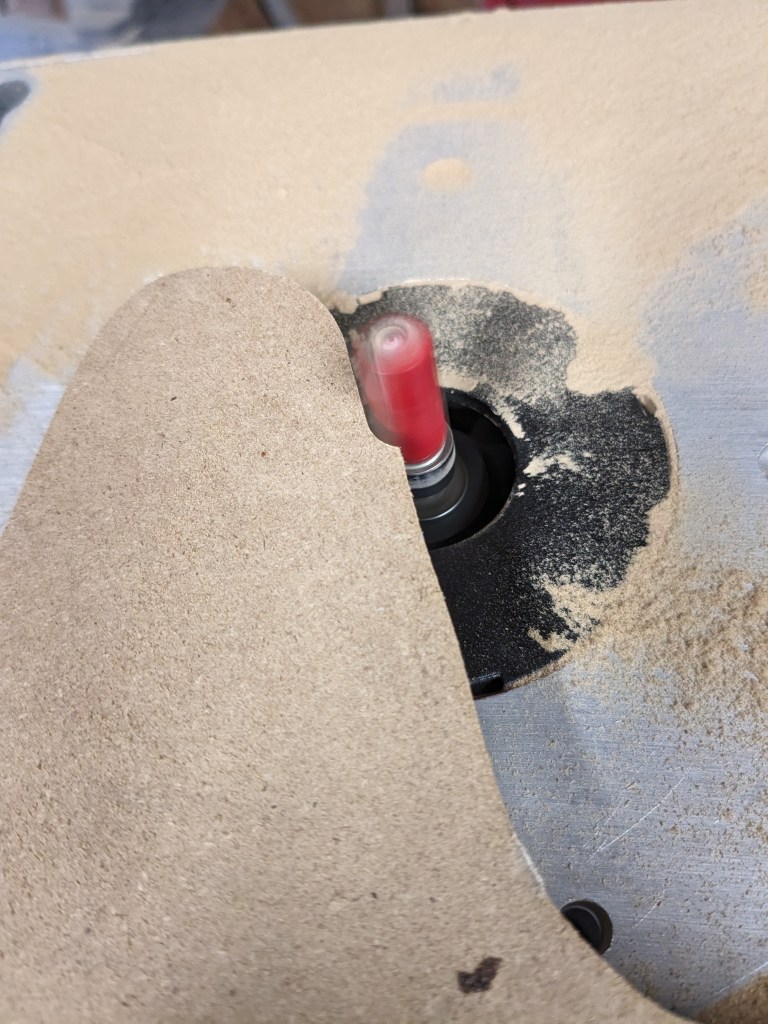
Once I had my design modeled in Fusion 360, I modeled the routing jigs I would need, and started 3D printing them. This included the body templet with the control cavity cutout and the control cavity cover routing templet. These are printed 1/4″ thick, then I use double sided “carpet” tape to adhere them to 1/2″ MDF and route to make a template that is 3/4″ thick. I do this because the 3D printed template is susceptible to heat. Routing the mdf doesn’t produce a lot of heat, but trying to rout 3/4″ or 1.5″ poplar does, and can actually start to deform the 3D printed plastic.

While the templates were printing, I glued up the blanks for the body, which you can see in the second picture. I took a 1″x8″x6′ poplar board and cut it into four 18″ long pieces, then edge glue two pieces together for the top and two pieces together for the bottom. then I planed them . Unfortunately, I didn’t take any pictures of this process.
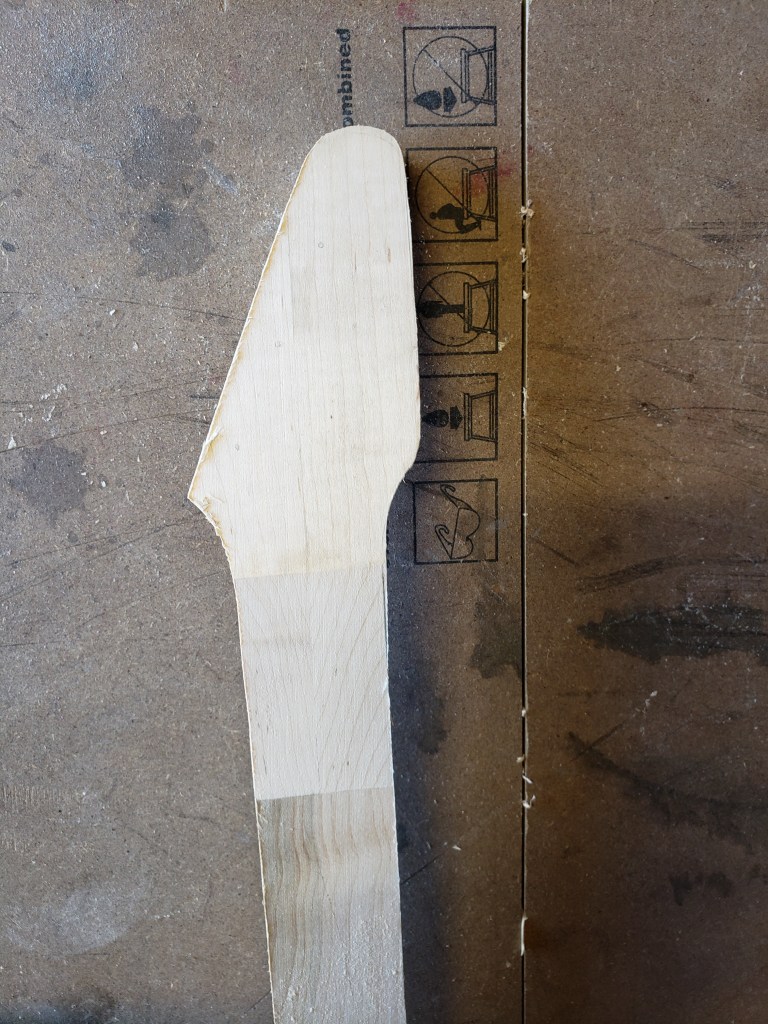
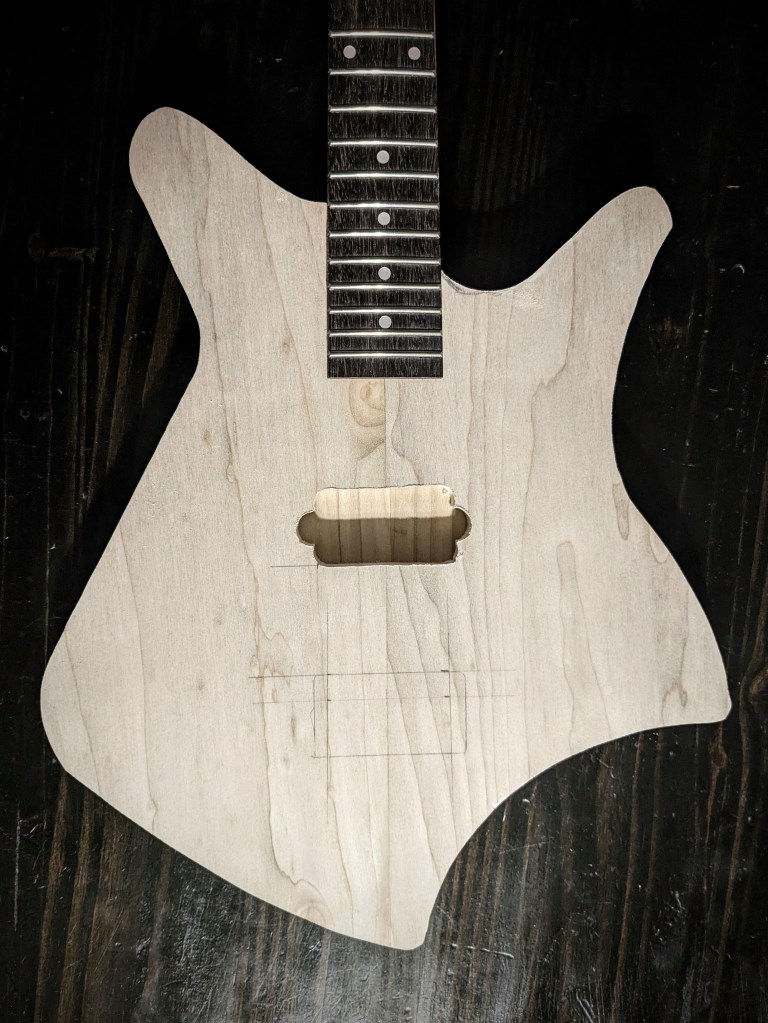
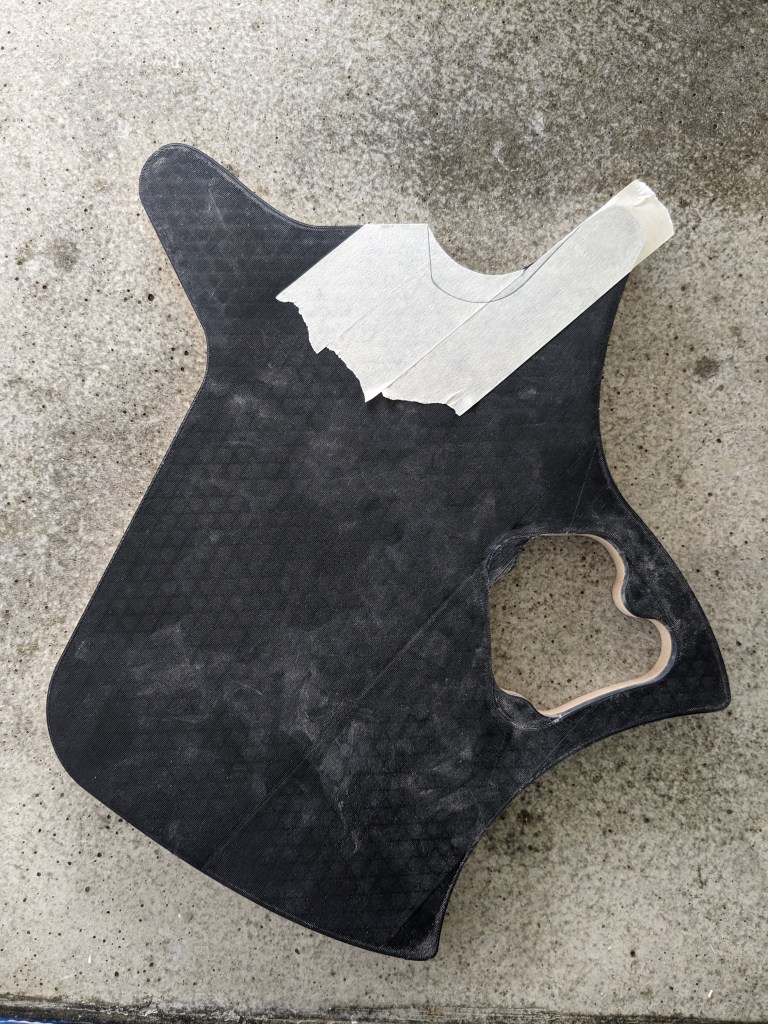
Once the blanks were ready, I traced out the template onto them and used a band saw to cut them almost to size. Then, routed exactly to size. At that point, I couldn’t resist a little mock up with the neck. This allowed me to layout the neck pocket, pickup cavity and bridge placements.


After mocking up the guitar, I realized that the cutout didn’t quite allow enough access to the lower part of the fretboard, so I freehanded a deeper cutout.
With the majority of the cutting and routing done, I glued up the top and bottom halves, using almost every clamp I own:

This is a part I definitely didn’t want to rush, so at this point all I could do was wait.