5 months. That’s how long it’s been since I’ve posted here, so I’m long overdue for an update. School has been kicking my butt but thankfully my accelerated class finished last week, so now I’m only taking two classes each week and they’re both done by 8:30 at night, usually sooner. It also means that my homework is pretty much cut in half too, so I’m finally going to have a little free time to work on other things, I think.
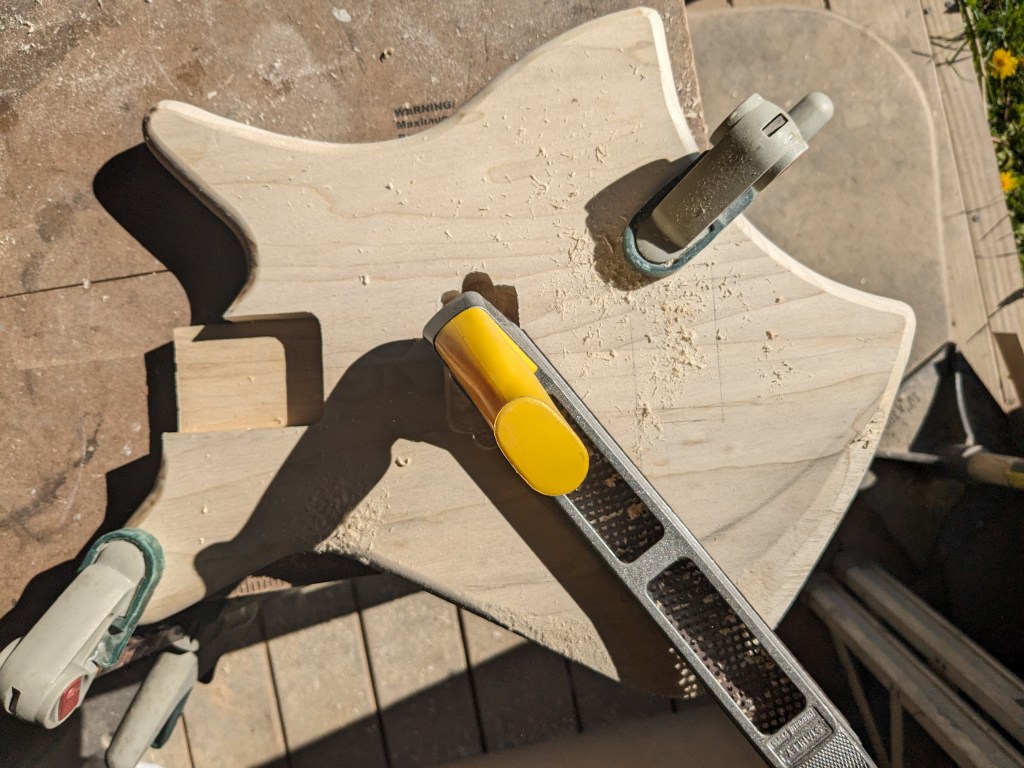
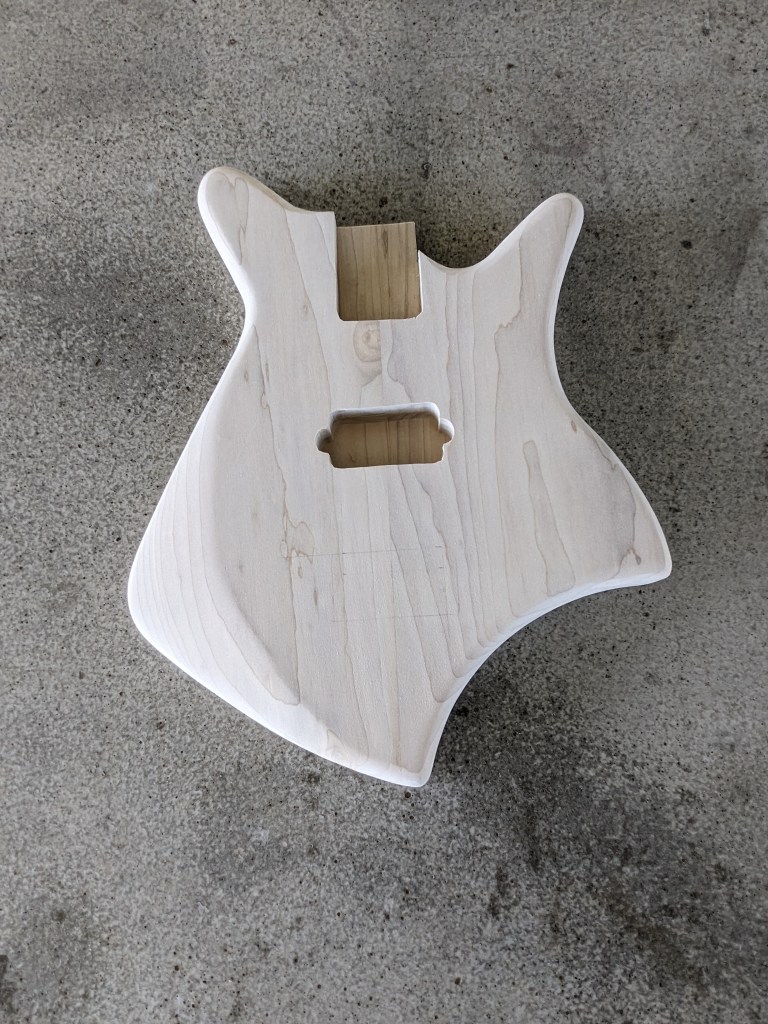
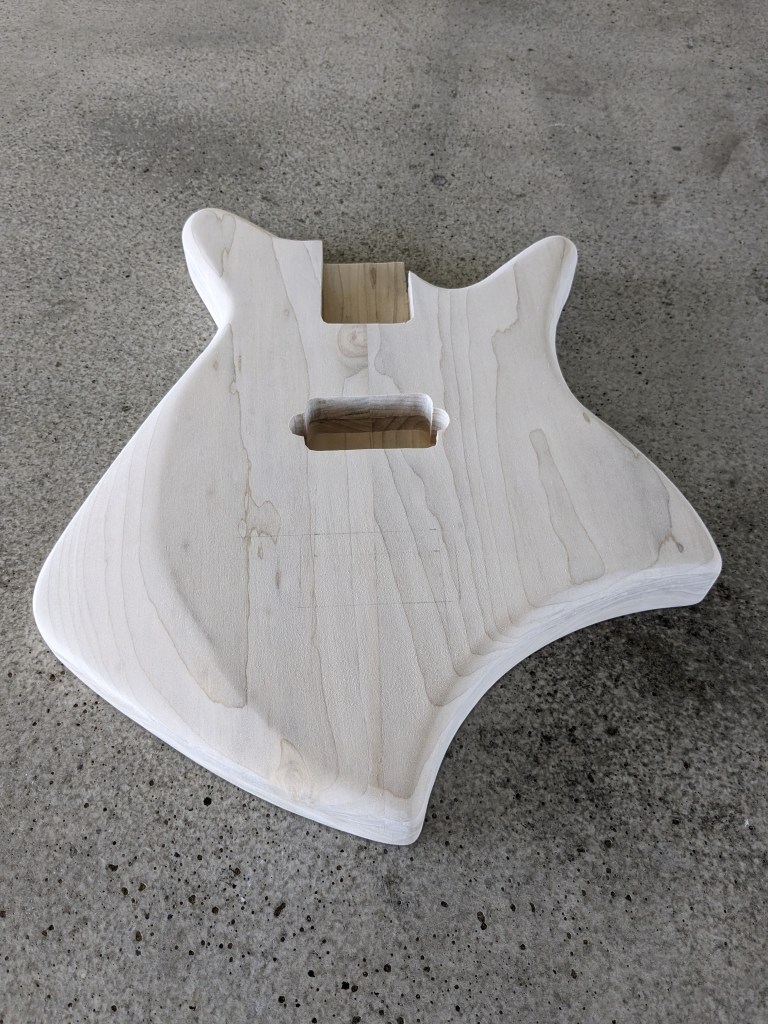
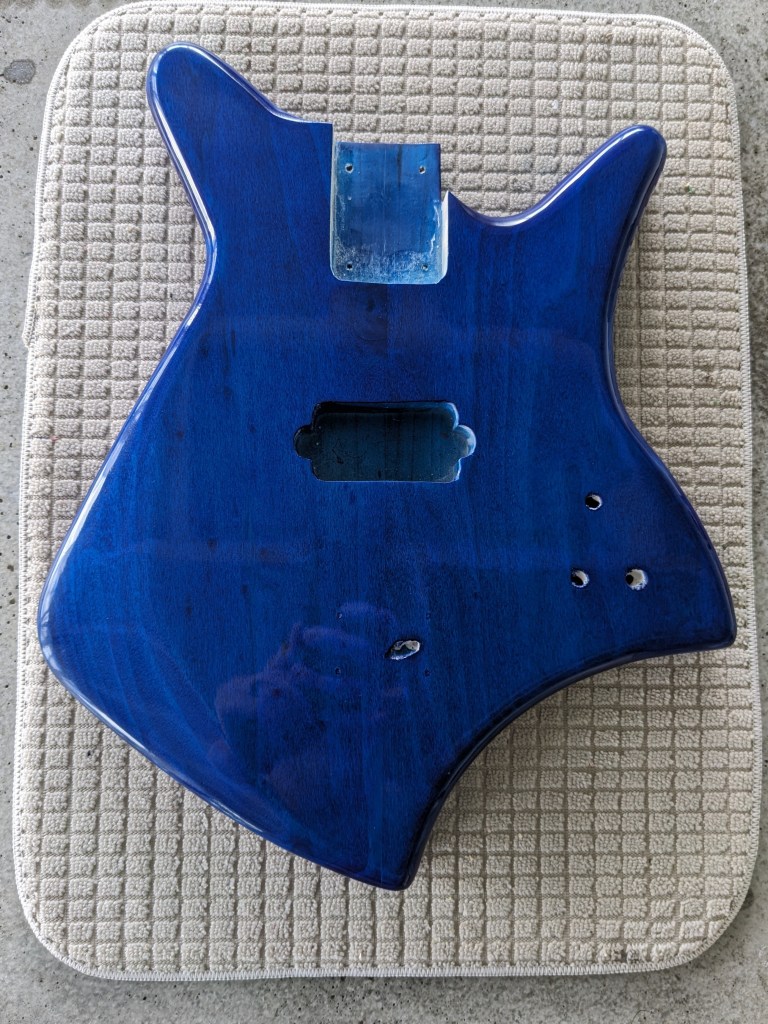
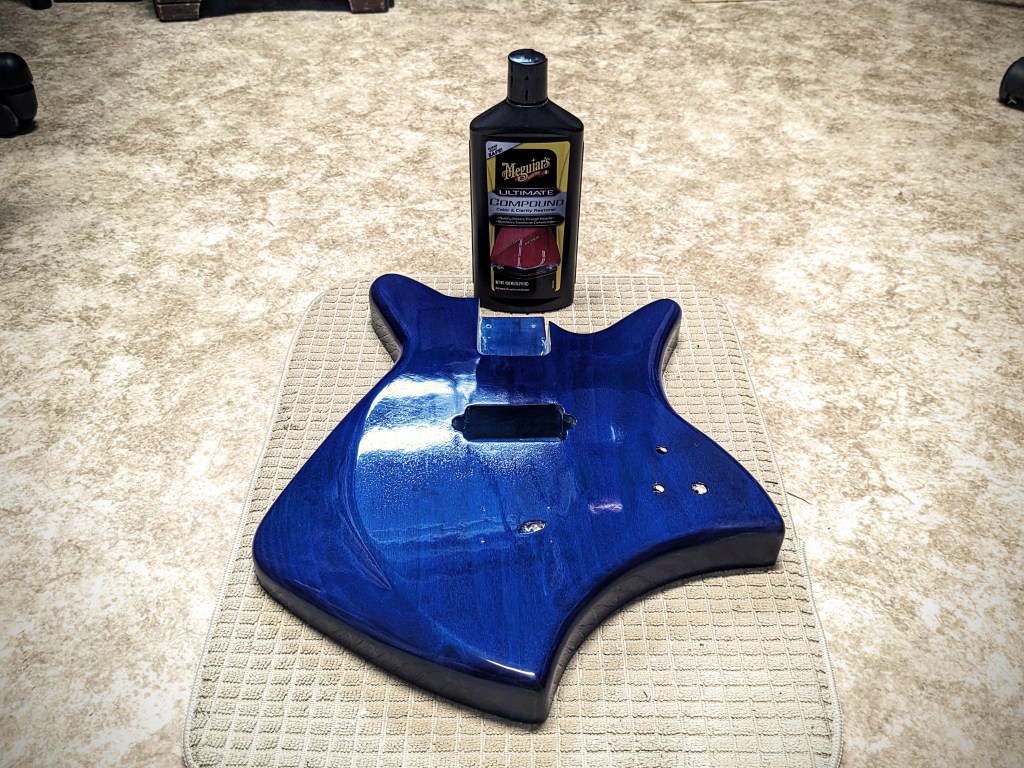
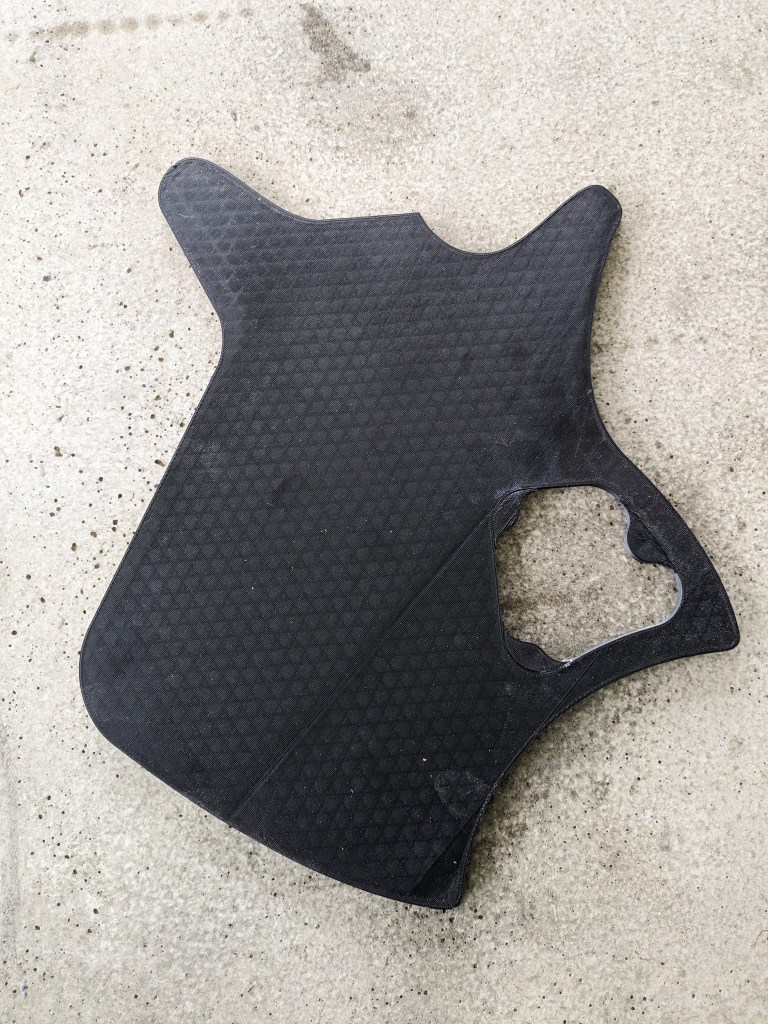
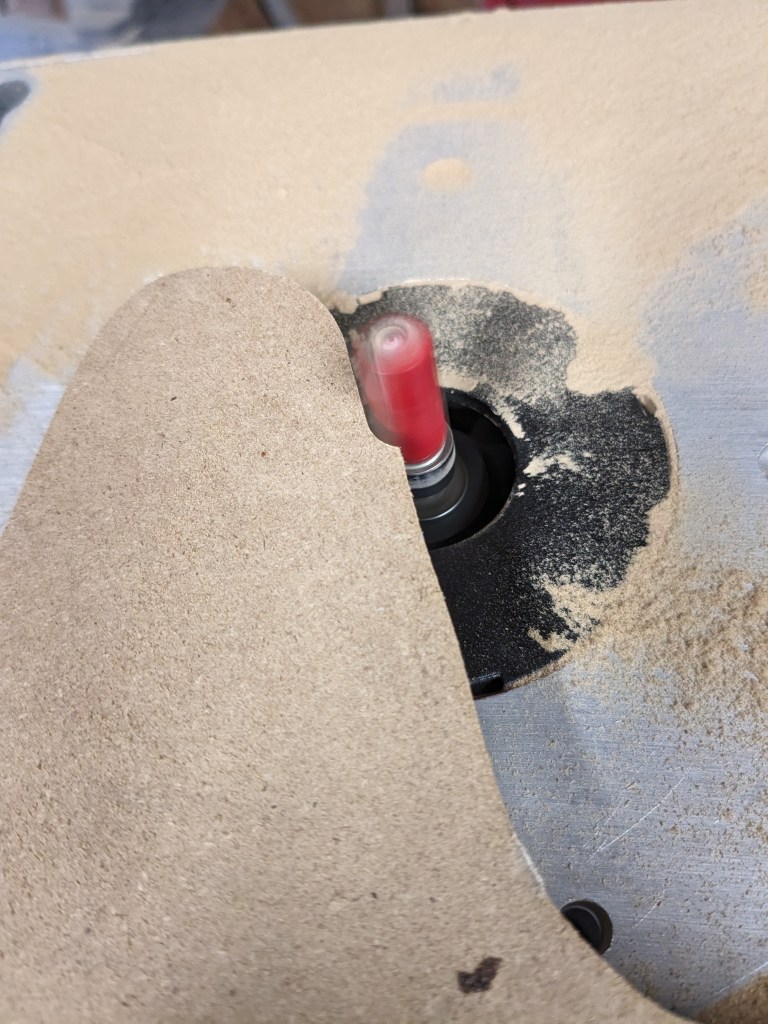
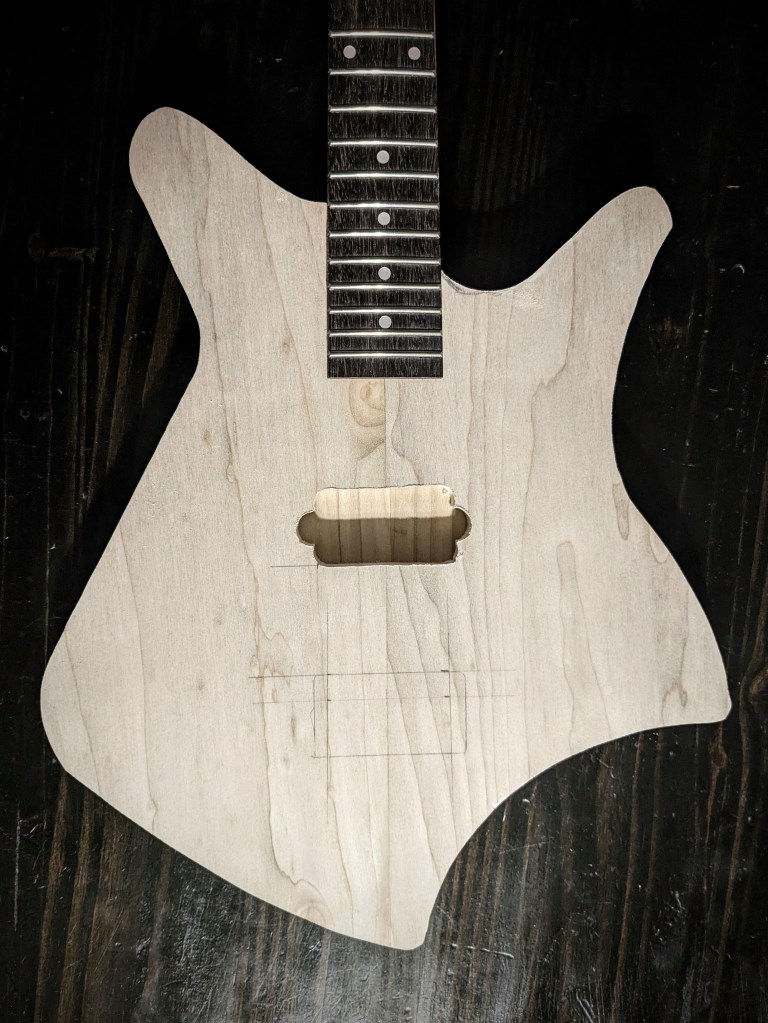
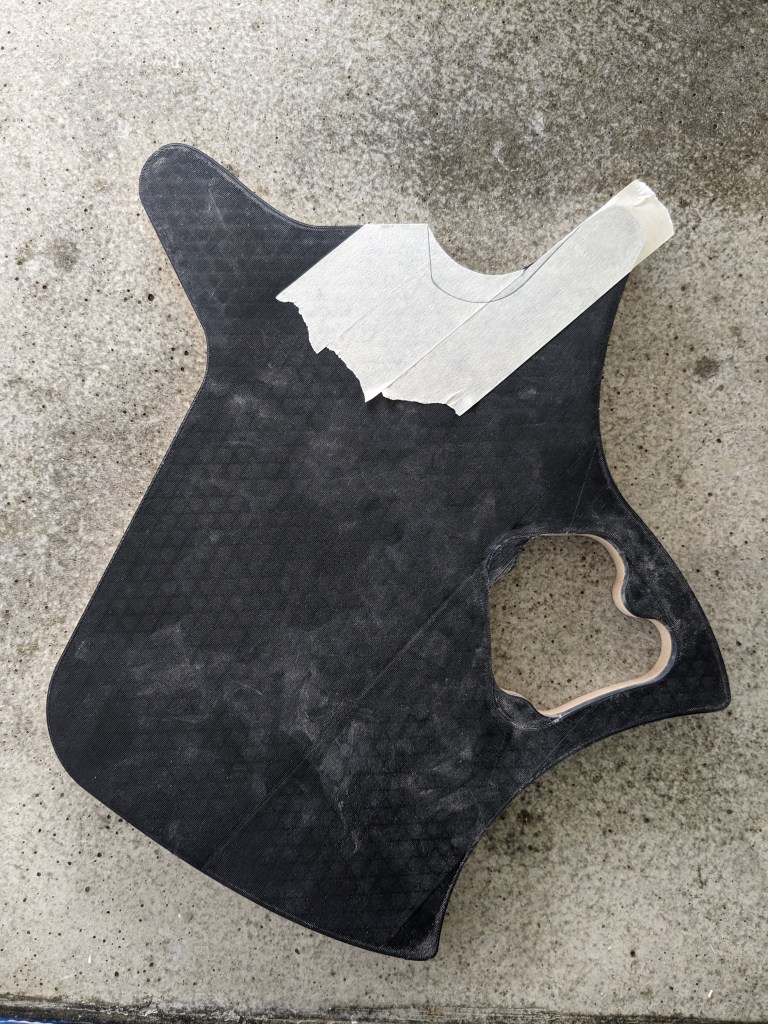
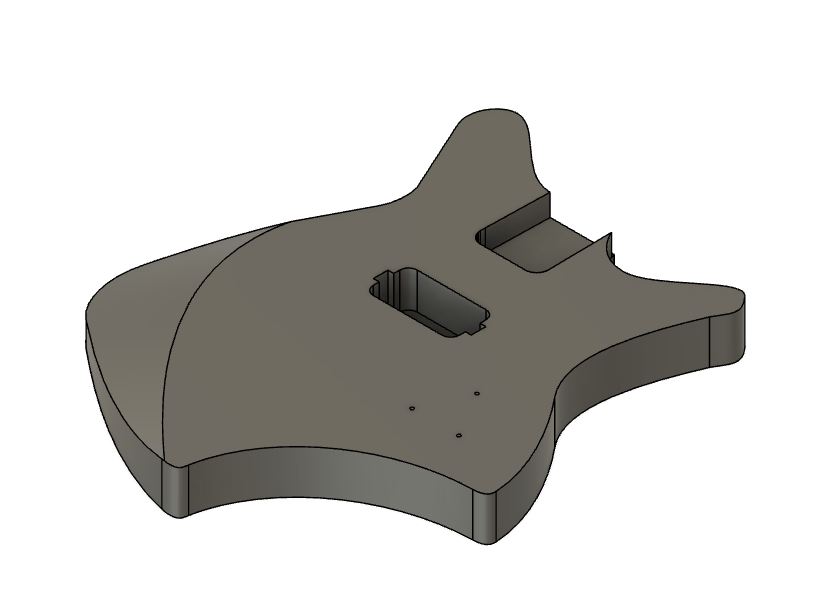
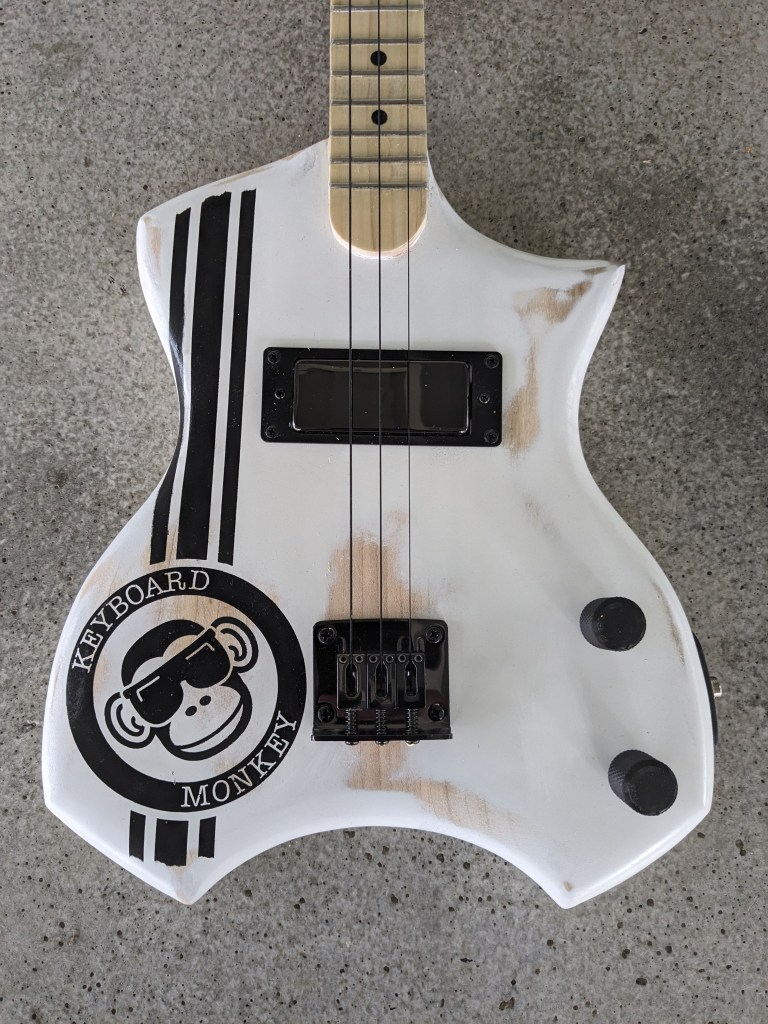
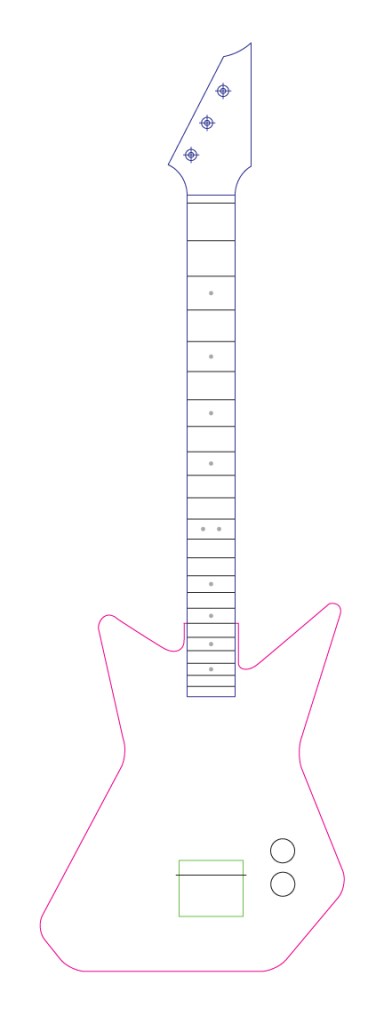
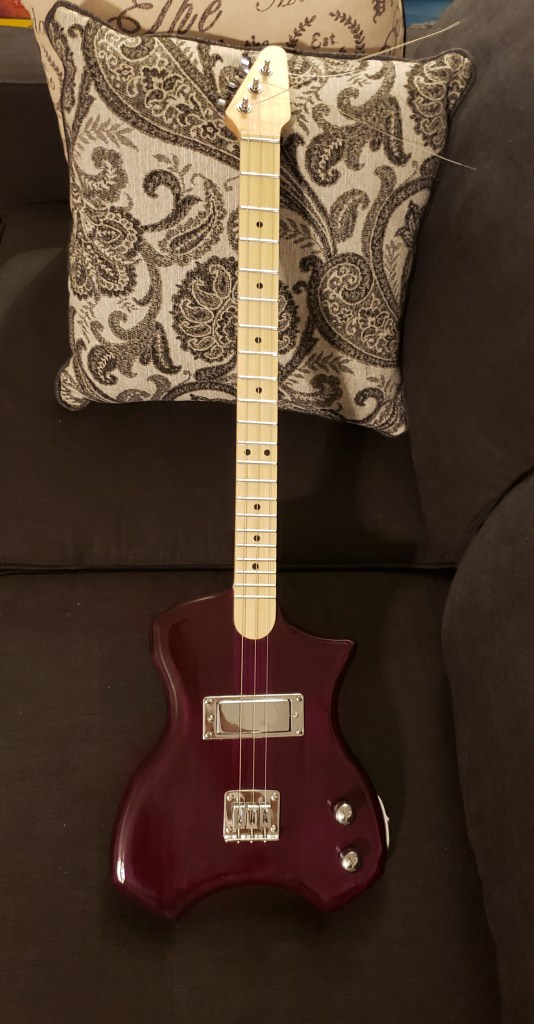
Even though school has been taking up most of my free time, I have continued working on guitars. I went from building and selling a couple each month, to not even finishing one each month. I hate not being able to work on them, and continuing to build the business, but I know it’s only a temporary slow down.
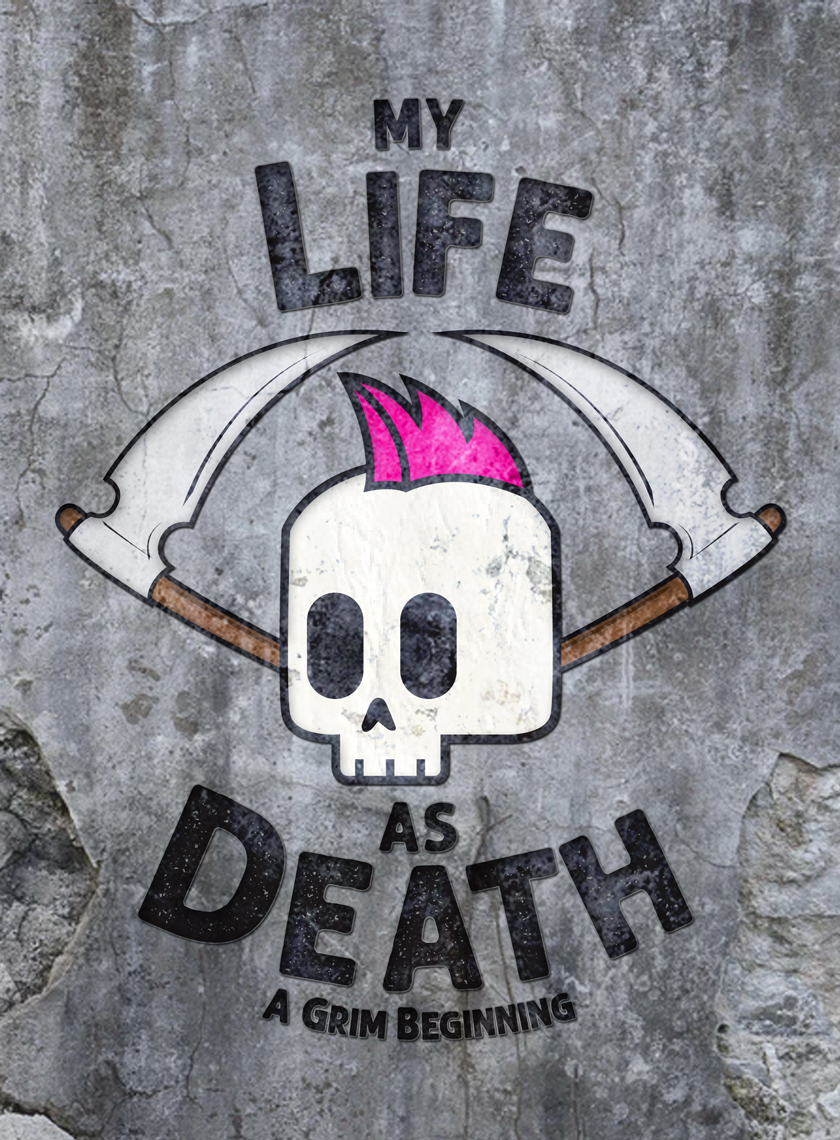
There’s also been a temporary slow down in my writing, but I’m continuing to work on it as I can, as-well. The sequel to My Life As Death is currently over 14,000 words, and if you enjoyed the first one (still not available anywhere but this website… yet :)), then you’re definitely going to enjoy this one. Nate and Weed are maturing… a little… and having a blast with a lot of new experiences, while trying to navigate this thing called life…and death. I have no idea when it’ll be done, or when I’ll even share a little of it with you guys, but I can’t wait. I’ve already realized that this will be a trilogy, and I know how it ends, so I’m excited to fins out everything that happens in-between.
I’ve got a few other writing projects in the works, and I’ll share those details eventually as-well, but for now I’m keeping them to myself. One thing I will share with you, and I’ve literally shared this with only two other people so far, is the fact that I will most likely be starting a new job. When I left work today, I had a voicemail about a new position I’d interviewed for a couple weeks ago. Nothing is official yet, but I was told they’re working through the process with HR and I should be receiving an offer next week. This could throw a wrench into everything, because the position is one that will require a whole lot of learning and effort on my part, but I’m up for any new adventure.
So, there’s the long over-due update. Hopefully it won’t be another 5 months before the next one.