

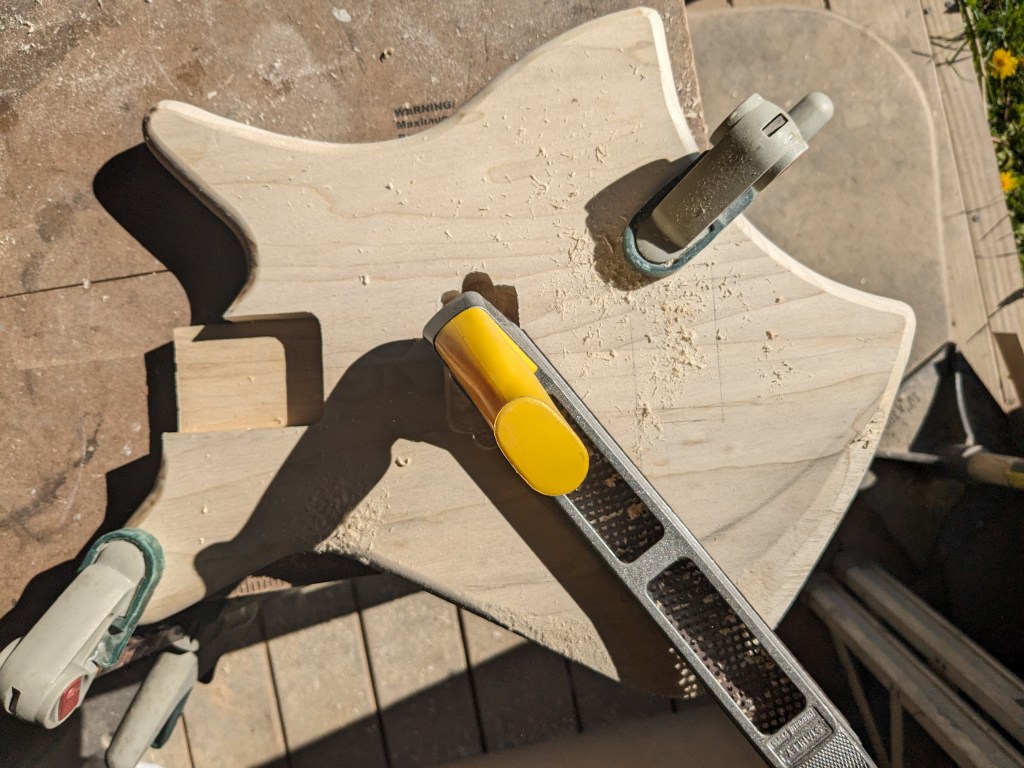
Once I had the body glued up, it was time to shape and sand it. I started by rounding over the edges, then got to work with a rasp to start contouring the arm rest area. This will reduce the weight a little and making it more comfortable to play.

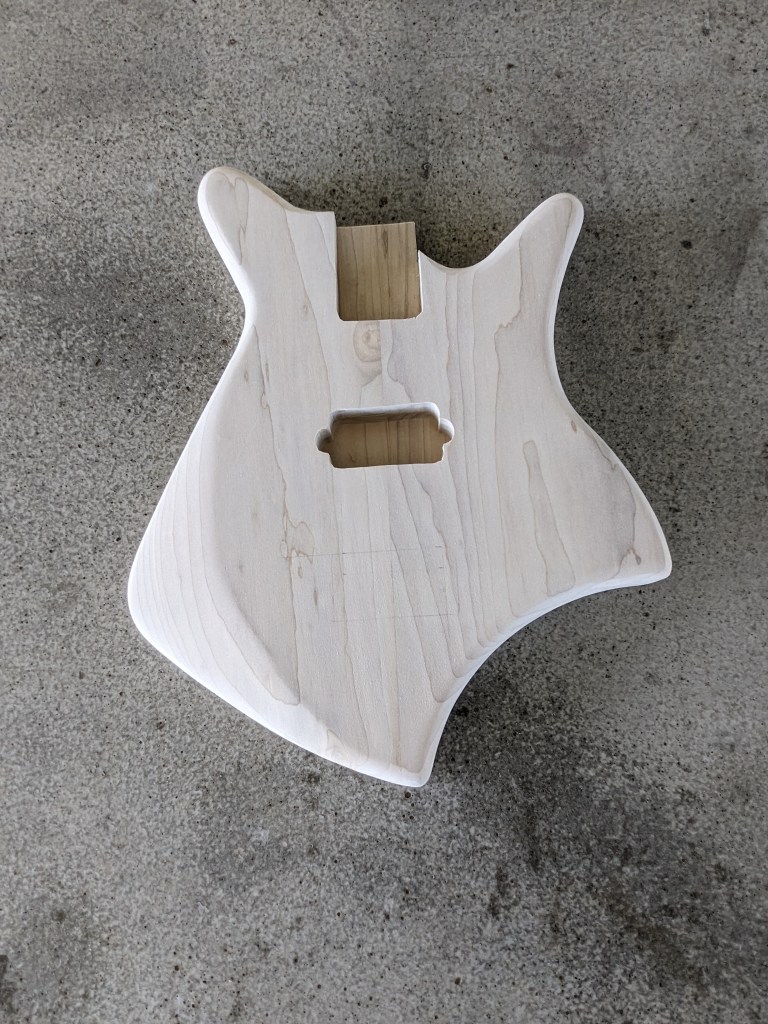
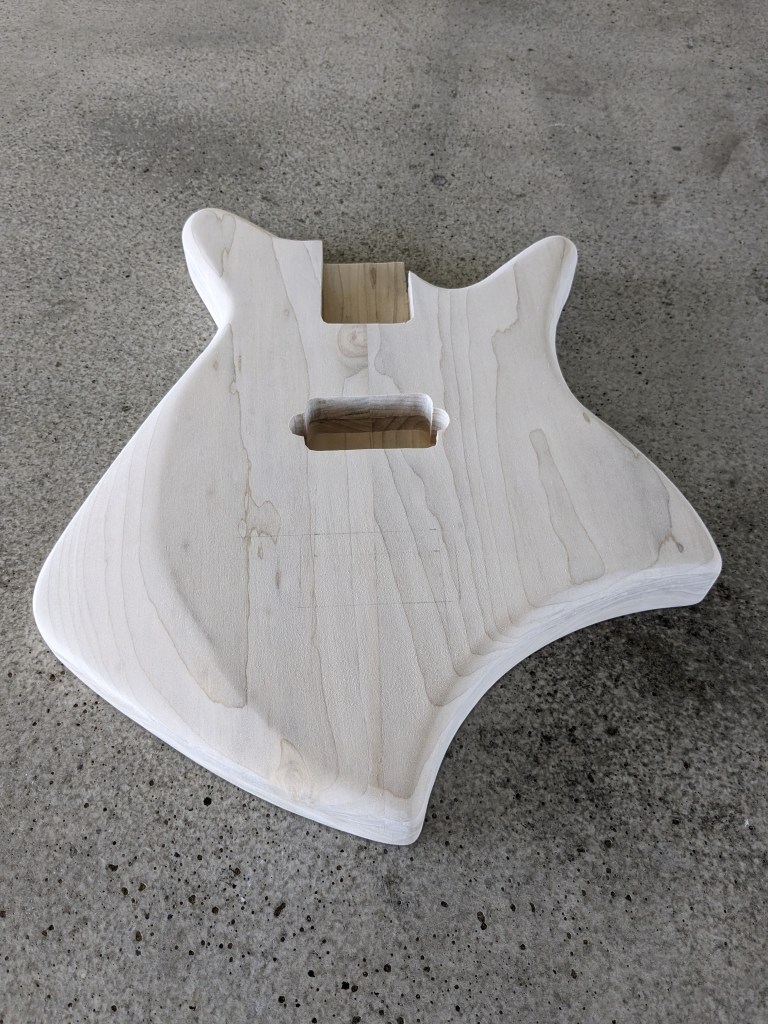
Once I had the contouring done, I drilled for the volume and tone pots, the jack, the bridge (including the grounding wire channel, and the neck screws.

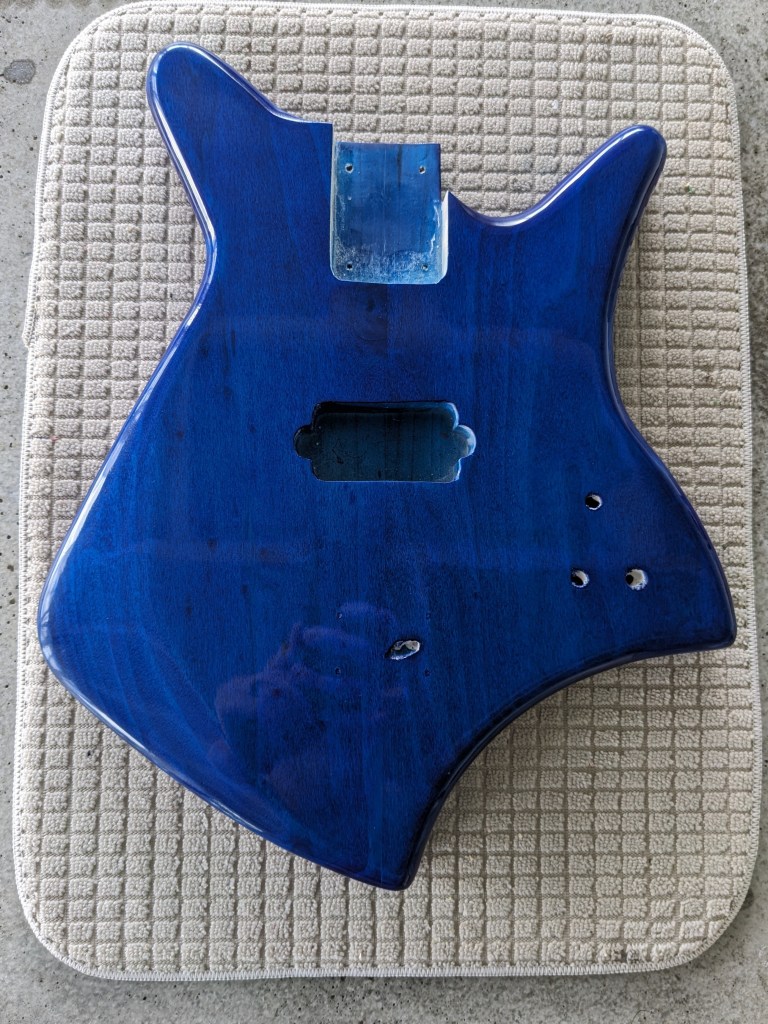
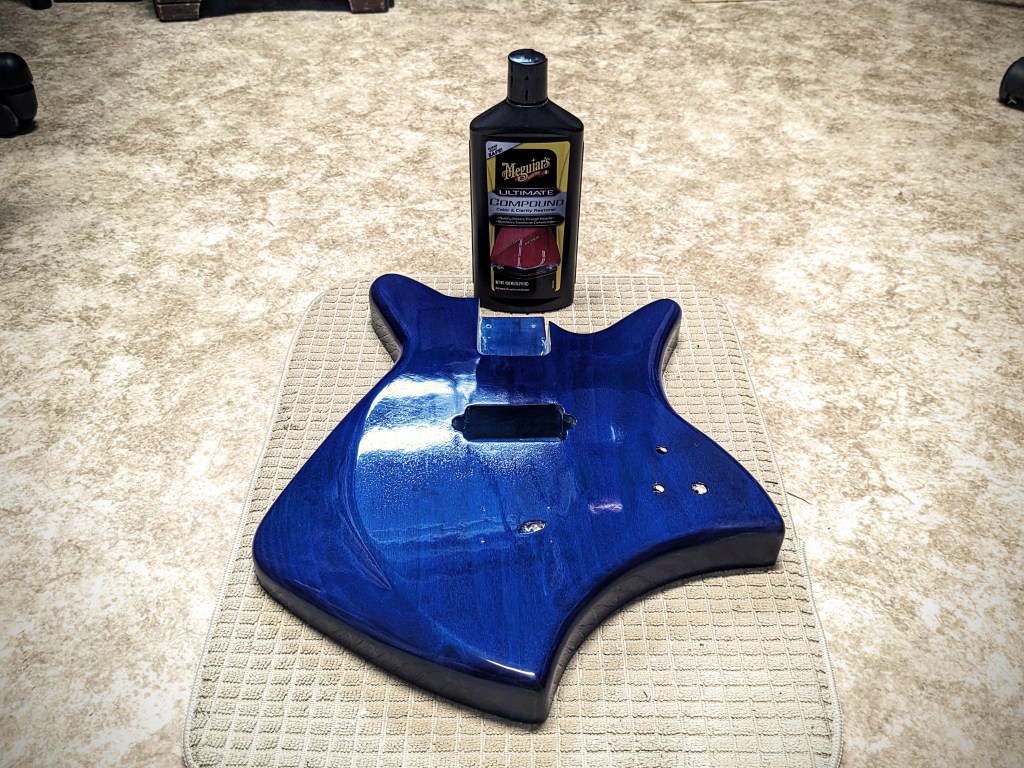
I didn’t take any pictures of the sanding process, but once it was done, it was time to add a little color. I really wanted to blue to stand out on this one so I started by staining the body with ColorTone liquid stain. This alone is usually good enough, but I wanted to enhance this with Metalcast Blue Anodized coating. This is a translucent blue finish meant to go over chrome or bright metal, but it works just as well over wood. I topped this off with Rust-Oleum Triple Thick Glaze. I gave each of these layers ample time to cure between coats, then let the whole stack rest for a week before wet sanding and polishing with Meguiars compound.
Next is final assembly and setup!

Catching up on your e-mails.
Love the color.
Kathy
LikeLike