I’ve been slacking with with my updates on this build because it’s been done for a few weeks now, but here are the final steps in completing this build.
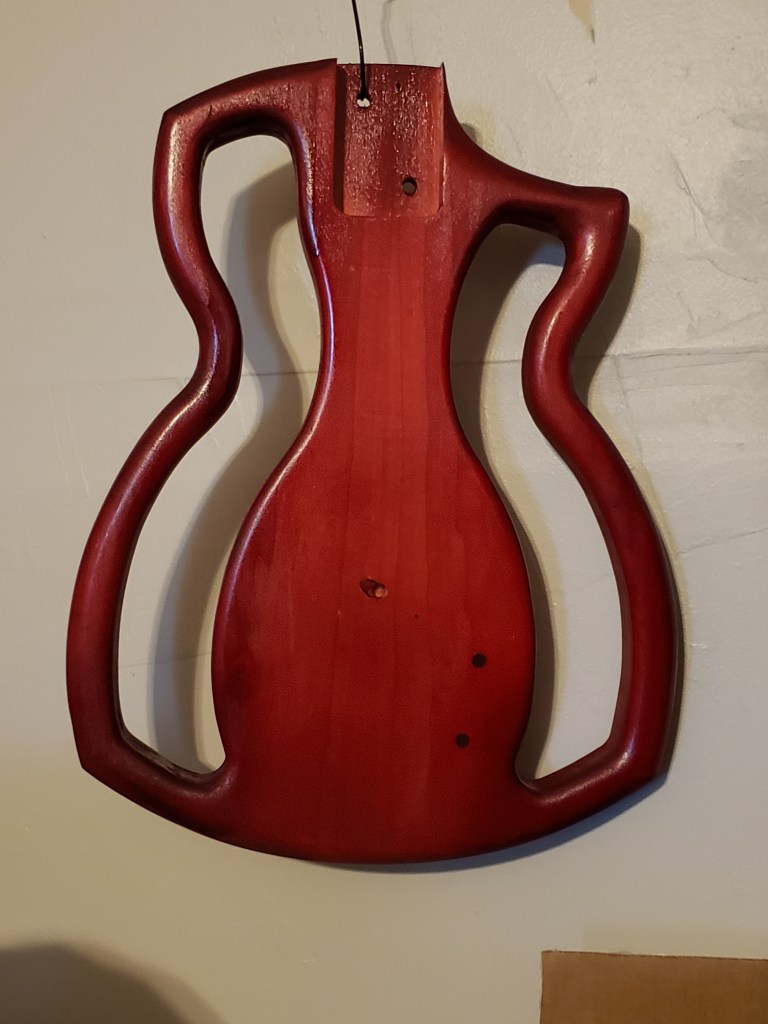
Final assembly on each of my guitars starts with bolting on the neck and re-attaching the bridge which was pre-positioned. Before I can secure the bridge, though, I have to attach the piezo pickups and run the wires through the body to the control cavity. Unfortunately, I didn’t take any pictures of this process, but it is fairly straight forward. I use double sided tape to adhere the pickups to a 3-d printed housing I designed, and then use more tape to hold the housing to the bridge. The housing helps align the pickups and protects them from being crushed when sandwiched between the bridge and body, but because it’s only 0.050″ thick, it’s almost invisible.
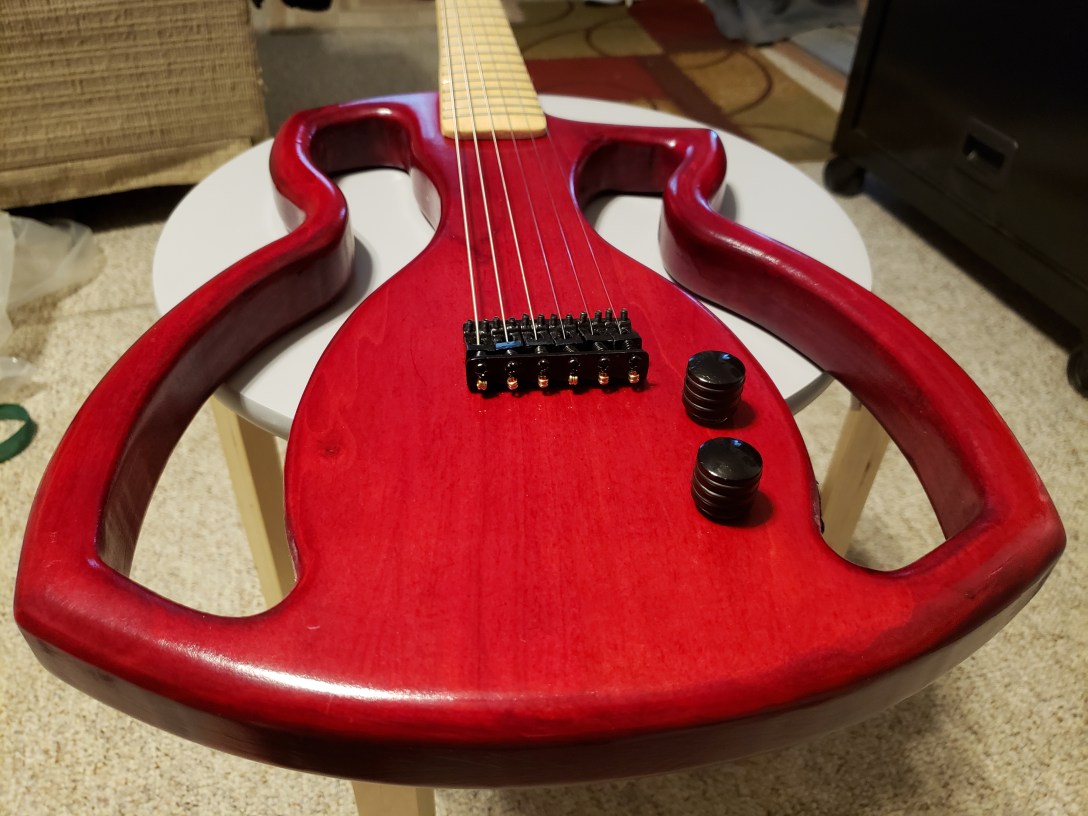
With this guitar I used two pickups, each with their own volume pot. Because one pickup is on the base side and one is on the treble, I can use the pots to blend the highs and lows to customize the sound I want. I don’t have the schematic for how I wired these, or even a great picture, but basically I wired the piezos in parallel, adding the volume pots between them and the jack based on this diagram from https://www.cigarboxguitar.com/knowledge-base/cigar-box-guitar-piezo-wiring-diagrams/ :

I’m not the best with wiring or soldering, so it wasn’t the prettiest job (and I accidentally touched the soldering iron the the body, leaving a coupe small burn marks), but it worked.

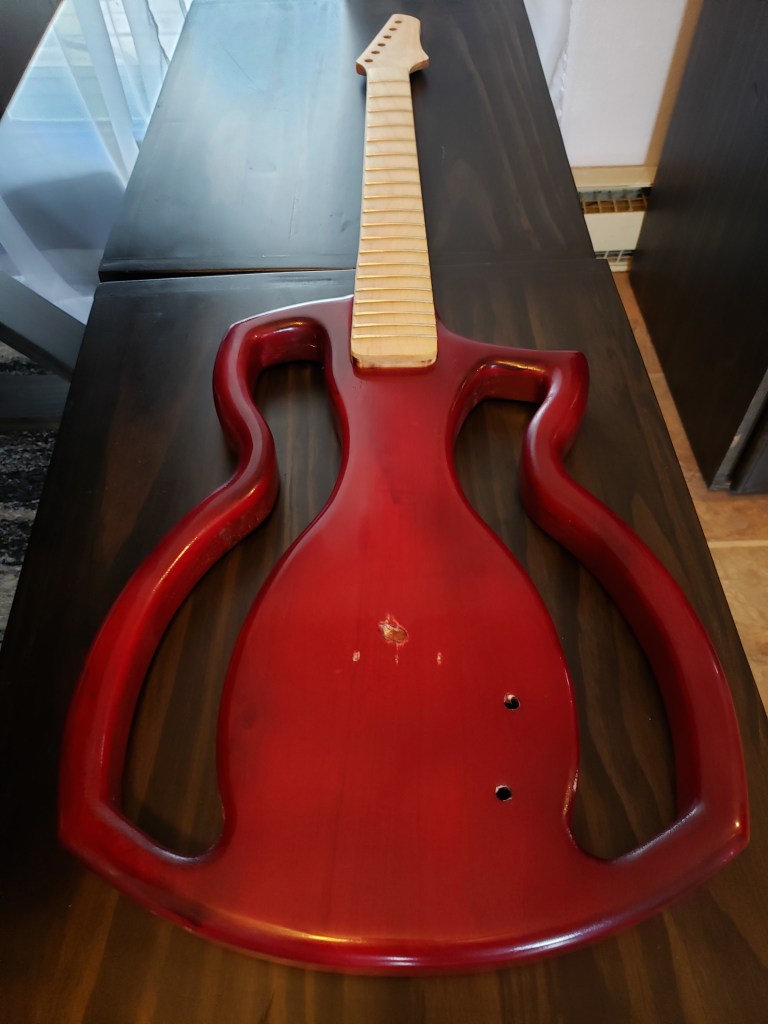
All in all, I’m very happy with this guitar. It’s a solid body with electric strings so it has a completely different sound then my semi-hollow build which is strung with acoustic strings. The semi-hollow has a fuller sound, more in line with the stuff I usually play but this one has a more driven, piercing sound that will go really well with the new rock/metal songs I’m working on learning.

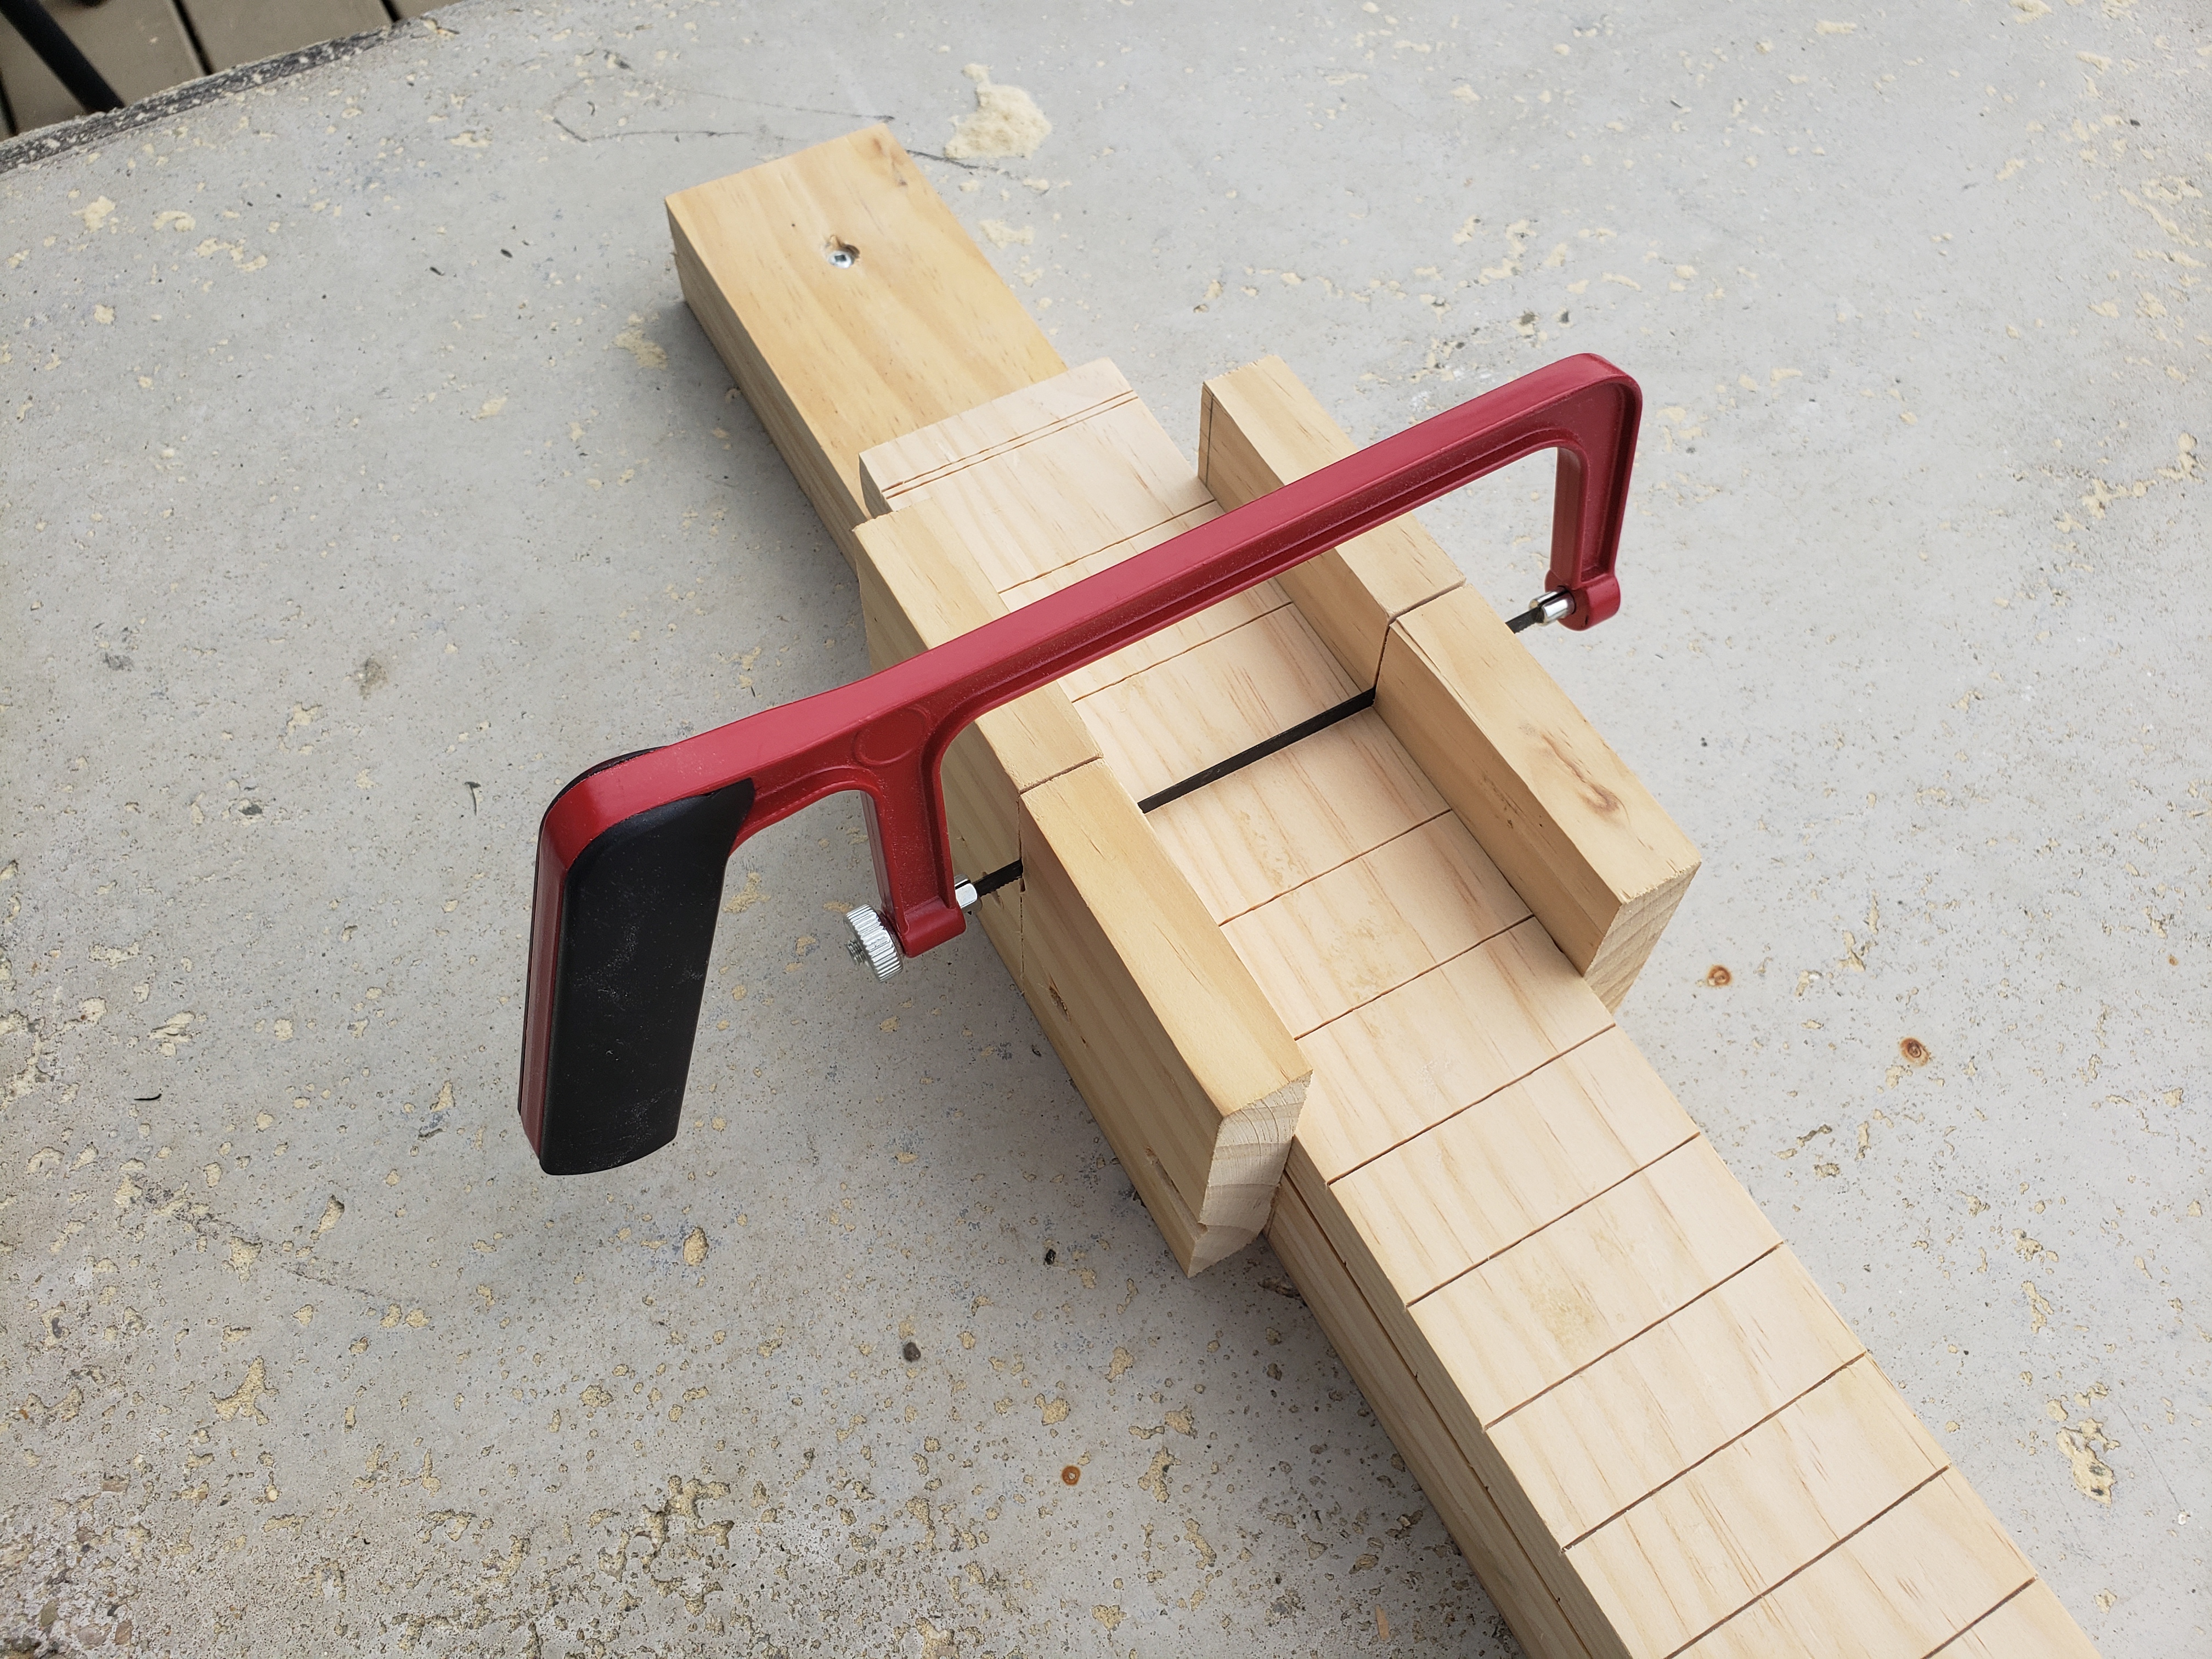
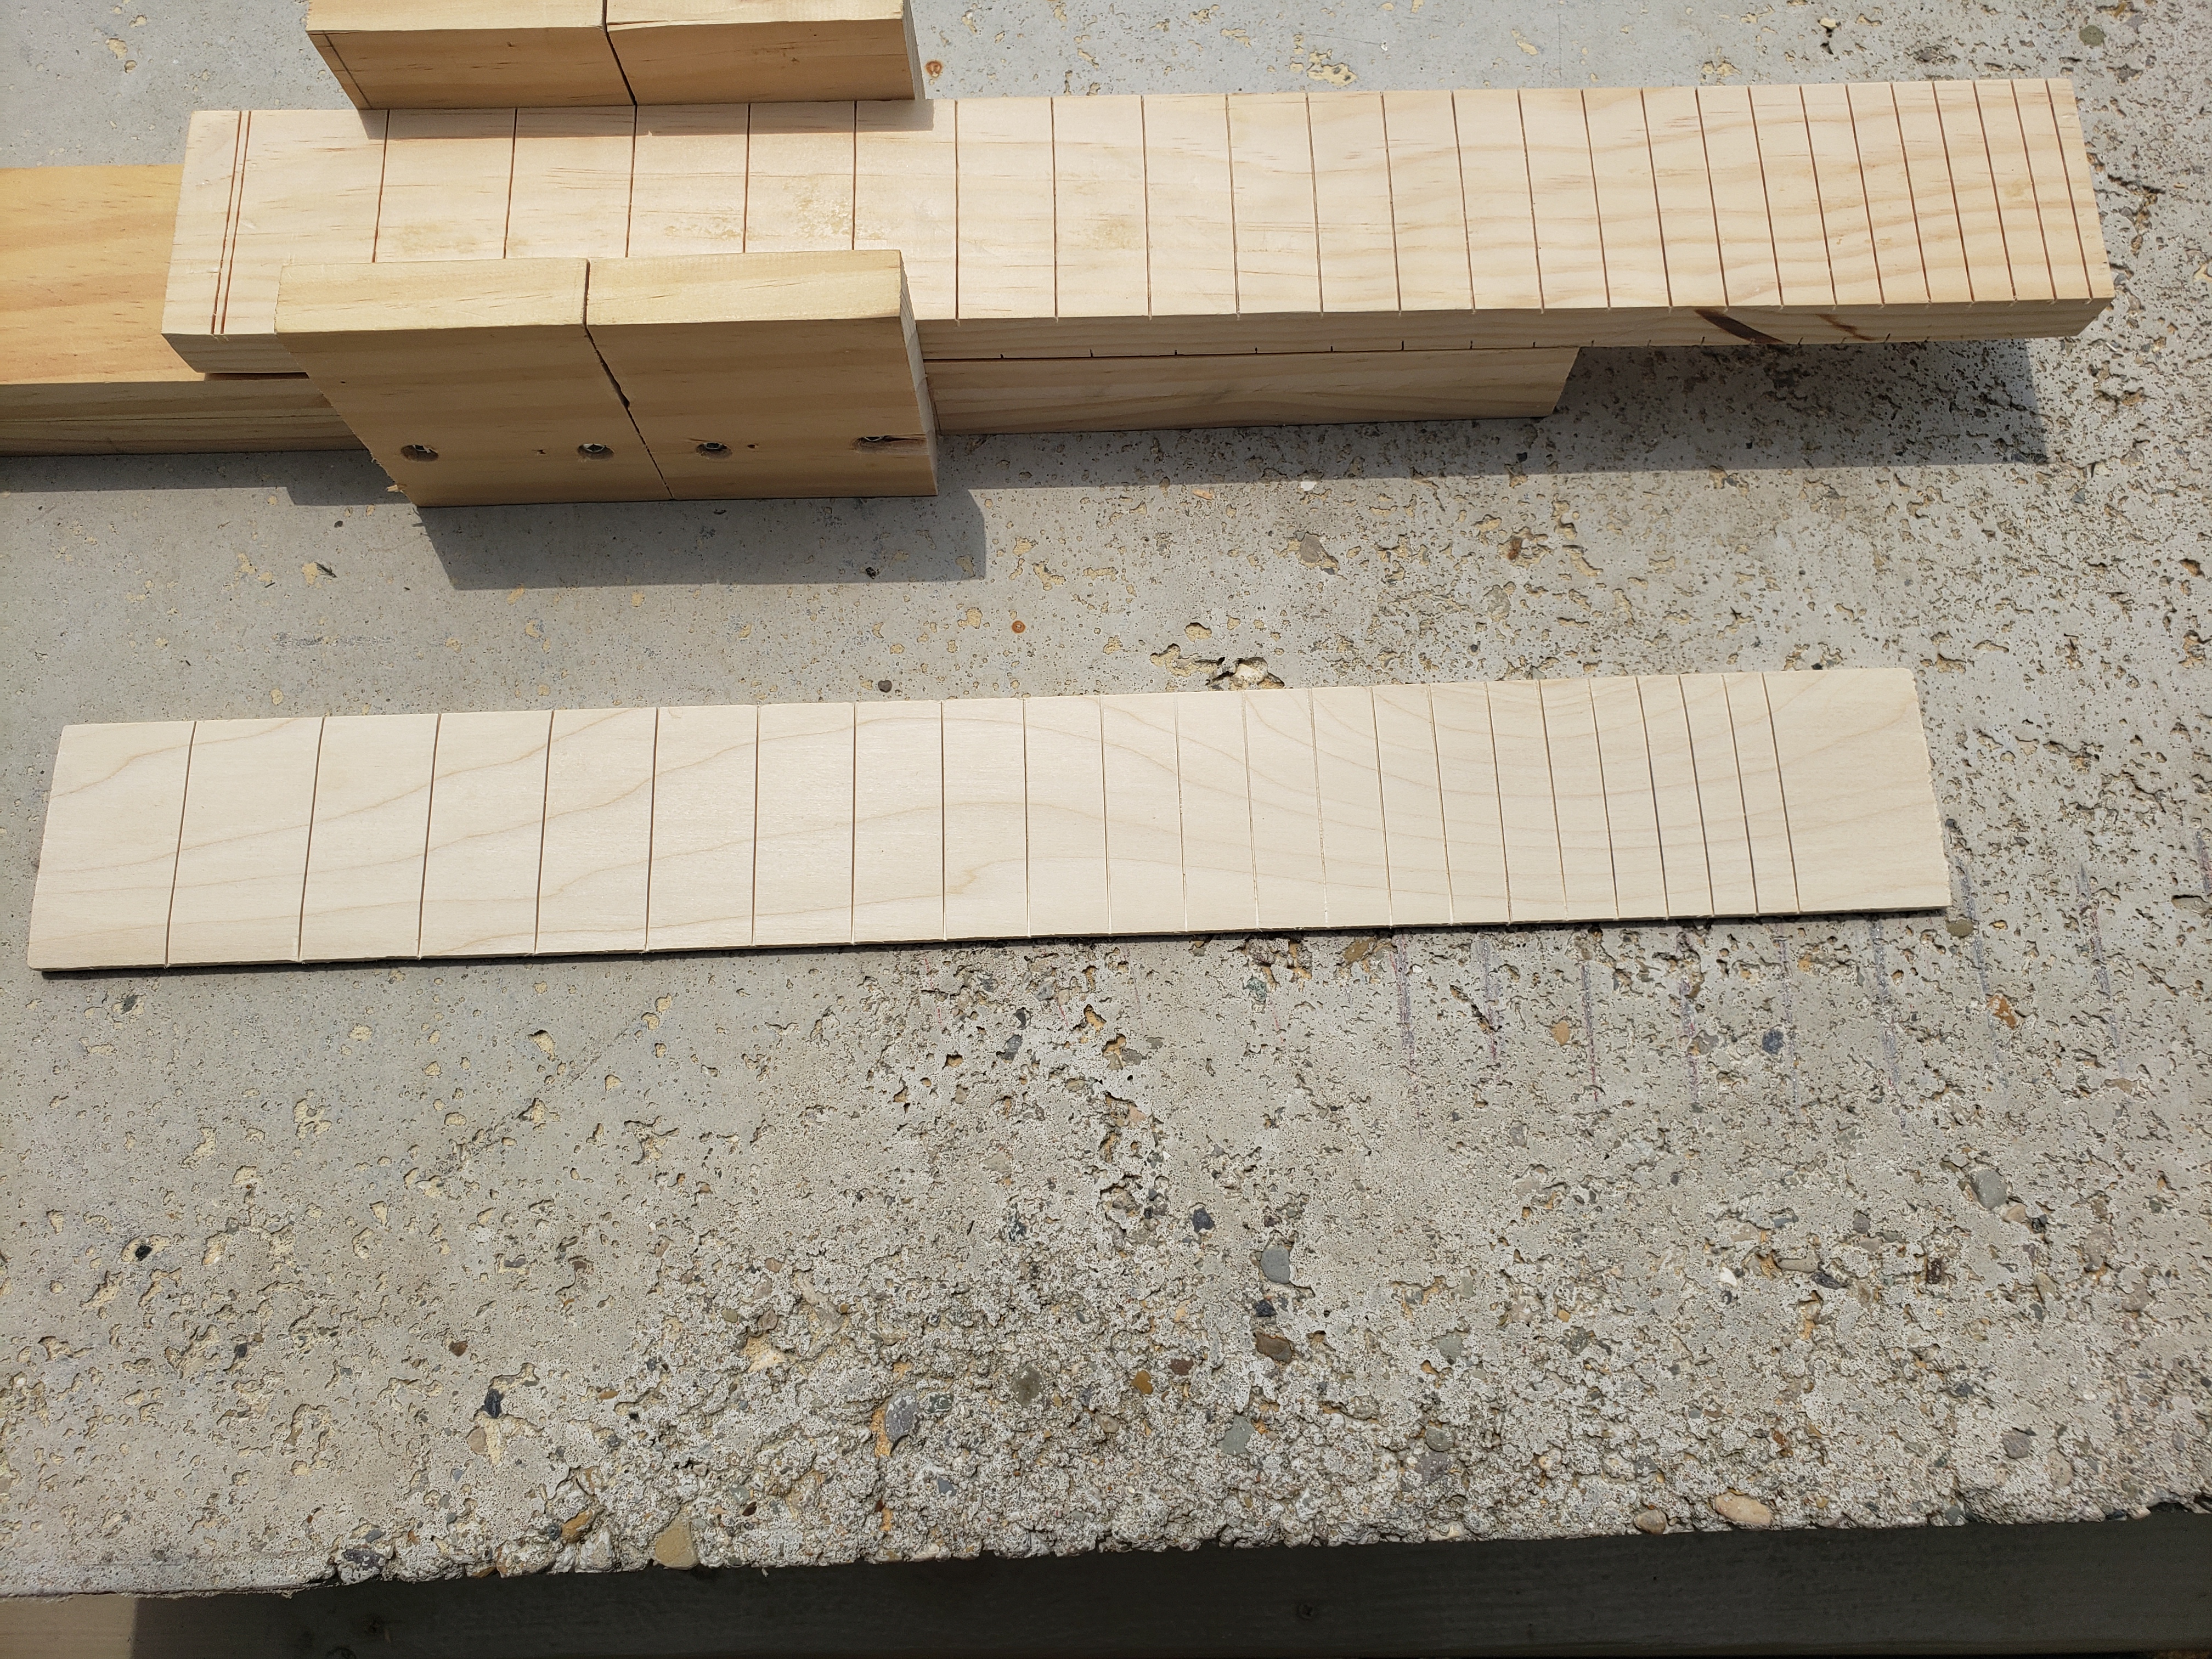
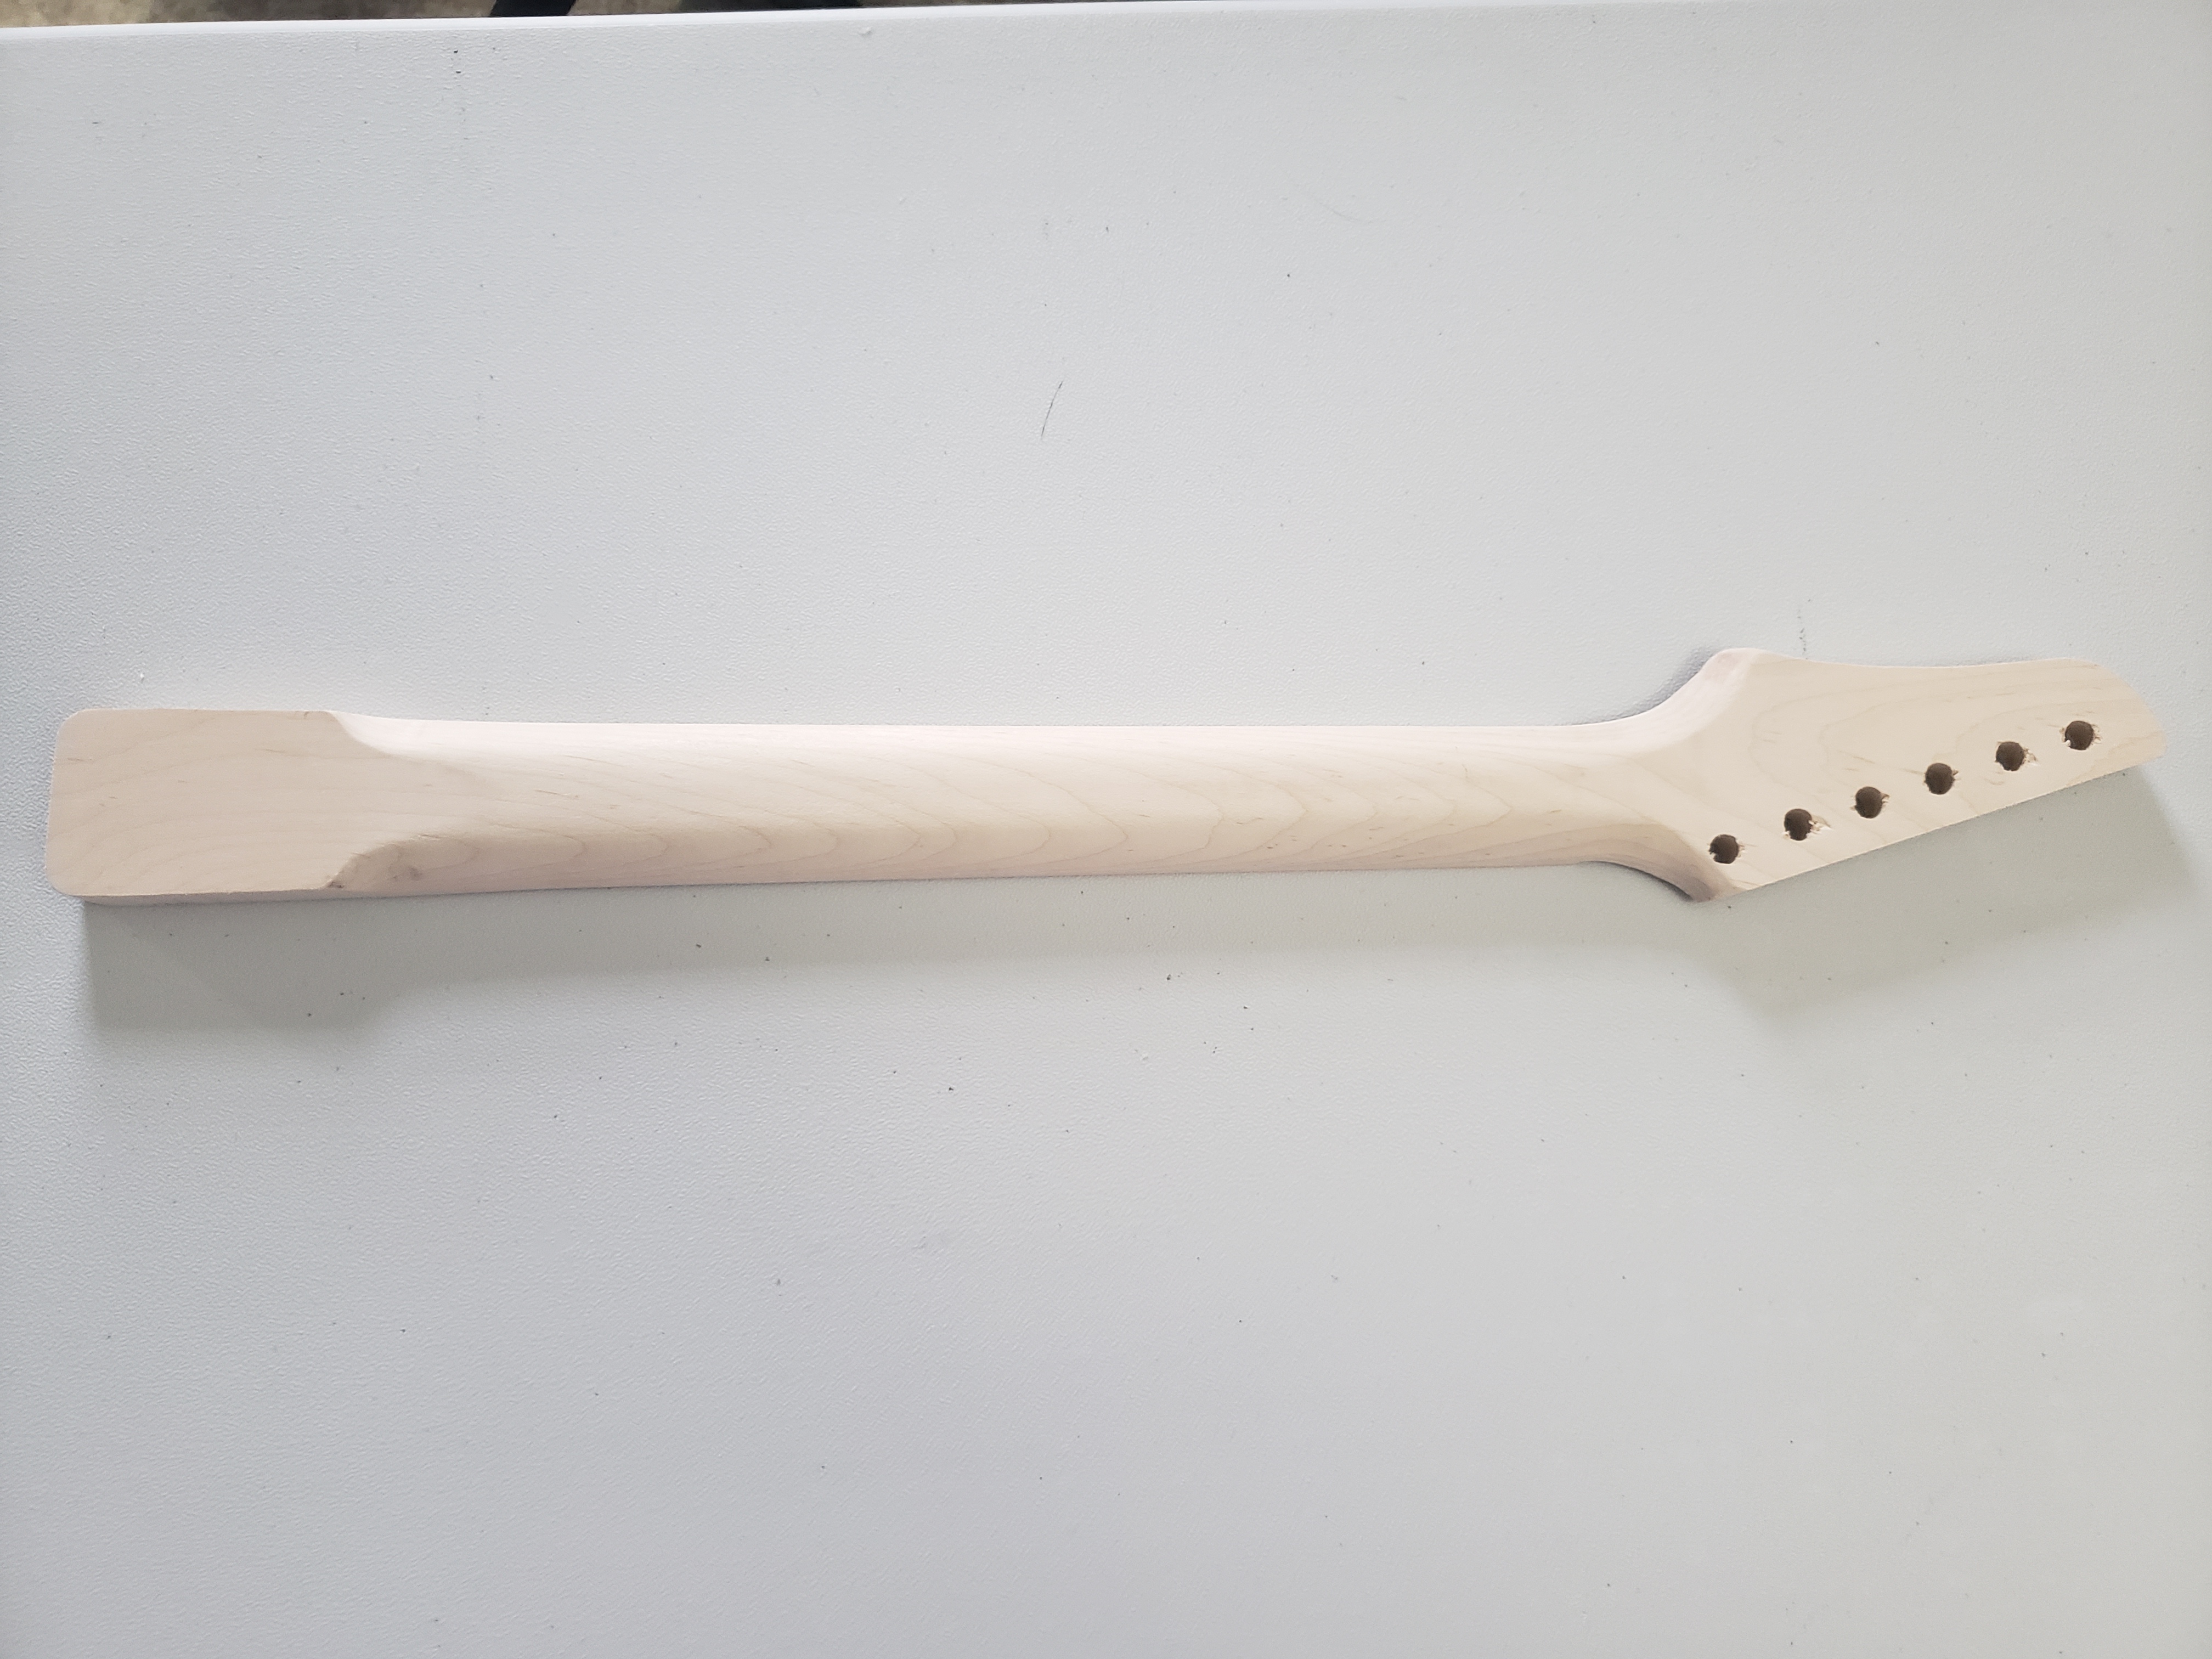
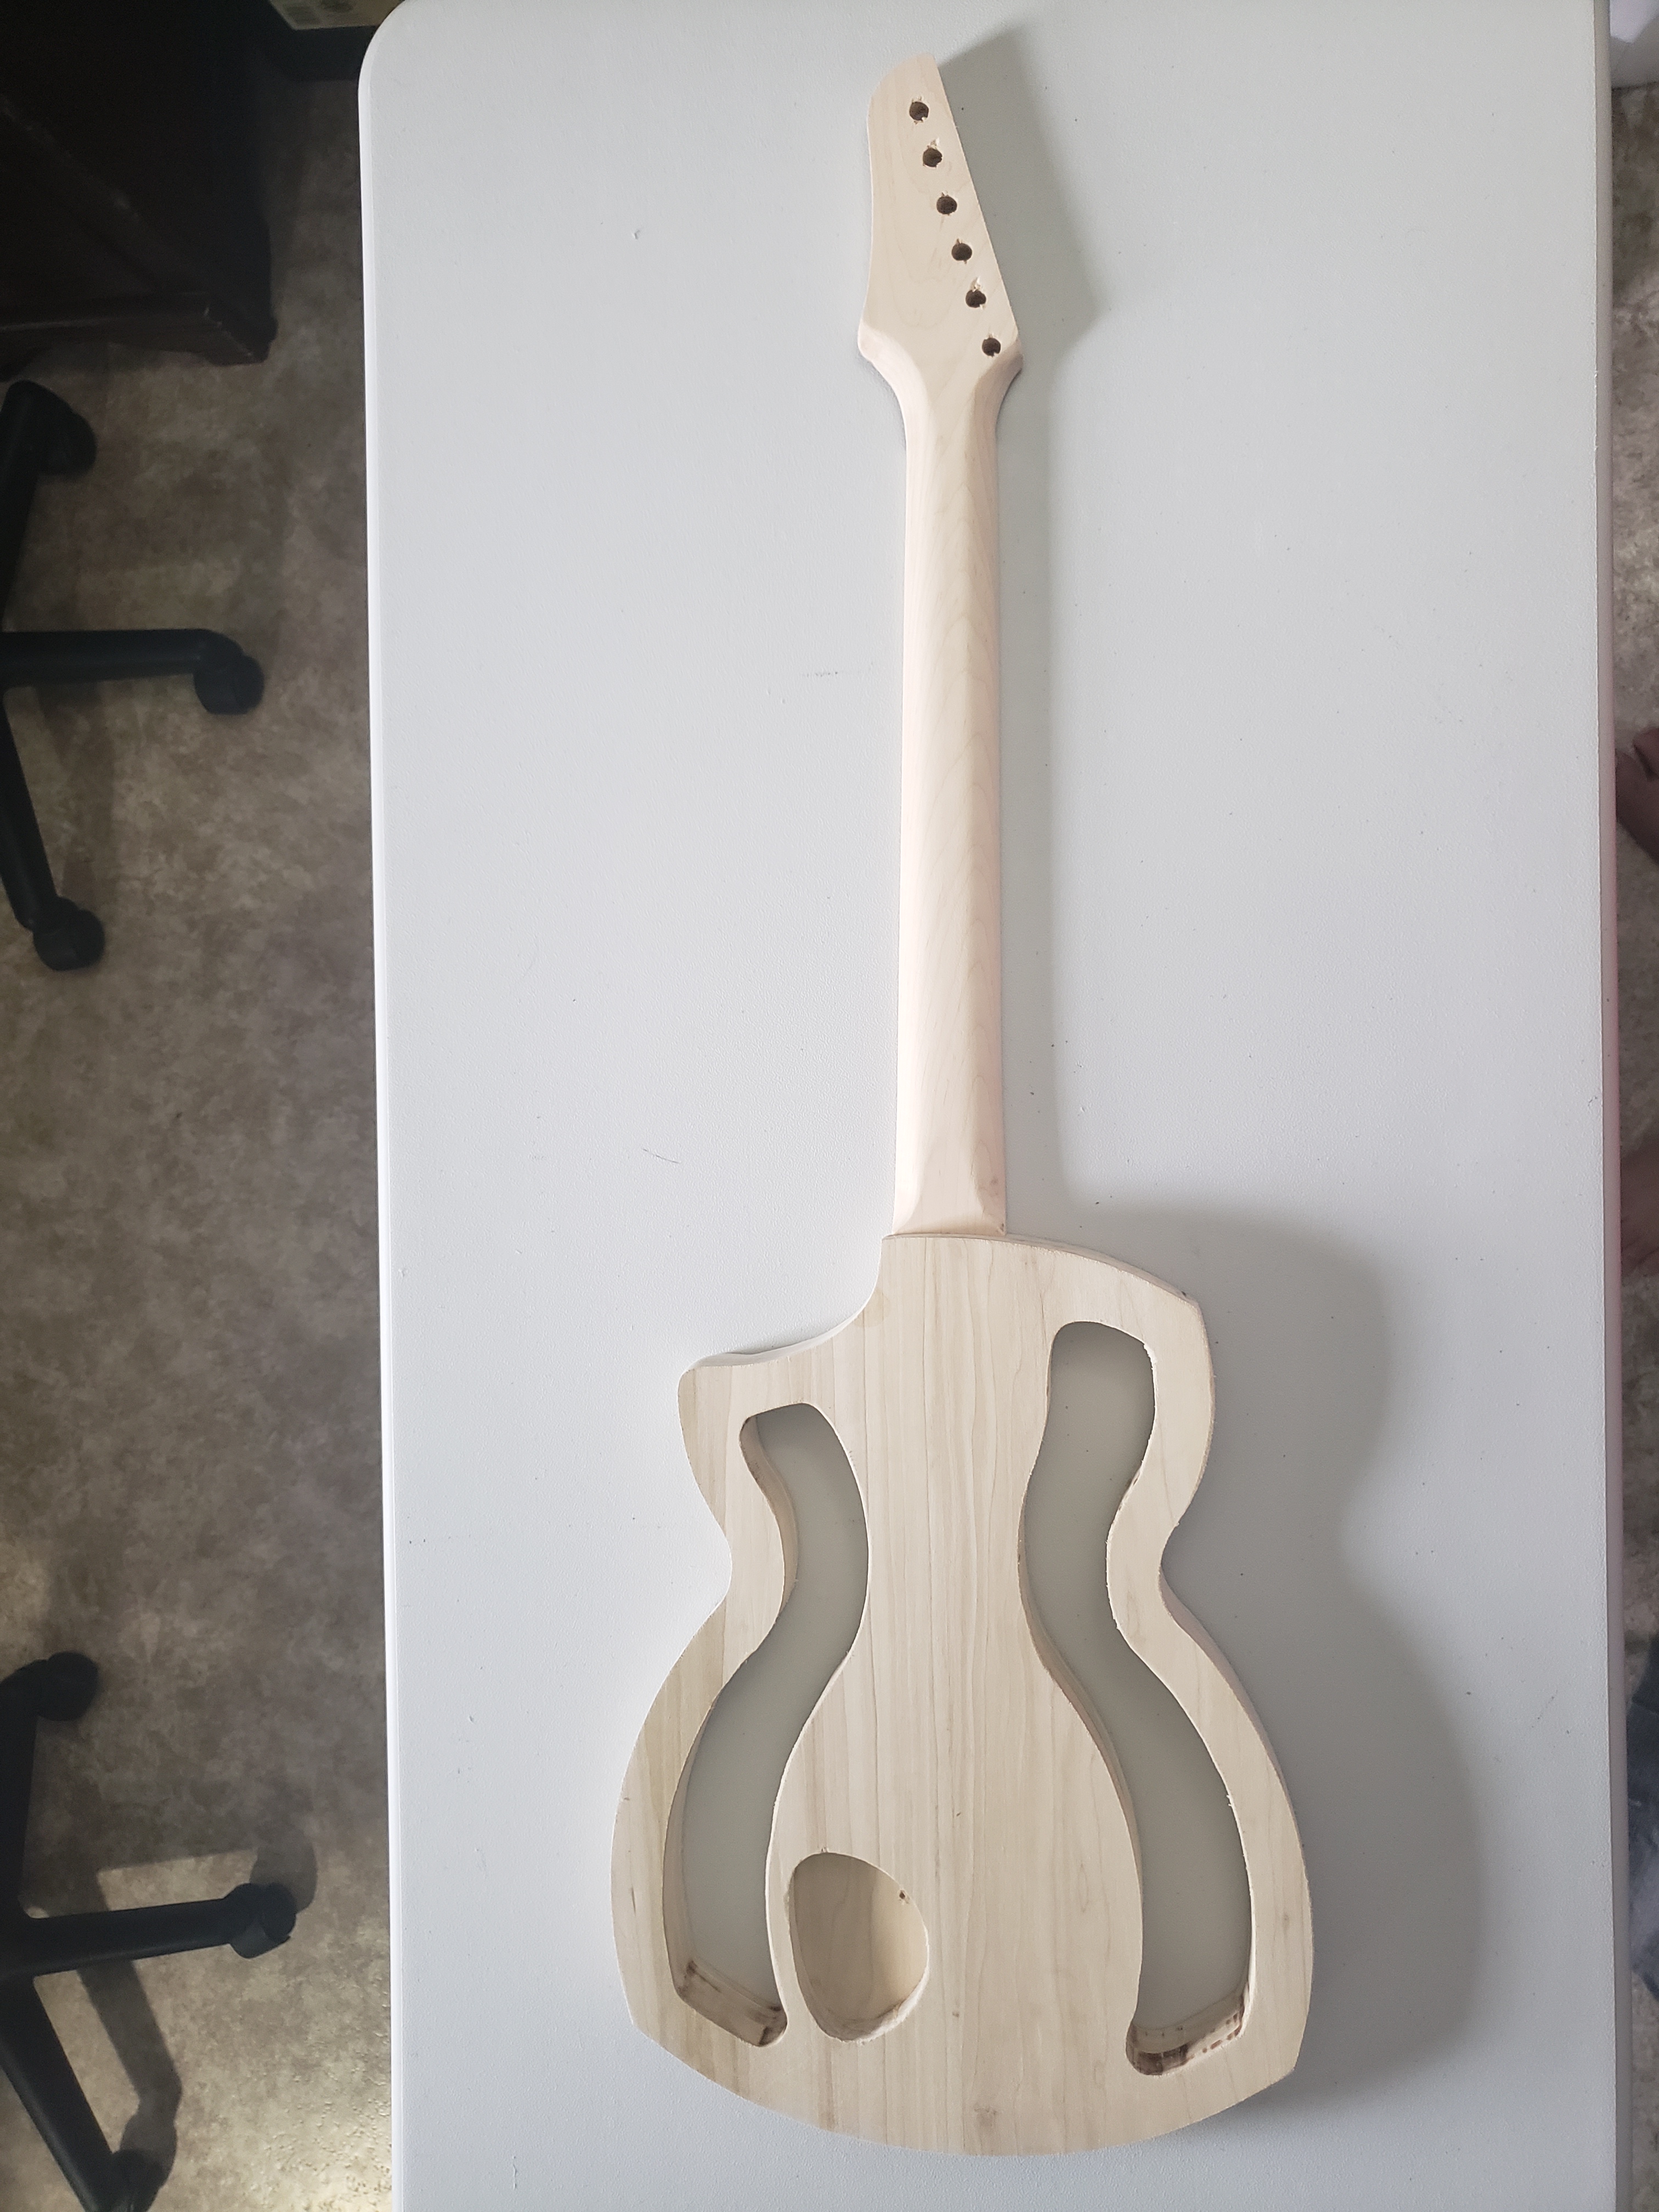
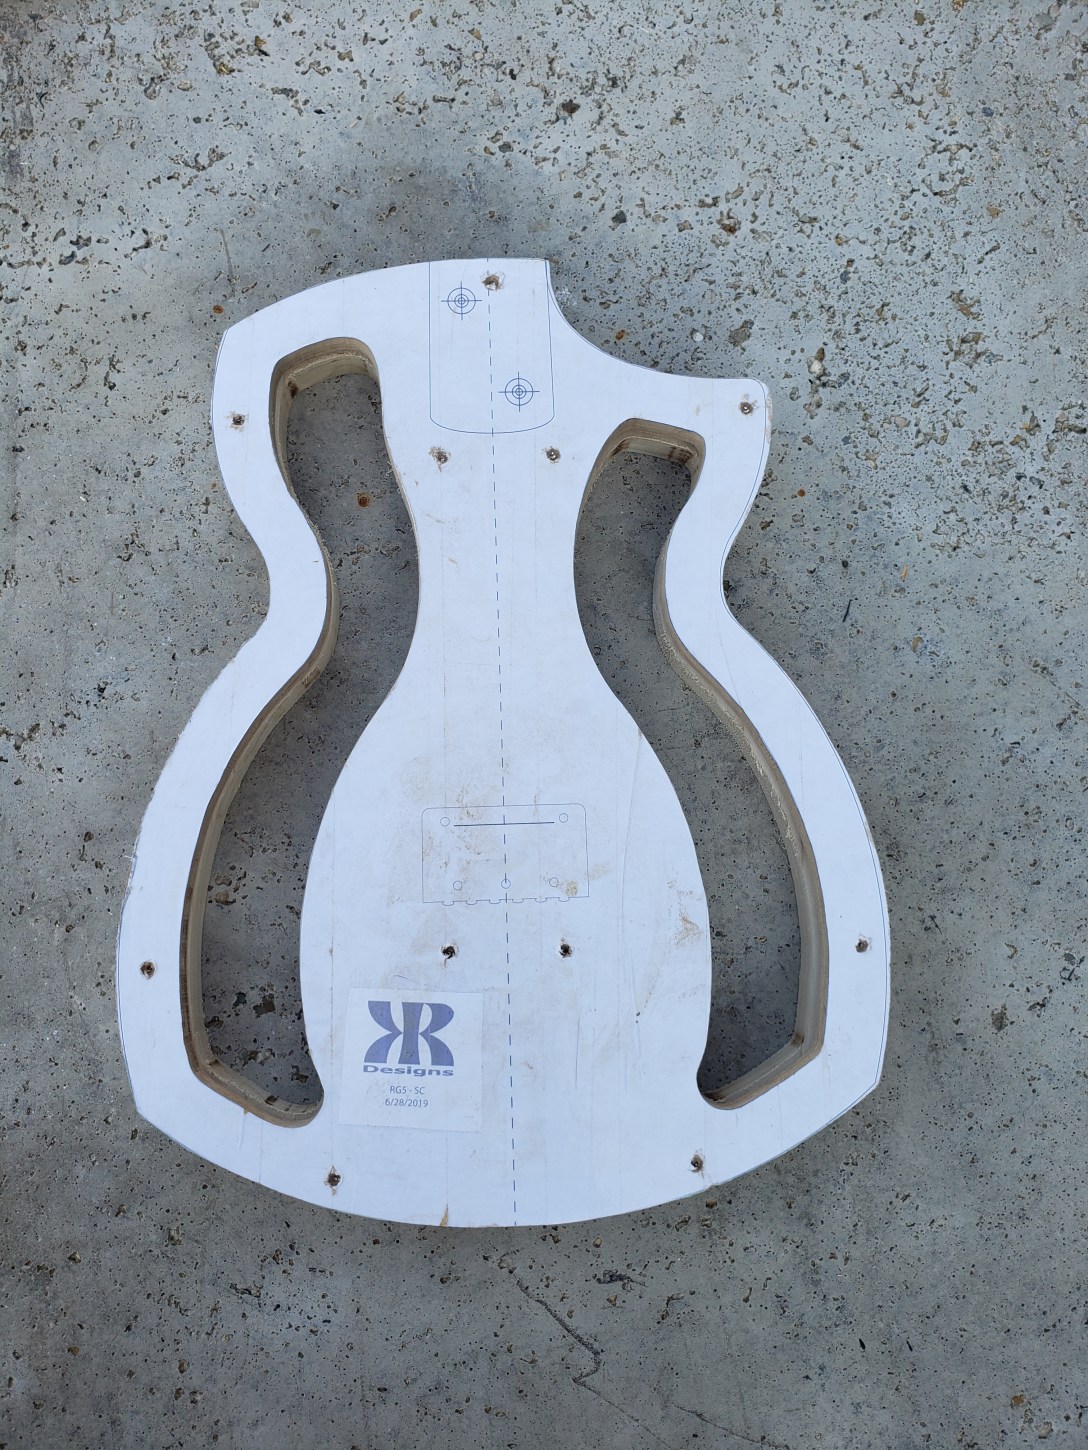
Every project I take on turns out to be a great learning experience, and this one was no exception. I love the control the two pickup-two pot setup gives me, but I have a slight modification I’m going to try in the build. I’ve also already modified the neck design slightly. This one plays fine, but I want to get it a little thinner and a little more aggressive on the side angles to help facilitate some faster playing. And with these changes in mind, I’ve already started on my next one; a budget build. Because it’s a budget build, it won’t require a lot of the extra tools and steps of my previous builds so I’ll do the write-up in one post as soon as it is complete. In the meantime, here’s a preview: