Hello! There’s been so much going on but I want to keep this kind of brief, so I won’t go into too much detail over each project in this post.
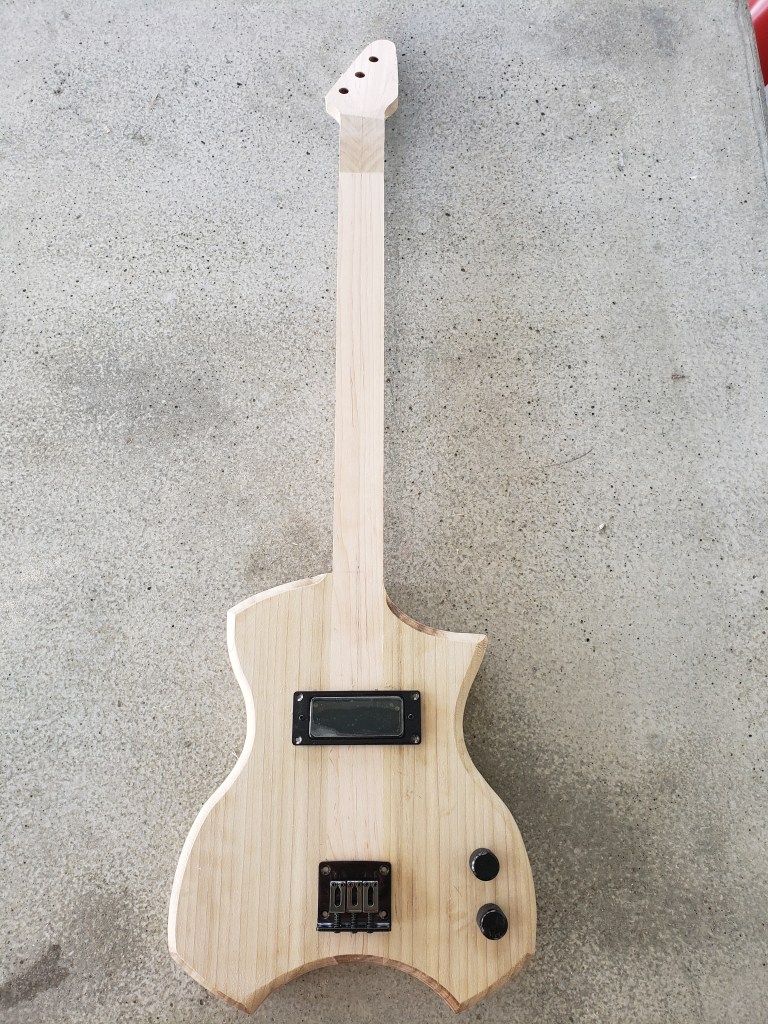
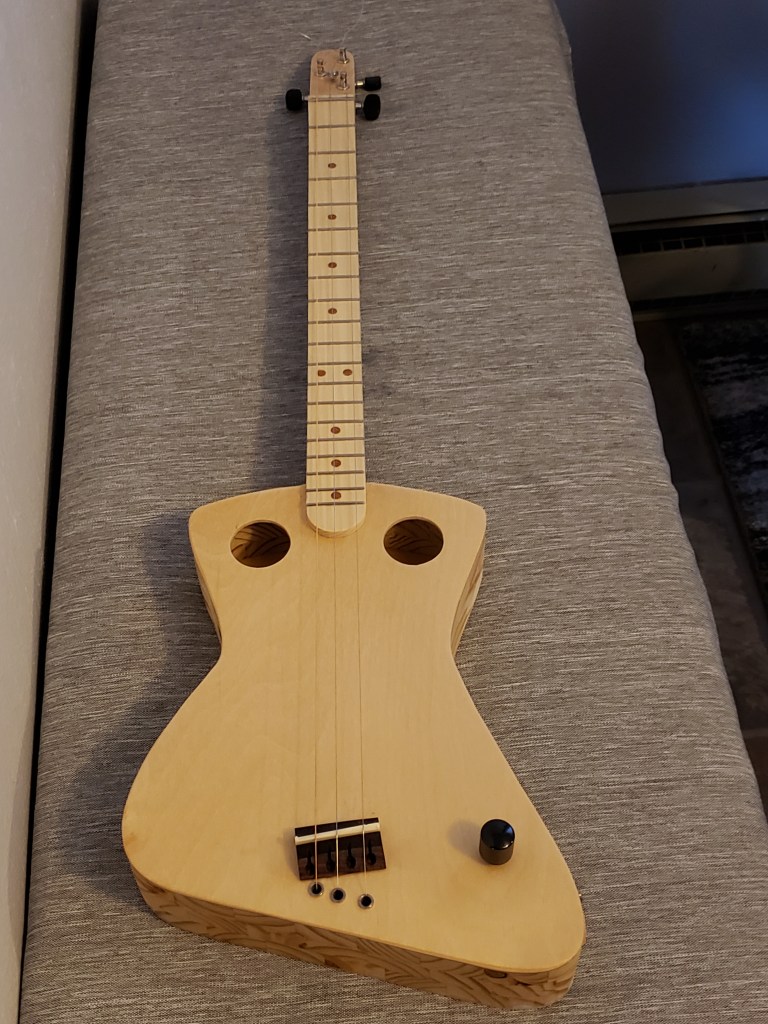
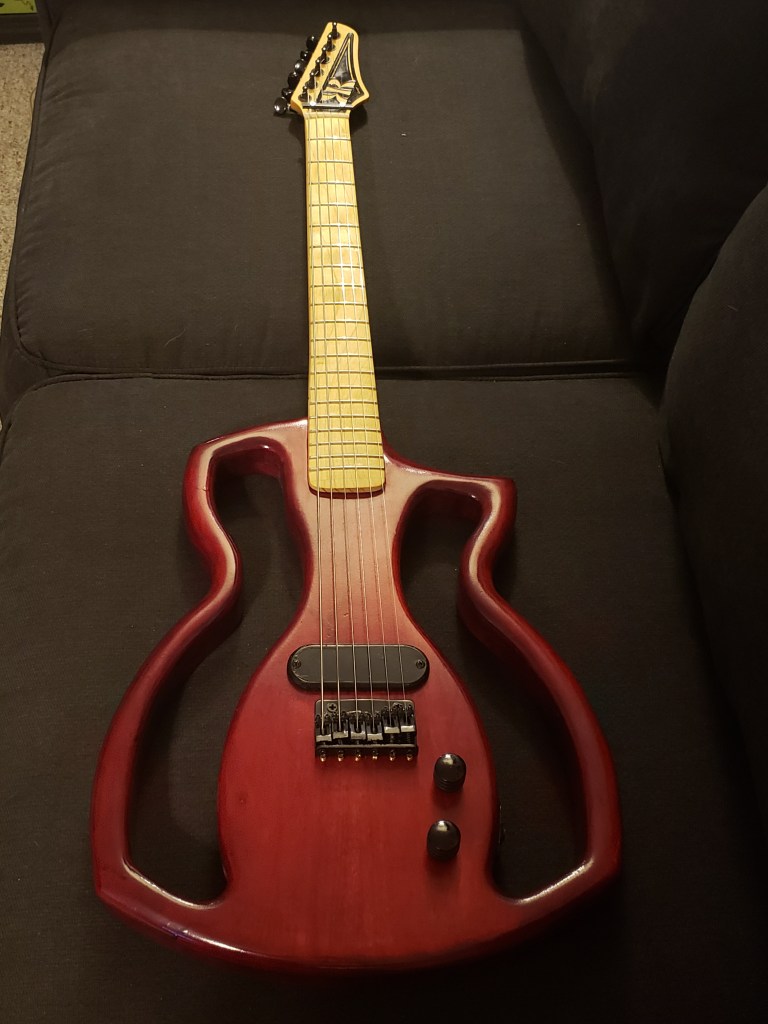
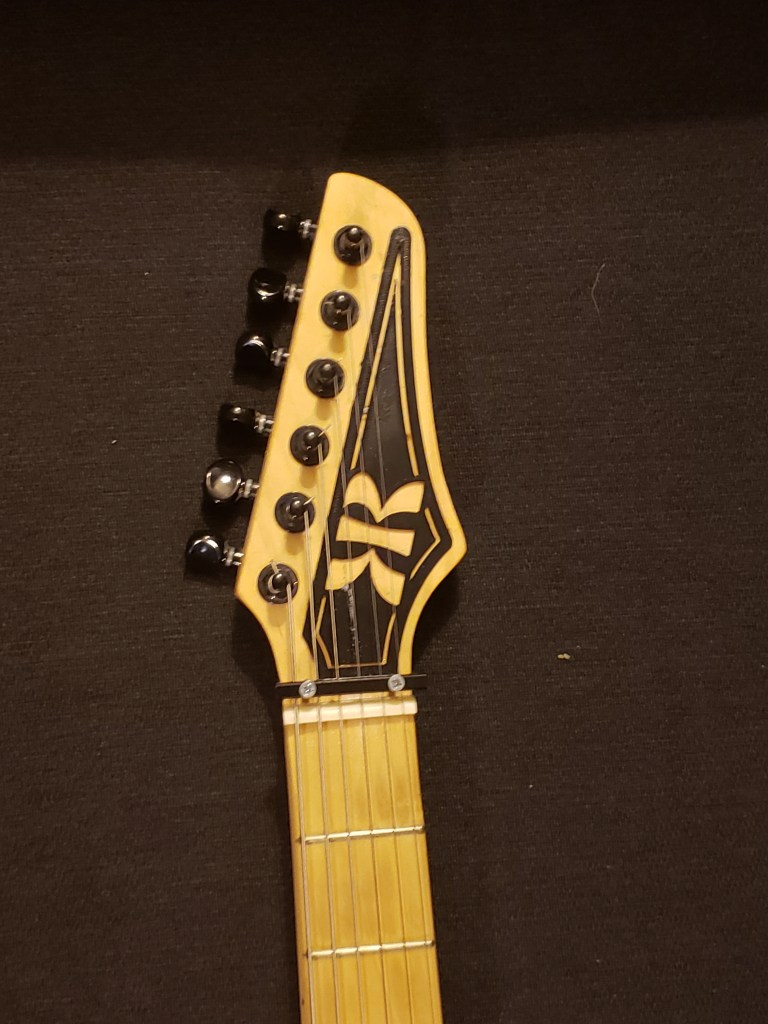
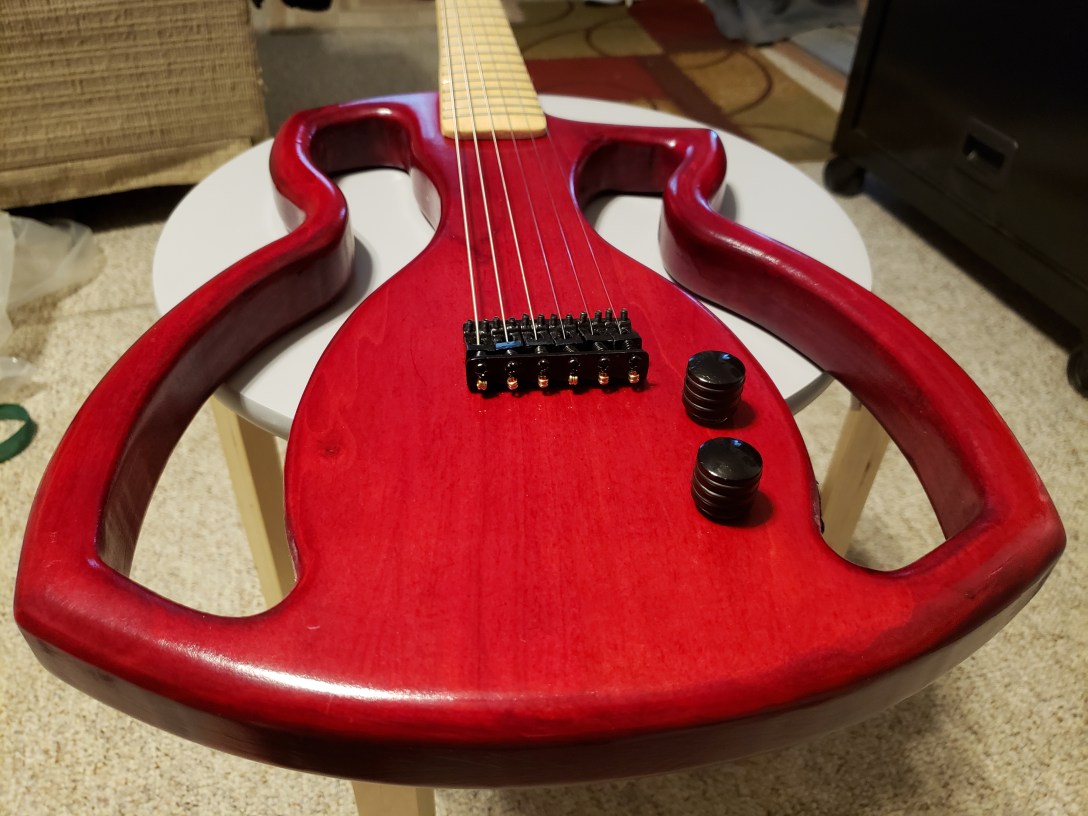
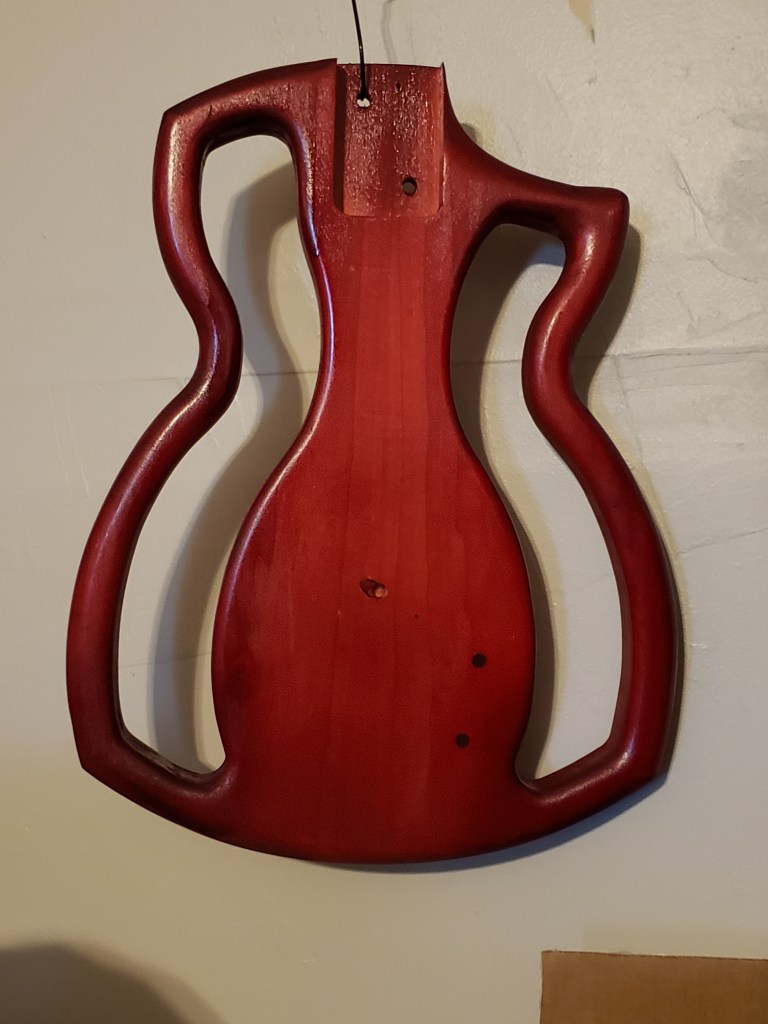
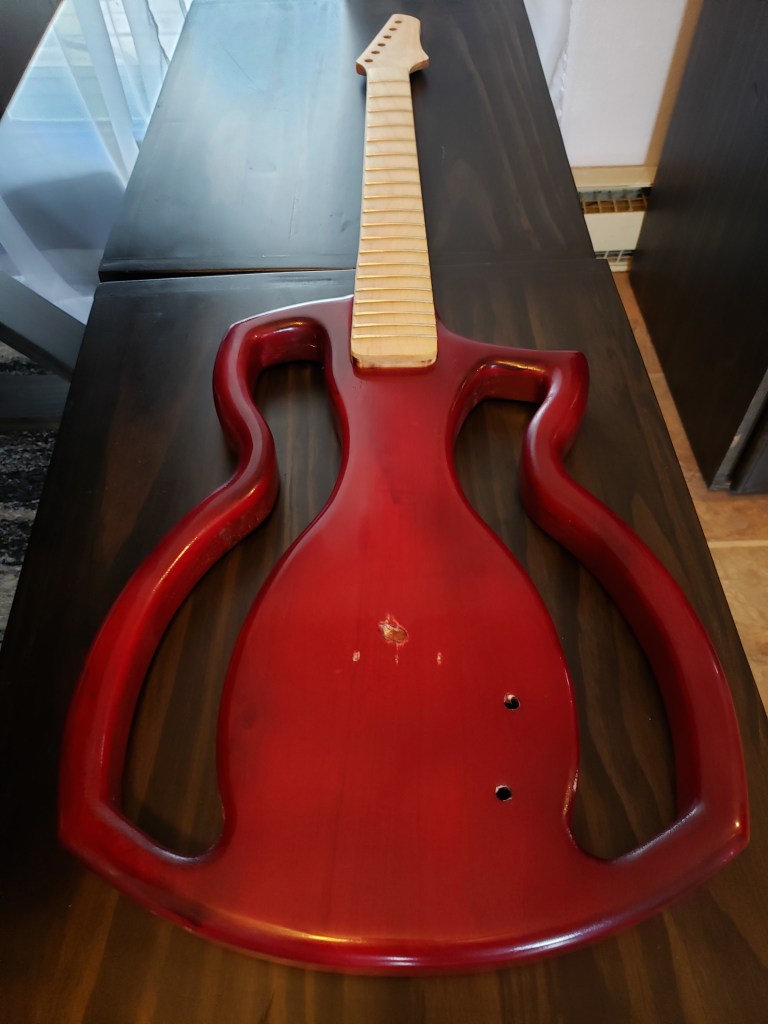
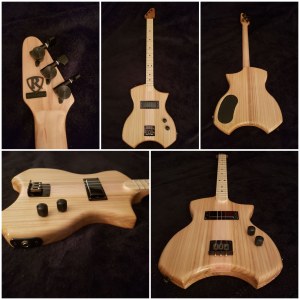
First off, the guitar I shared in my last post was RG13-0002. I love how it turned out with a split humbucker, but I didn’t get to enjoy it too long because I had a customer waiting for it before it was even done. Here’s the finished product:
I also finished a 3-string license plate guitar but I haven’t got it put up online yet:

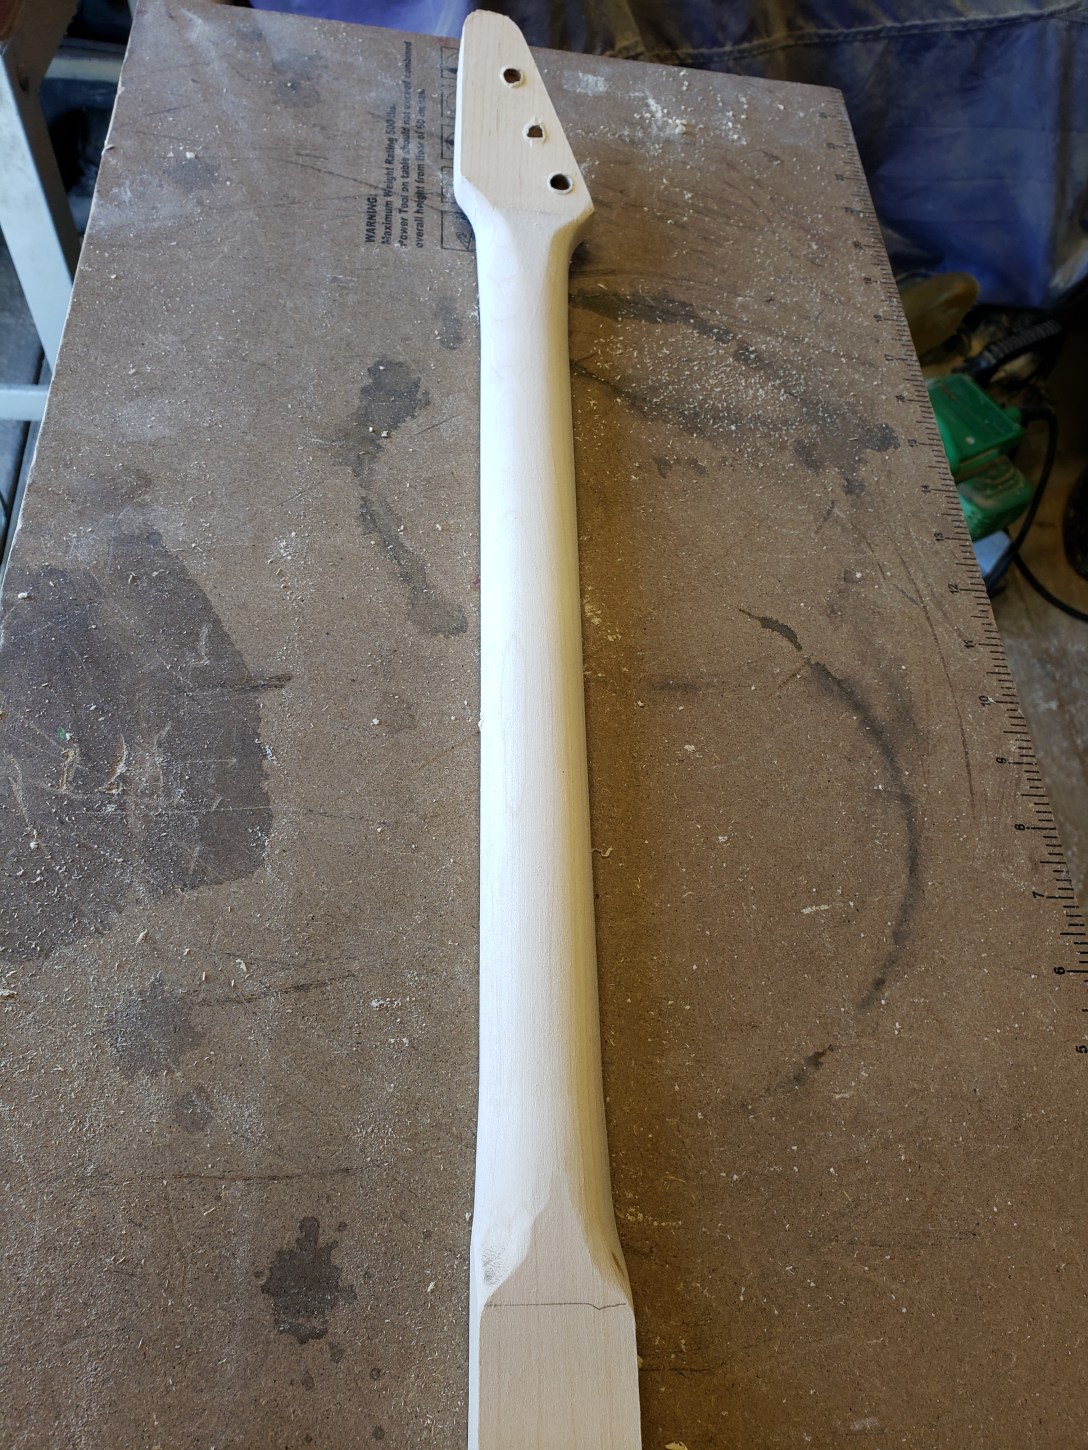
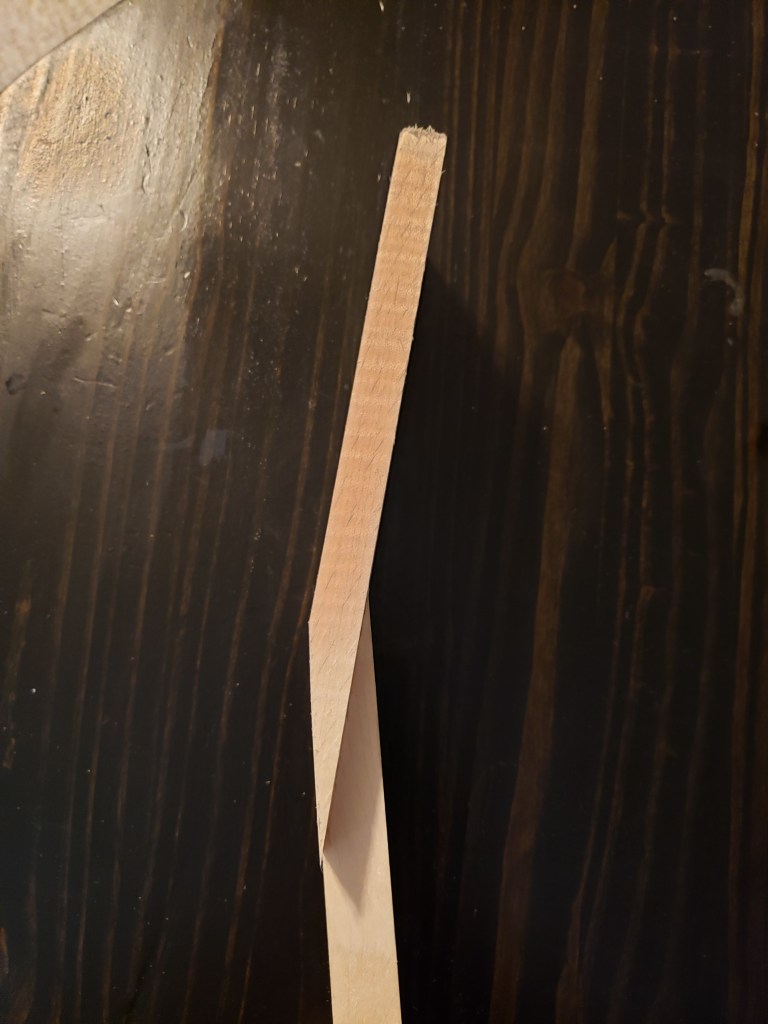
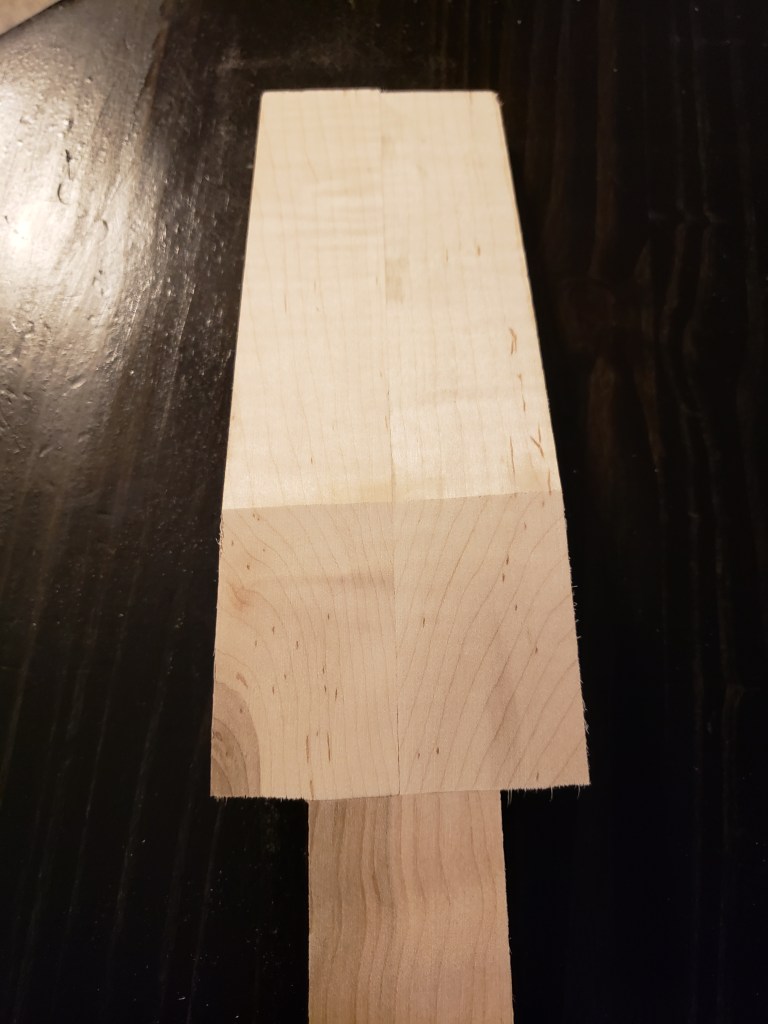
Additionally, I’ve got 6 other guitars I’m currently working on, so that’s where most of my free time has gone lately, not that I have a lot of free time between work and school.
Speaking of work, I’m now 3 months into my new job, and I still love it. The company I work for, and the people I work with are great. And while I probably won’t stay in the same position once I complete my schooling, I’m very happy doing it now and I have plenty of opportunities with this company once I get my engineering degree.
As for writing, I’ve been doing some, but not nearly as much as I want to. When I do take the time to write, I have been continuing to work on the sequel to My Life As Death. It feels like it’s starting off a little darker this time, but I’m also so early into it that I can’t say that for sure.
I’ve also been spending a lot of time getting my packet ready to submit to an agent. I found the agent I plan on submitting to first so I’m working on making sure I have everything to meet her requirements. Thankfully what she is asking for is pretty standard for the industry, so a week or two after I submit to her I will start researching other agents and I can pretty much use the same submission package for them as well. I know a lot of people suggest submitting to multiple agents at once, but she is the one I really want to go with, so I figure I’ll give her a week or two headstart.
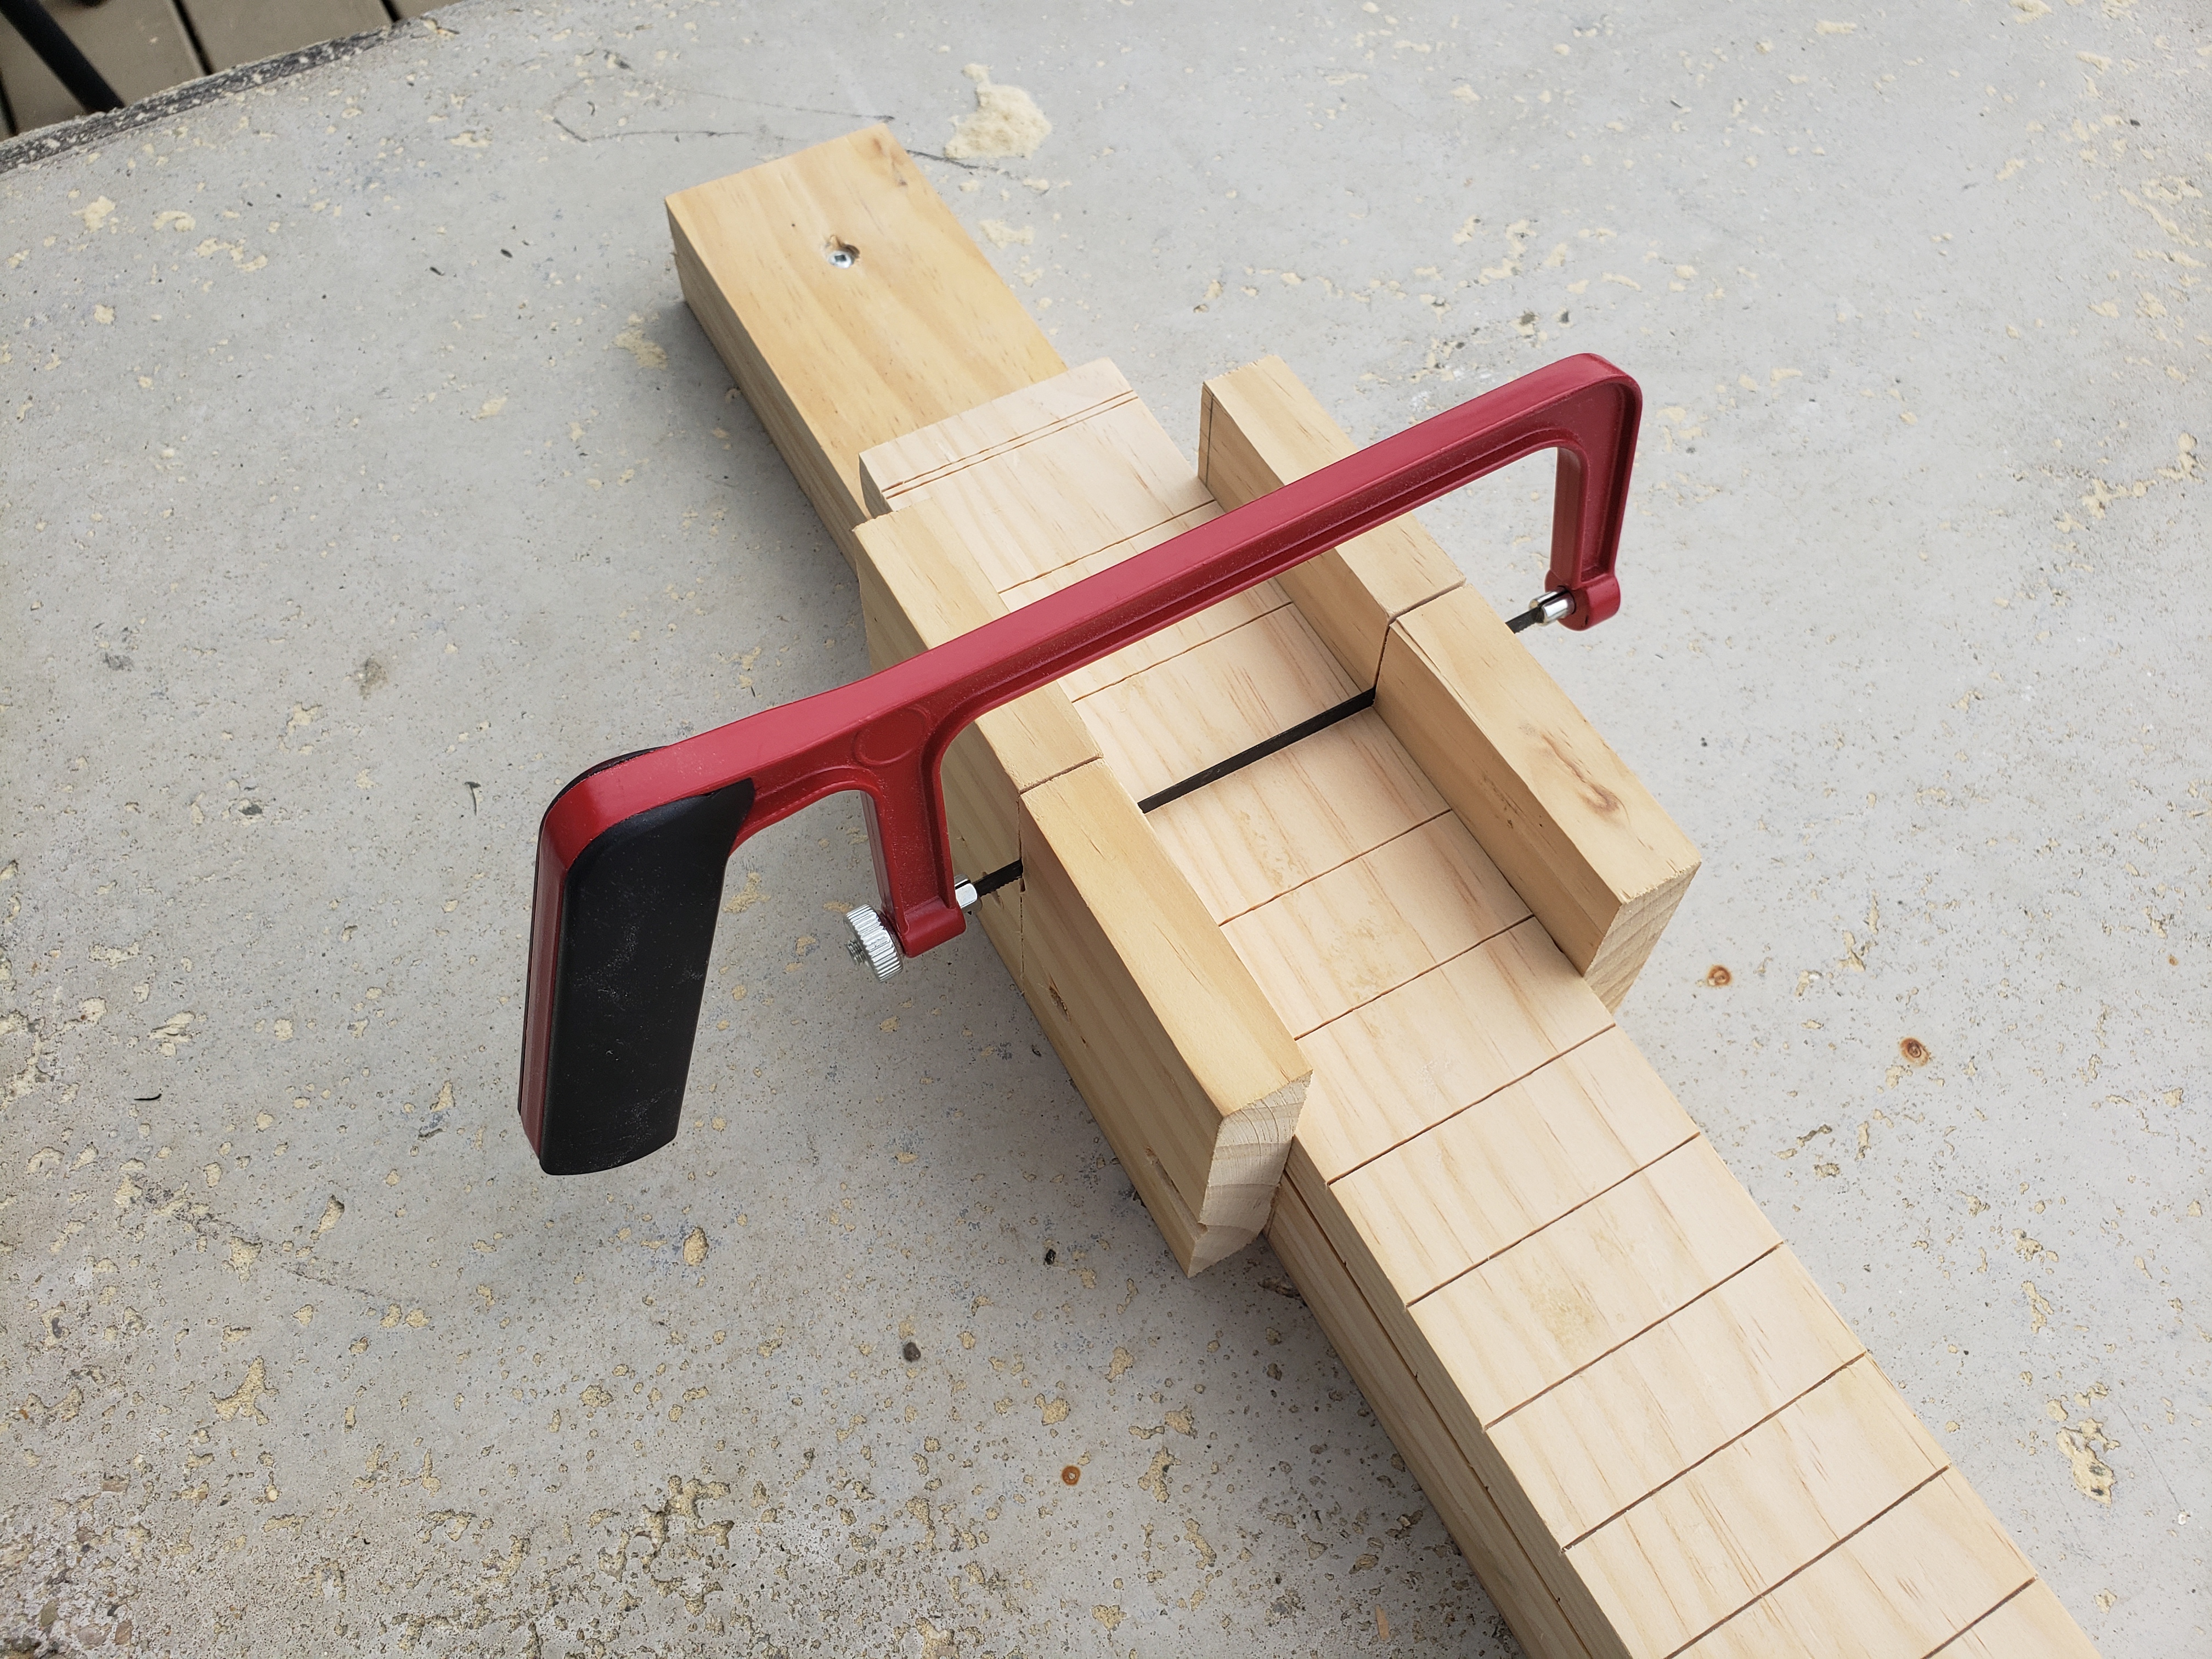
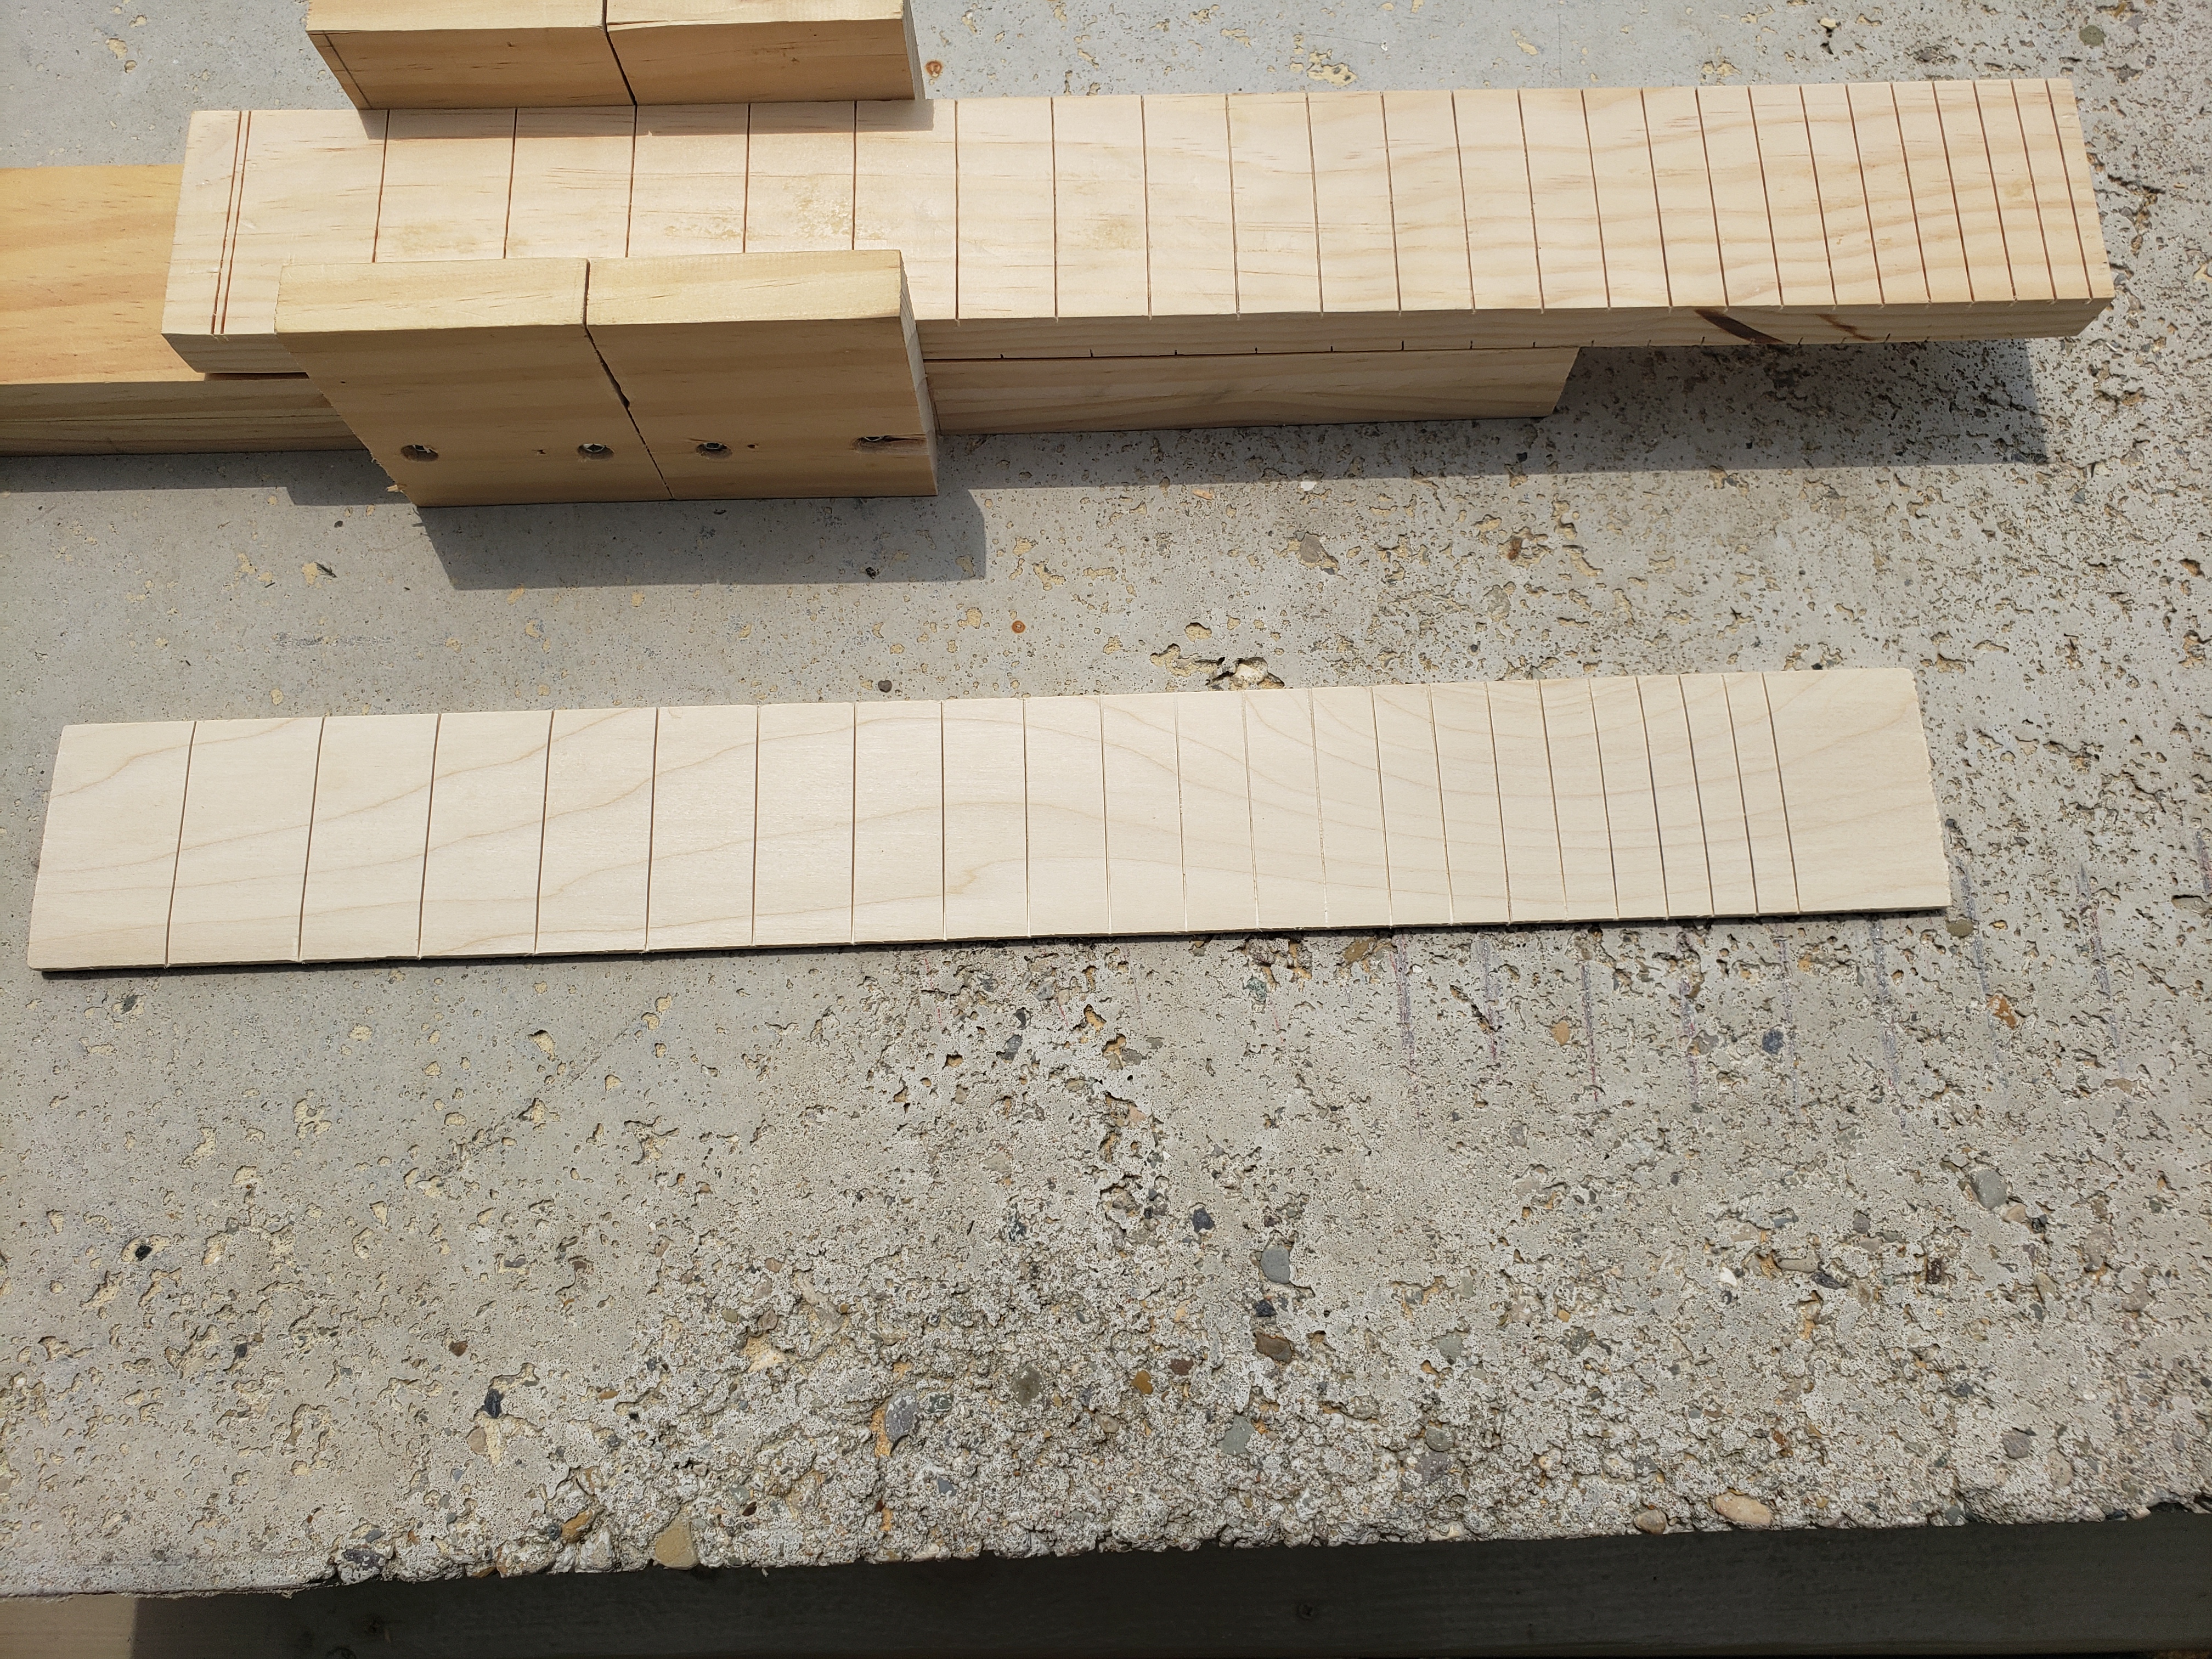
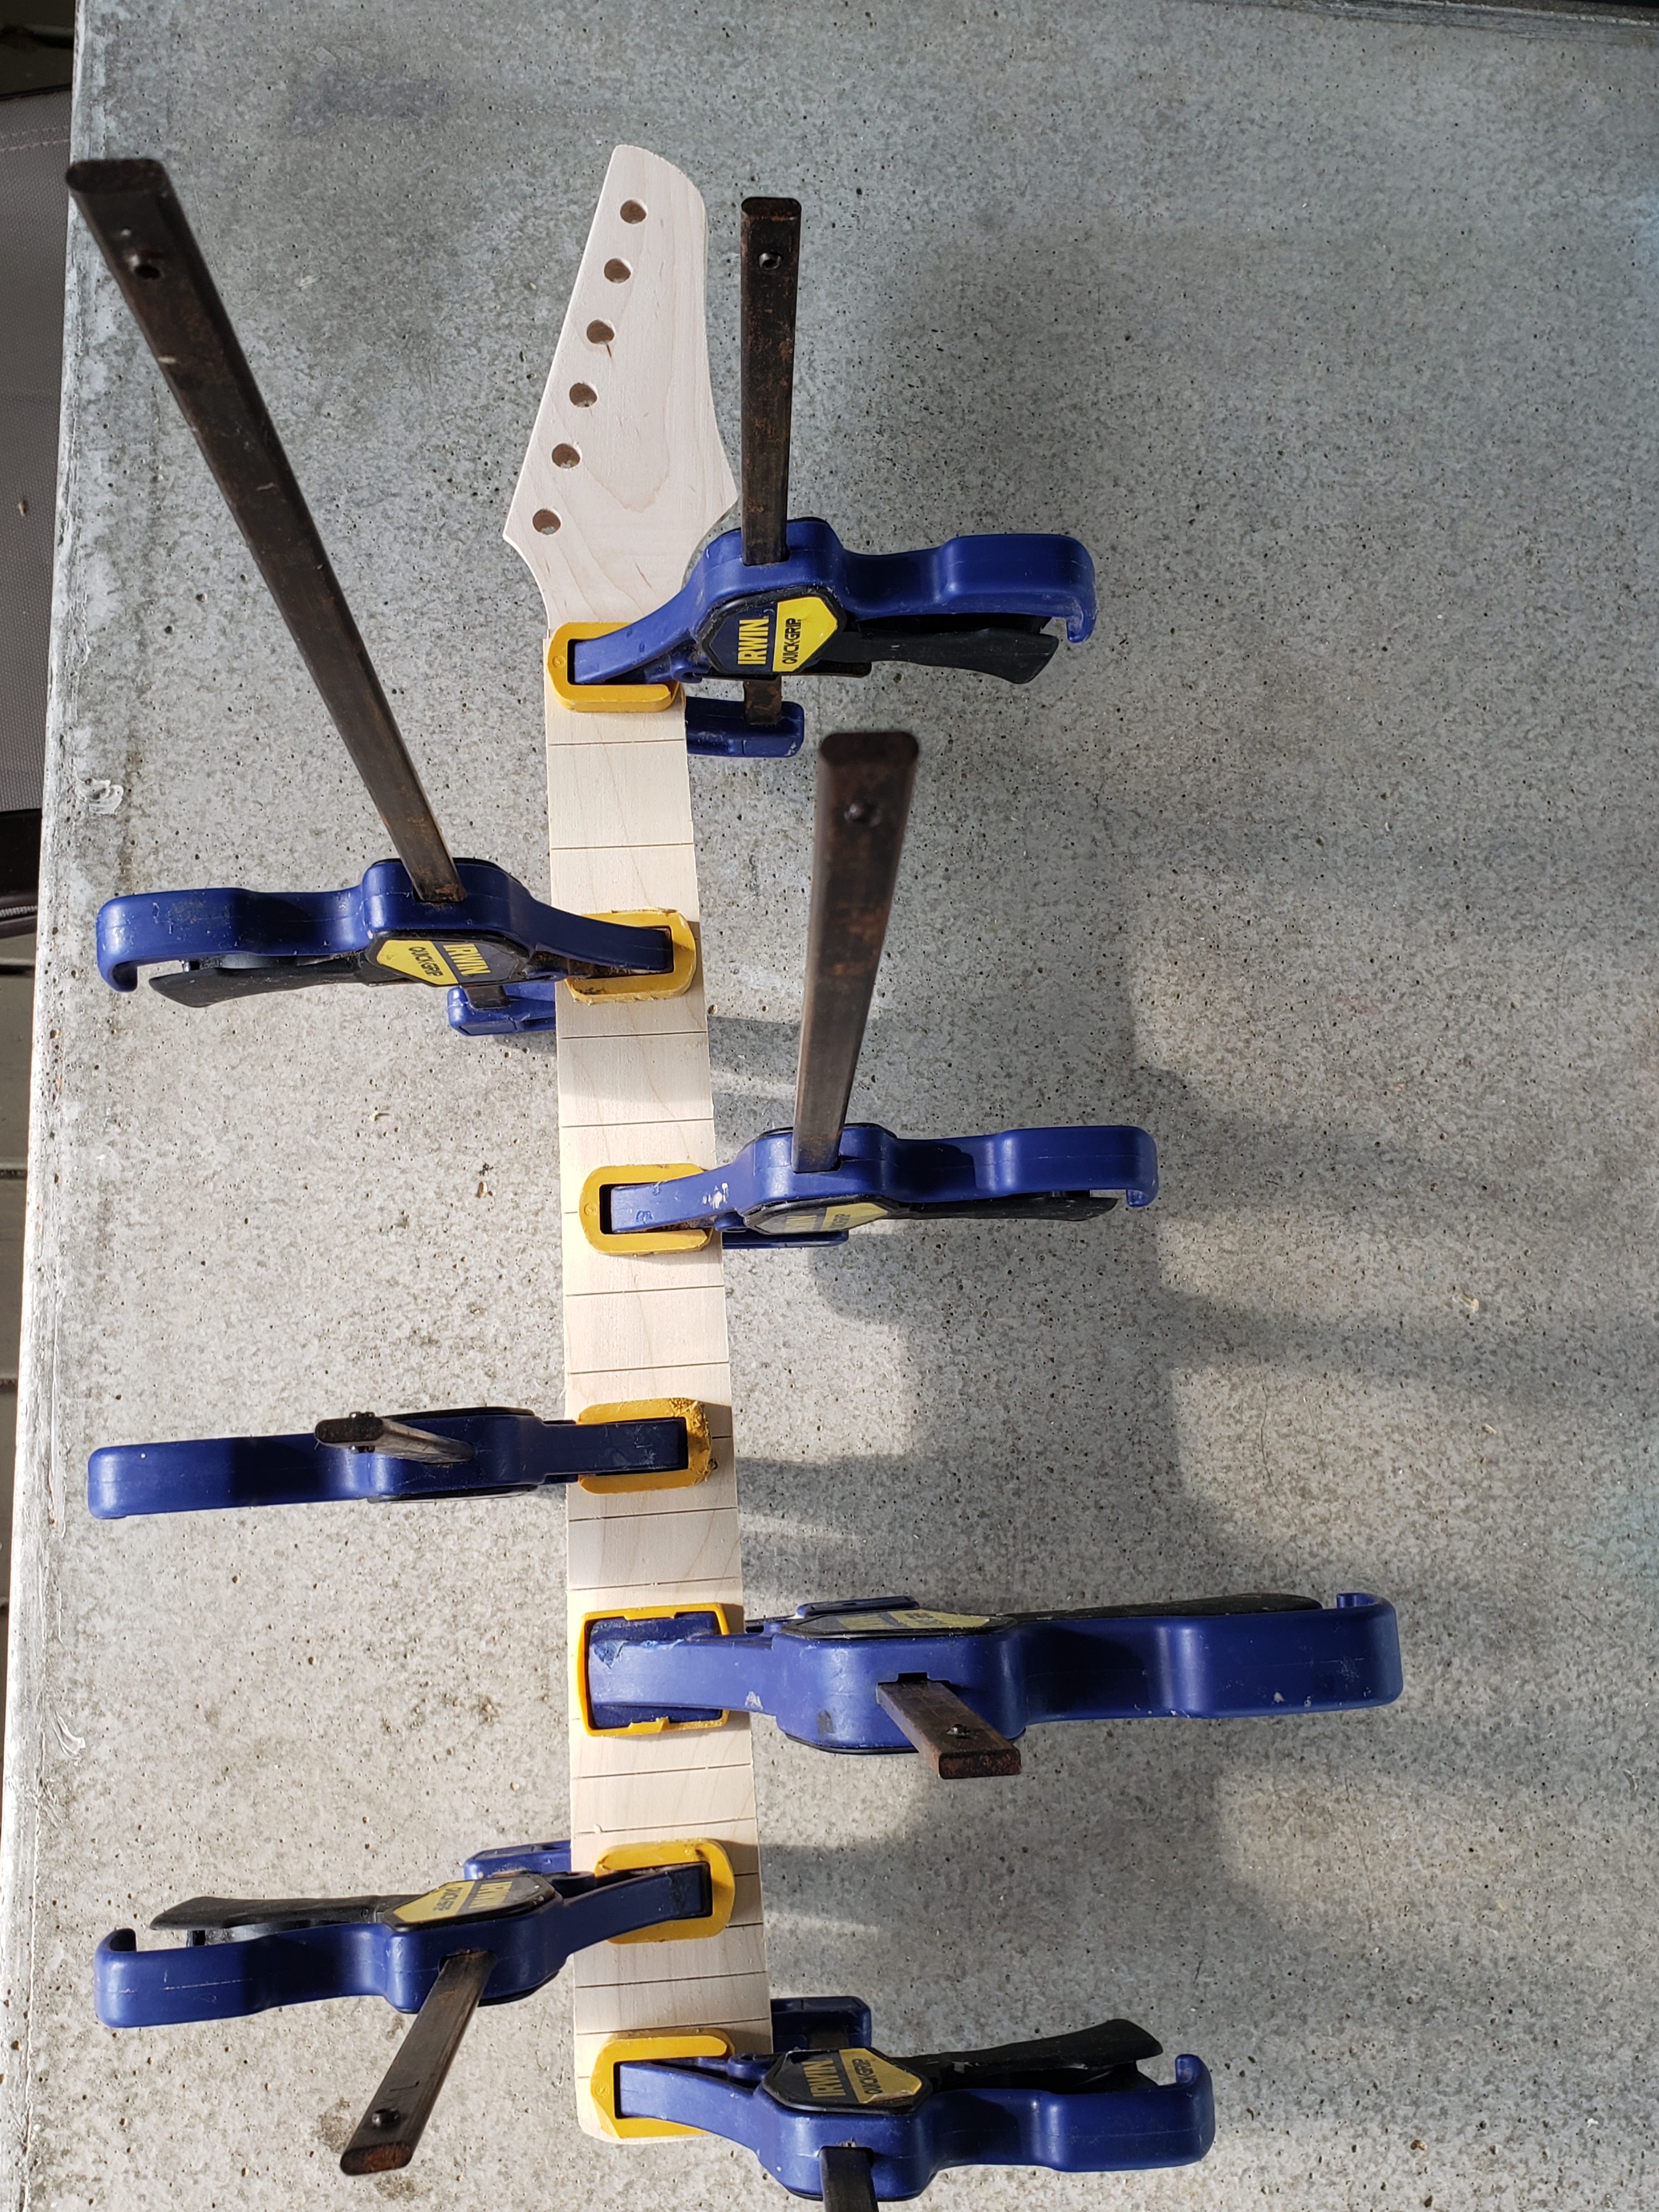
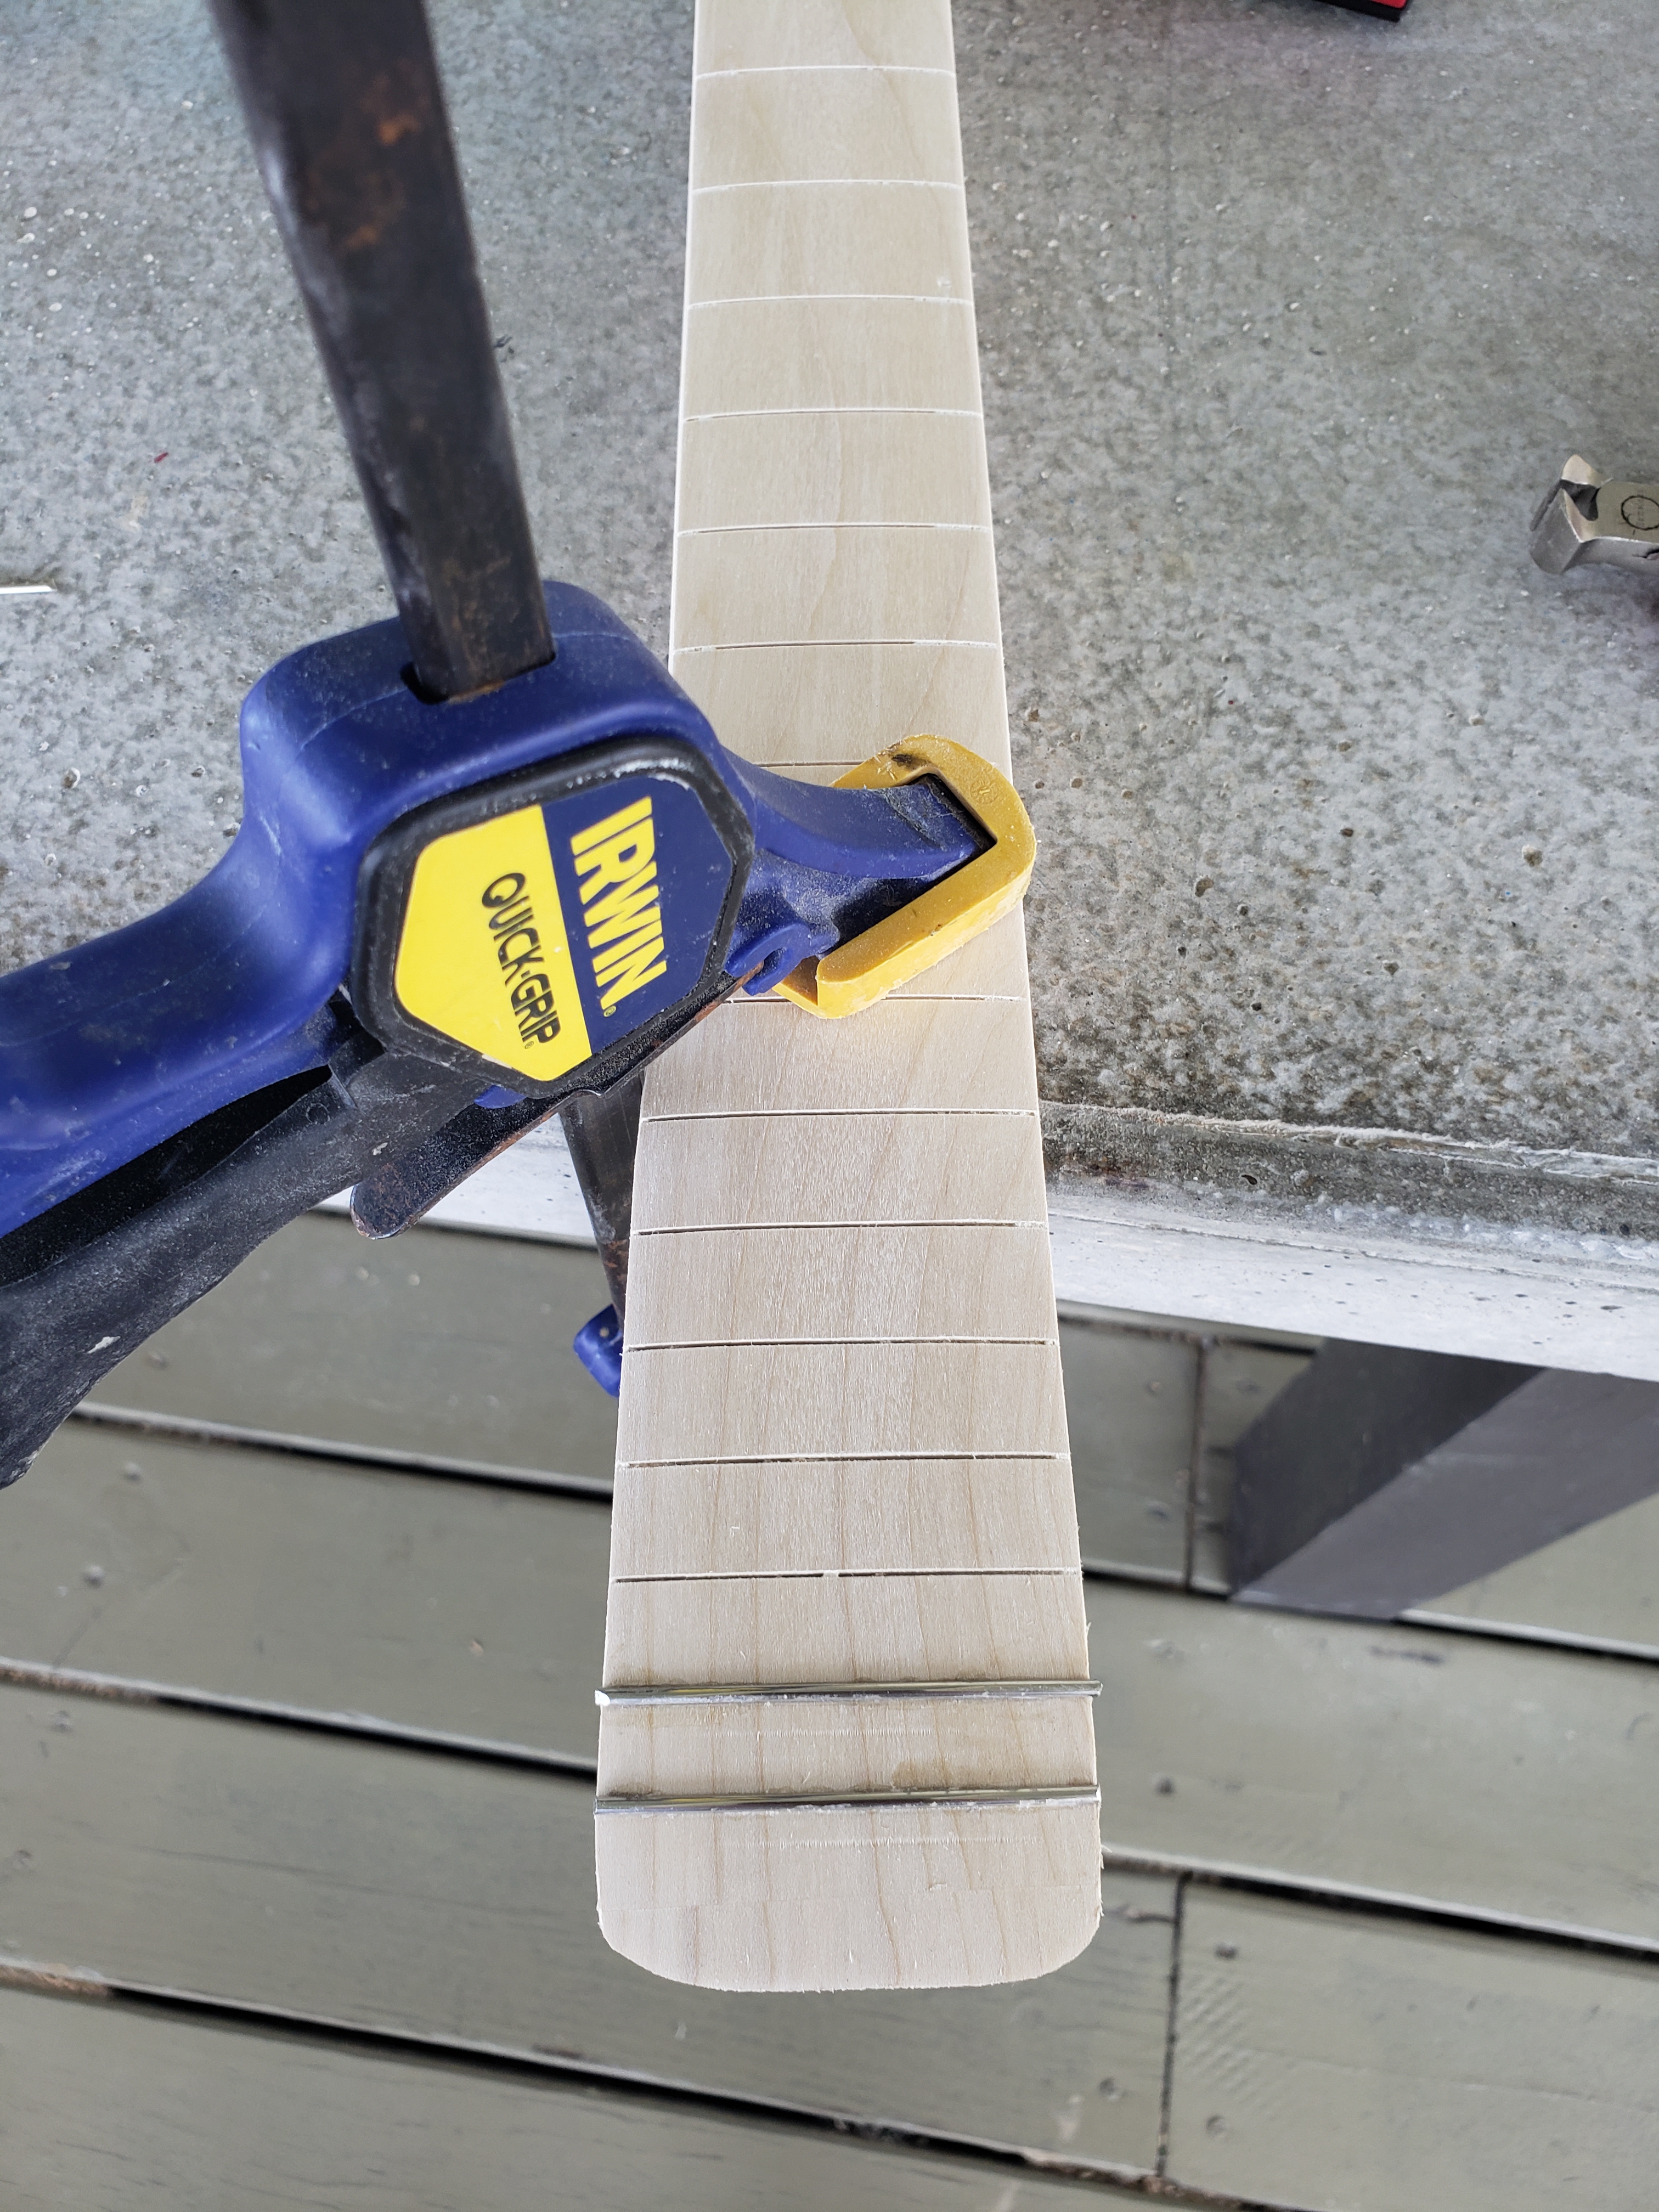
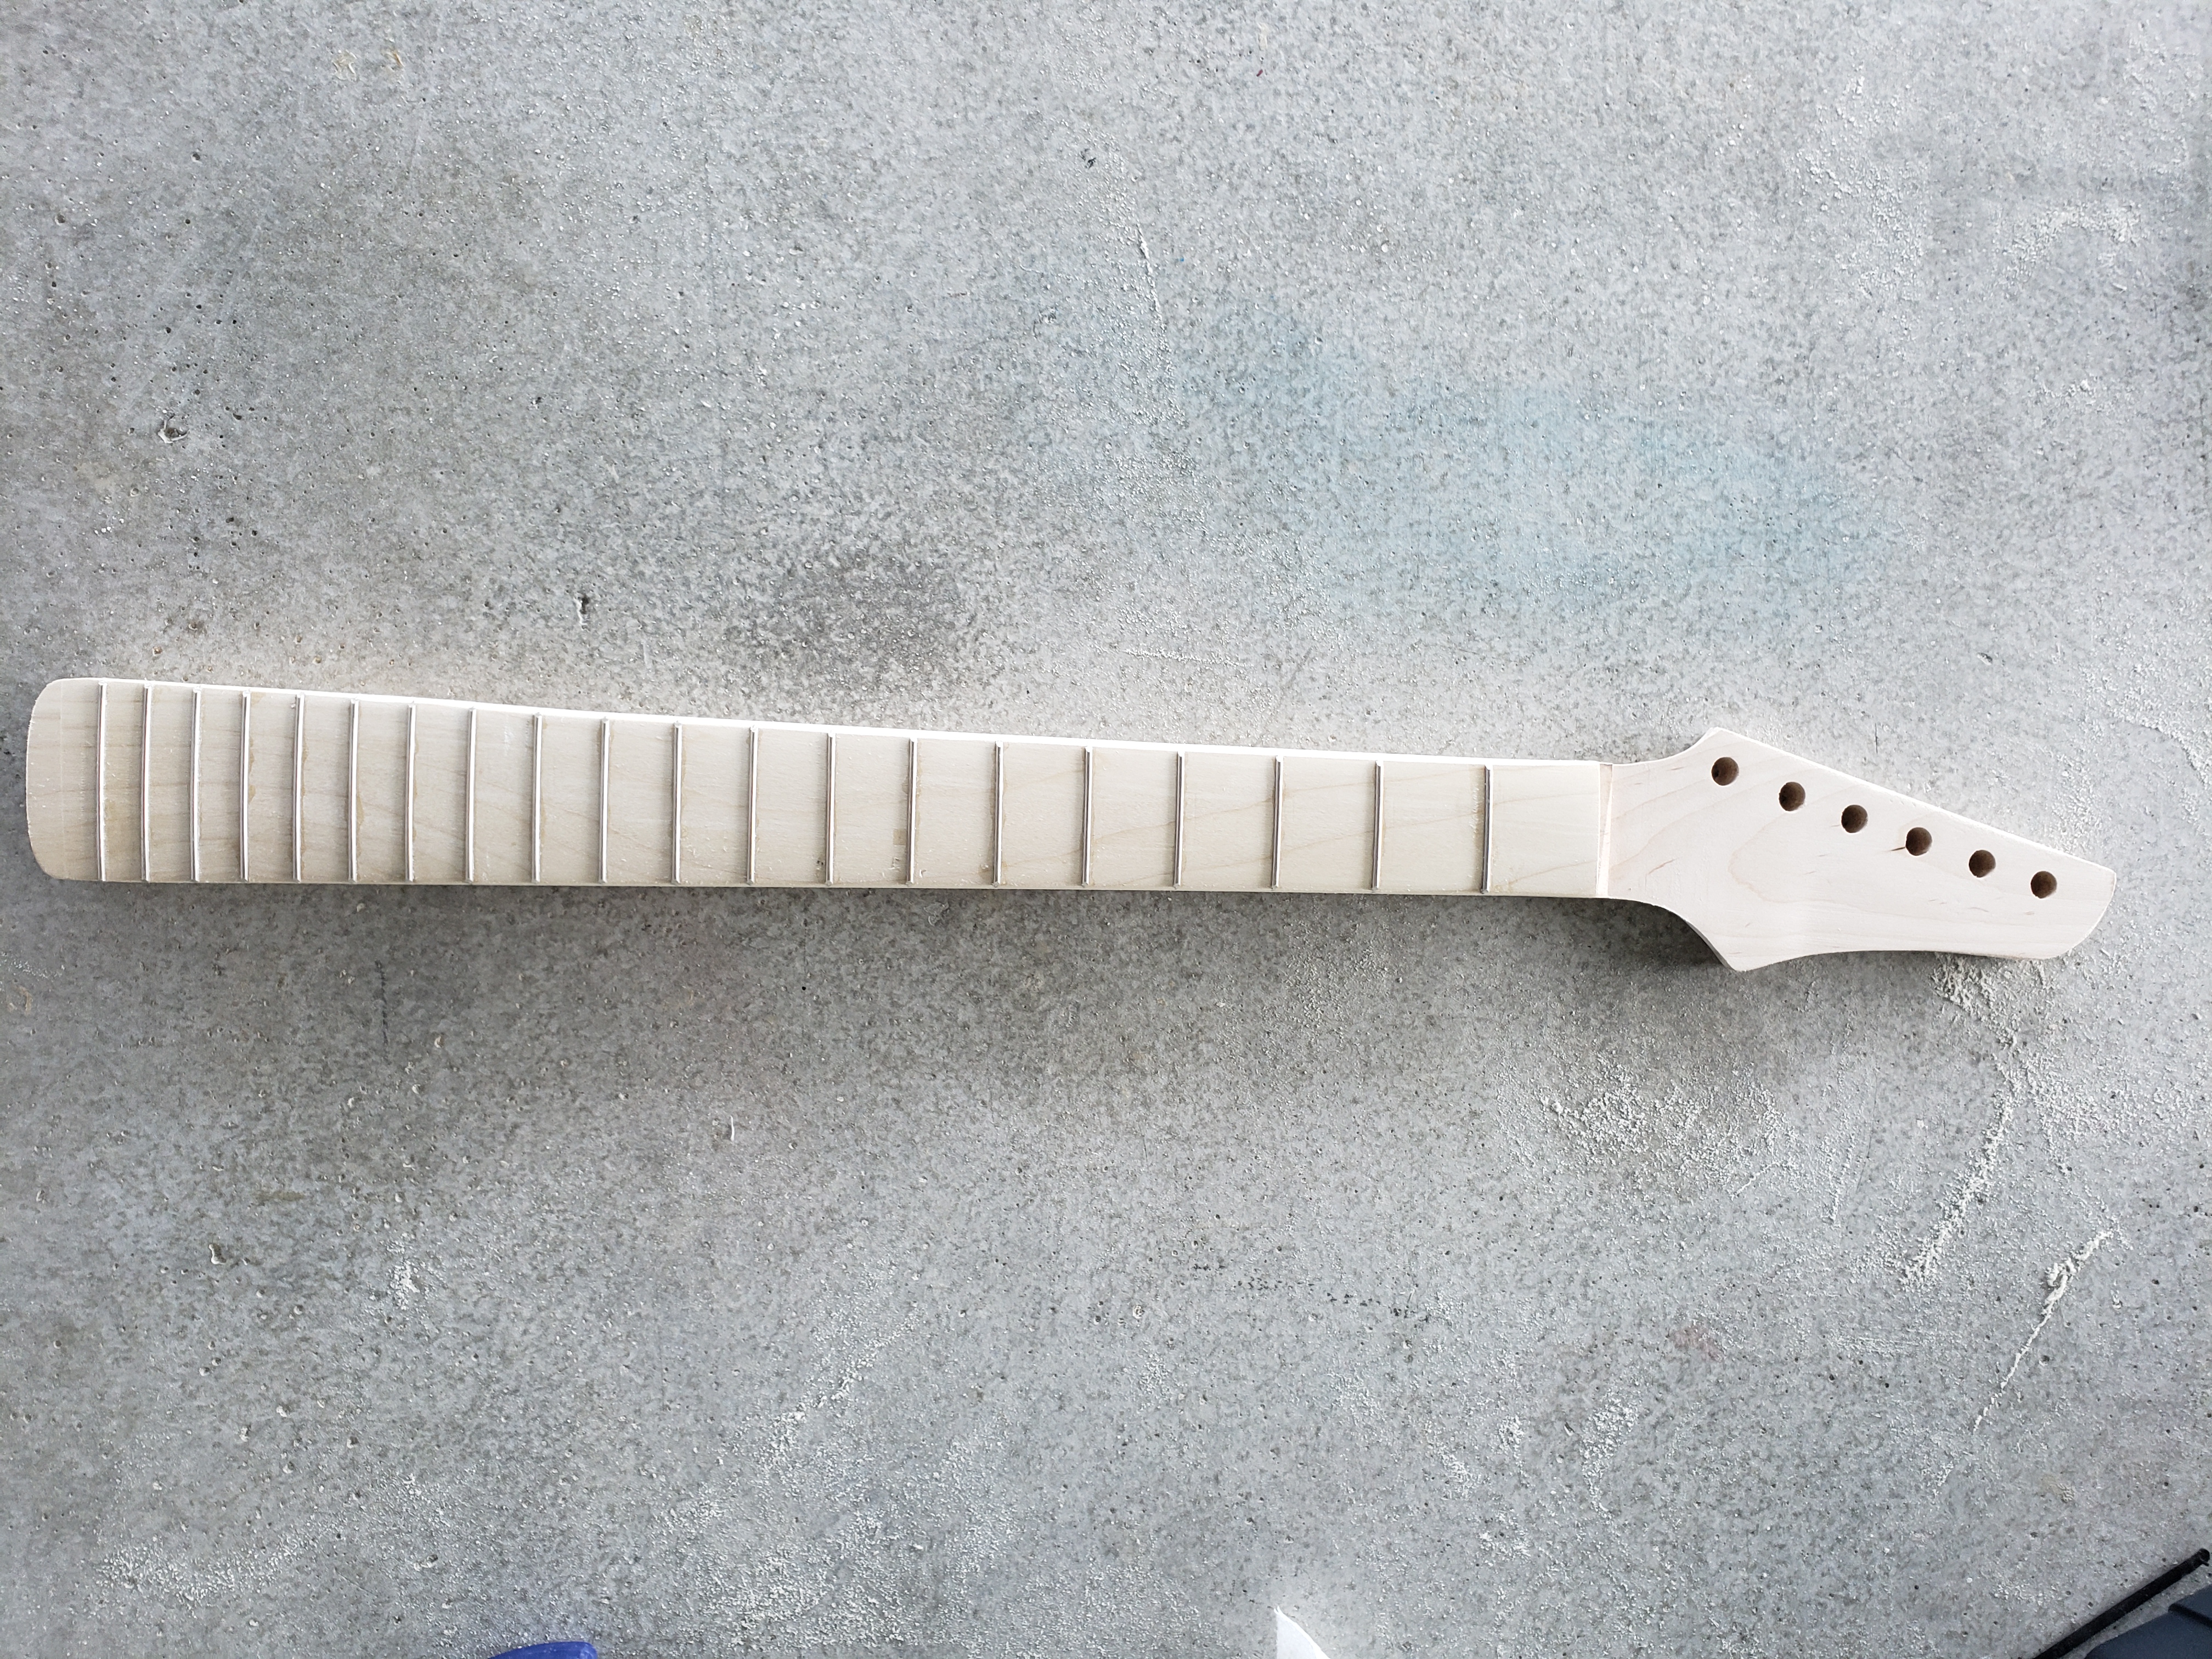
So that’s a quick recap of all the projects keeping me from updating this blog as often as I should. I plan on updating a little more often, but now that MLAD is done, I will probably start sharing more posts on my guitar making processes. Every guitar is a little different but the various processes are generally similar for each.